
Background Removal: When AI Wins vs Manual Editing
It is Tuesday and you have 80 product photos for the new e-commerce launch by Friday. Each needs the same treatment: cut out, clean edge, transparent background, exported as PNG and JPG. The old workflow with the pen tool in Photoshop takes 15 minutes per image; that is 20 hours of work. AI background removal claims to do the job in 3 seconds, but you have been burned before by AI cuts that look great in preview and terrible at 100% zoom. The honest question is: which 60 of these 80 photos can the AI handle, and which 20 still need a human?
AI background removal got good around 2022. By 2024 it was better than 90 percent of human hand-cutouts for typical product photography. In 2026 it is better than 95 percent. But the remaining 5 percent of cases are where it falls apart in spectacular, client-visible ways. Knowing which side of the line you are on determines whether you ship in 30 seconds or spend 90 minutes in Photoshop. This guide walks through the decision tree, the hybrid workflow that combines AI speed with manual refinement, and the edge-refinement techniques that handle hair, transparency, and same-tone subjects.
Background: how AI cutout actually works
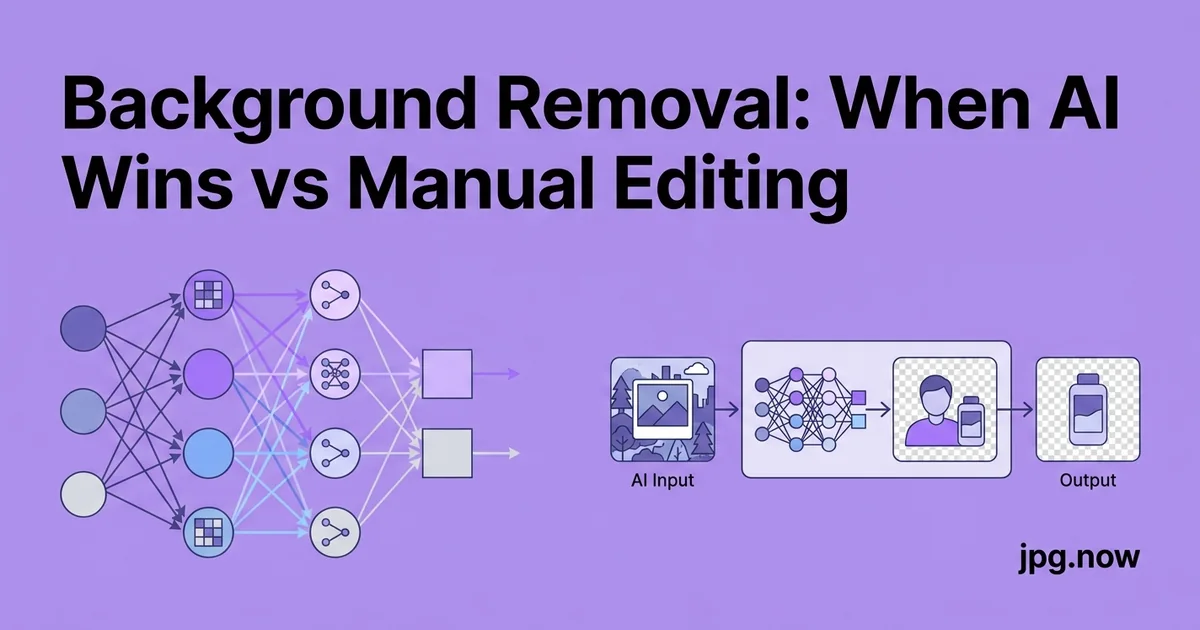
Modern AI background removal uses image segmentation models trained on millions of cutout examples. The network learns to identify "subject" pixels versus "background" pixels based on patterns it has seen during training. It is genuinely smart at recognizing common objects (people, animals, vehicles, products) and confidently incorrect when the subject does not fit a known pattern.
The 2026 generation of tools (Remove.bg's latest model, Adobe's Select Subject in Photoshop 2026, Apple's Visual Lookup) handles 95% of typical cases in seconds. The hard cases remain hard: wispy hair, translucent objects, same-tone edges, motion blur. Knowing which case you have determines the workflow.
Where AI wins decisively
AI background removal handles these cases at human-or-better quality:
- Products on plain backgrounds: Shoe on white, mug on grey, electronics on black. One click.
- People in good portrait lighting: Head and shoulders shots against any contrasting background.
- Animals with distinct silhouettes: Dog against grass, cat on a couch.
- Vehicles photographed straight-on: Cars, motorcycles, bicycles against any background.
- Furniture for catalog use: Sofa on hardwood, chair against wall.
For these inputs, the background remover produces a clean cutout in 3 to 5 seconds that is good enough to ship without retouching.
Step-by-step: the hybrid cutout workflow
- Categorize the source image. Plain background and clear subject, or complex case requiring refinement?
- Run AI removal. Use the background remover for the first pass.
- Inspect at 100% zoom. Look for problem zones: hair, transparency, same-tone borders.
- Decide refinement need. Clean cut means ship. Problem zones detected means proceed to manual refinement.
- Open in editor over original. Use the photo editor for layer-based refinement.
- Refine problem regions only. Brush masks, refine-edge tools, channel extraction for hair.
- Export with appropriate transparency. PNG with alpha for variable backgrounds, JPG-on-known-color for fixed backgrounds.
- Convert PNG to JPG for delivery using the PNG to JPG converter when transparency is not needed.
Where AI still fails, predictably
Hair, specifically fine flyaway hair against a complex background. AI gets the head outline correct but misses the wispy strands that give the cutout its naturalism. The result looks like the person is wearing a swim cap.
Translucent and transparent objects: glass, water, smoke, hair held in a backlight. The AI either treats them as solid (removing what should remain) or as background (keeping pixels that should go).
Motion blur where the subject has a soft edge: sports, action shots, dancers. The AI either cuts a hard edge through the blur or includes the blur as background.
Same-tone subjects on same-tone backgrounds: a white dress on a white wall, a black car on asphalt. The AI guesses at the edge and guesses wrong.
Complex foliage interacting with the subject: branches in front of a face, leaves overlapping a body. The edge becomes a mess of half-correct decisions.
Specific failure mode: hair against a similar-toned background
The single most common AI failure is a portrait subject's hair against a background that shares the hair's color or tonal range. Blonde hair against a yellow wall, dark hair against a navy backdrop, gray hair against a cement-textured background. The AI cannot find the edge because the contrast that defines "edge" is absent.
The fix: re-shoot with a contrasting background if possible. If not, fall back to manual selection or the channel-extraction technique. AI tools that try to "handle" these cases produce a swim-cap effect that no amount of refinement can fully fix.
The decision tree
Spend 30 seconds inspecting the image before committing to a method:
- Is the subject clearly separated from the background by tone and color? If yes, AI. If no, manual.
- Is hair, fur, or translucency a major component of the edge? If yes, AI plus manual cleanup. If no, AI alone.
- Will the final output be viewed at 100 percent zoom or in print? If yes, manual cleanup needed regardless of method. If used at thumbnail or web size, AI is usually enough.
AI vs manual comparison
| Approach | Time per image | Quality | Best for |
|---|---|---|---|
| Pure AI (Remove.bg, AI tool) | 3-10 seconds | 95% clean on easy cases | E-commerce, batch product shots |
| AI + 2-min cleanup | 3-5 minutes | 99% clean | Mixed-difficulty production |
| Photoshop Select Subject + Refine | 5-15 minutes | Pro-grade | Hero shots, brand work |
| Pen tool manual | 15-30 minutes | Pixel-perfect | Hard cases, print campaigns |
| Channel extraction (hair) | 30-60 minutes | Specialist quality | Beauty, fashion editorial |
Cleanup brushes: refine-edge mechanics
Photoshop's Select and Mask workspace centers on three brushes: the Quick Selection brush (adds to selection), the Refine Edge brush (extends into transitional zones like hair), and the Smart Radius slider (auto-detects edge complexity). The workflow: rough selection with Quick Selection, paint along hair edges with Refine Edge, increase Smart Radius for complex edges, decrease Decontaminate Colors slider to remove fringe bleed.
Affinity Photo's Refine Selection panel offers equivalent controls with a slightly different UI. Both produce hero-quality output in 2-5 minutes per image once you internalize the brush behaviors.
The hybrid workflow that beats both
For 80 percent of cases, AI alone is sufficient. For 15 percent more, AI followed by 2-3 minutes of manual cleanup beats pure manual every time. The workflow:
- Run AI removal with the background remover.
- Open in your editor like Photoshop, Affinity Photo, or GIMP over the original.
- Identify the failure regions at 100 percent zoom: hair, transparent edges, same-tone borders.
- Manually refine those regions only, using brush masks or refine-edge tools.
- Export the refined cutout.
The AI does 95 percent of the work in 3 seconds; the human does the 5 percent that requires judgment in 2 minutes. Total time per image: under 3 minutes.
When pure manual wins
For premium product photography destined for a billboard, magazine cover, or 4K e-commerce hero, the time savings from AI are not worth the quality compromise. Plan for 10 to 30 minutes per image in the photo editor using pen-tool selection or alpha-channel masking. The result holds up to scrutiny that AI output does not.
Fashion photography, jewelry, food on dark plates, and anything with motion blur all fall into the manual-first category for premium use.
Real-world cutout examples
E-commerce product batch. 200 product photos for a new candle line. All shot on consistent grey background. AI cutout via the background remover in batch, spot-check 20 random outputs, manually refine the 4 that had wick-shadow issues. Total time: 90 minutes for 200 images. Previously: 50 hours manual.
Fashion editorial cover. Single hero image for a fashion magazine cover, model with elaborate hair against complex outdoor background. Channel extraction in Photoshop, 90 minutes. AI tools tried but rejected because the hair was the entire selling point.
Furniture catalog. 80 sofa shots against various neutral backgrounds for a B2B catalog. AI cutout, batch composite onto consistent white, JPG export for the catalog template. Total time: 45 minutes for 80 images.
The transparency-preservation step
The output of background removal is a PNG with an alpha channel. Saving as JPG flattens the transparency to a solid background color, usually white. If the final destination is a colored web page, the JPG fringes around the cutout will be visible against the colored background.
Keep the PNG master with transparency. Export JPG variants only when the destination background color is known and matches your flatten color. For the conversion when needed, use the PNG to JPG converter with explicit background-color control.
Hair cutout: the channel-extraction technique
For hero-level hair cutouts that AI cannot match, the channel-extraction technique still wins. In Photoshop: open the source, navigate to the Channels panel, identify the channel with highest contrast between hair and background (often blue against a green-tinted background, or red against a blue sky). Duplicate that channel, apply Levels to push the contrast to extreme, paint the body solid white and the background solid black with a brush, then load the channel as a selection.
The result captures every wispy strand the AI tools miss. It takes 15-30 minutes per image but produces cutouts indistinguishable from studio retouching. Worth the time for premium portraits, fashion editorial, and campaign hero shots.
Bulk processing for e-commerce
An e-commerce store launching 200 new SKUs needs 200 product cutouts. The AI workflow scales: photograph all products against the same background, batch through AI removal, spot-check 20 random outputs, manually refine only the failures. Total time for 200 images: 4 to 6 hours, versus 40 to 80 hours pure manual.
For best results, photograph with AI in mind: contrasting background, even lighting, no shadow falling on the background near the product edge. Five minutes of careful staging saves an hour of cleanup downstream.
Edge refinement: the techniques that matter
In Photoshop's Select and Mask workspace, the Refine Edge brush handles hair beautifully. Paint along the hair edge and the tool intelligently extends the mask into the fine strands. Affinity Photo's Refine Selection panel does the same with a slightly different UI. GIMP's Foreground Select tool is functional but slower.
For very fine hair, the channel-extraction technique still works: find the channel with highest contrast between hair and background, use it as a luminance mask, refine, composite. This is the technique professional retouchers used before AI and it remains the gold standard for hero shots.
Common cutout mistakes
- Trusting AI on hair. Always inspect hair edges at 100% zoom; refine manually if needed.
- Saving as JPG and losing transparency. Keep PNG masters, export JPG variants only for known backgrounds.
- Color-fringing from the wrong flatten color. A subject cut from a green background flattened to white will have green fringes. Decontaminate edges before flattening.
- Skipping the 100% zoom inspection. Web thumbnail looks fine; the 4K hero shows every defect.
- Photographing without AI in mind. Contrasting background and even lighting save hours of cleanup.
- Trying to fix a fundamentally bad source. Out-of-focus subject or motion blur cannot be cleanly cut; reshoot.
Advanced cutout tips
- Use channel-based selection for hair. Pick the channel with highest hair/background contrast, threshold, refine.
- Decontaminate edges after cutout. Photoshop's Select and Mask has a "Decontaminate Colors" option that removes color spill from the original background.
- Add a 1-pixel feather to soft-edged subjects. Pure hard edges look pasted-on; a tiny feather sells the cutout as real.
- Photograph for AI cutouts: contrast background, even light, slight shadow gap. Pre-production for cutout-friendly shots saves post hours.
- Use the photo editor for batch processing. Actions or macros automate repeated cutout-and-composite operations.
- For e-commerce, batch composite onto consistent backgrounds. White, light grey, or brand-color templates create a unified catalog look.
- Archive masters with transparency. The transparent PNG is reusable; the flat JPG is one-shot.
File format for the final delivery
Deliver PNG when transparency is needed (logos, cutouts for variable backgrounds). Deliver JPG when the background is known and you want smaller files. The PNG to JPG converter handles the conversion when the client asks for "the small version." For modern web, the WebP path offers additional savings.
FAQ
What is the best free AI background remover?
jpg.now's background remover for browser-based use without signup. Remove.bg offers 1 free image per signup. Apple Photos and Apple Preview have free built-in cutout on macOS/iOS.
Can AI handle glass and transparent objects?
Mostly no in 2026. Glass and translucent objects require manual handling: extract the subject mask, then separately handle the transparent regions with reduced opacity or refractive compositing.
Does AI cutout work on low-resolution images?
It works but produces lower-quality edges proportional to the source. Upscale with the AI upscaler first for borderline-resolution inputs.
How do I get a clean drop shadow under a cutout subject?
Either preserve the original shadow during cutout (most AI tools support this) or composite a synthetic shadow in your editor after cutout.
Can I run AI cutout offline?
Yes. Apple's built-in cutout, several open-source tools (rembg, BackgroundRemoverDL), and ML frameworks like CoreML run locally without sending images to a cloud.
What about animal fur?
AI handles short fur well (dogs, cats). Long fur on a busy background is harder. Refine-edge with the brush tool in Photoshop handles most failures in 2-3 minutes.
Is there an AI tool that handles all the hard cases automatically?
Not as of 2026. Hard cases still benefit from human judgment in the refine step. The AI gets you 95% of the way; the human handles the last 5%.
Cutouts for marketplace platforms
Amazon, eBay, Etsy, and Shopify each have product photo guidelines. Amazon requires pure white (RGB 255,255,255) backgrounds with the product filling 85% of the frame. eBay is more flexible but rewards white backgrounds with higher search ranking. The cutout-and-composite workflow targets these specs directly: AI removal, paste onto exact RGB white, export JPG at platform-specified dimensions.
For platforms with lifestyle slots (Etsy, Shopify), keep both versions: the pure-white-background JPG for the primary thumbnail, the lifestyle composite for the secondary gallery images. The 5-minute additional work doubles your visual storytelling.
Background generation: the inverse problem
Sometimes you have a clean cutout and need a background, not the reverse. AI image generators now offer "inpainting" modes that fill the background around an existing subject. Place the cutout on a blank canvas, mask the empty area, prompt for the desired scene, generate. The subject stays untouched; only the new background is generated.
The result is a product on a credibly-lit lifestyle background without an additional photo shoot. Verify shadows align between subject and background; a mismatched light direction breaks the illusion.
Try the hybrid workflow on one image
Pick a product or portrait photo with at least one edge that AI typically struggles with: wispy hair, a translucent shadow, a same-tone edge. Run it through the background remover, open the result in the photo editor, refine the problem edge, and export. The 5 minutes spent will tell you exactly how much of your background-removal workload can move to the hybrid pipeline. For ongoing use, pair the workflow with the PNG to JPG converter for delivery format and the image compressor for catalog-ready file sizes. For e-commerce platform-specific sizing, the aspect ratio calculator handles the Amazon vs Etsy spec differences. See the tools directory for the complete cutout kit.