
Corrupted JPG Recovery: Salvaging Files With Broken Headers
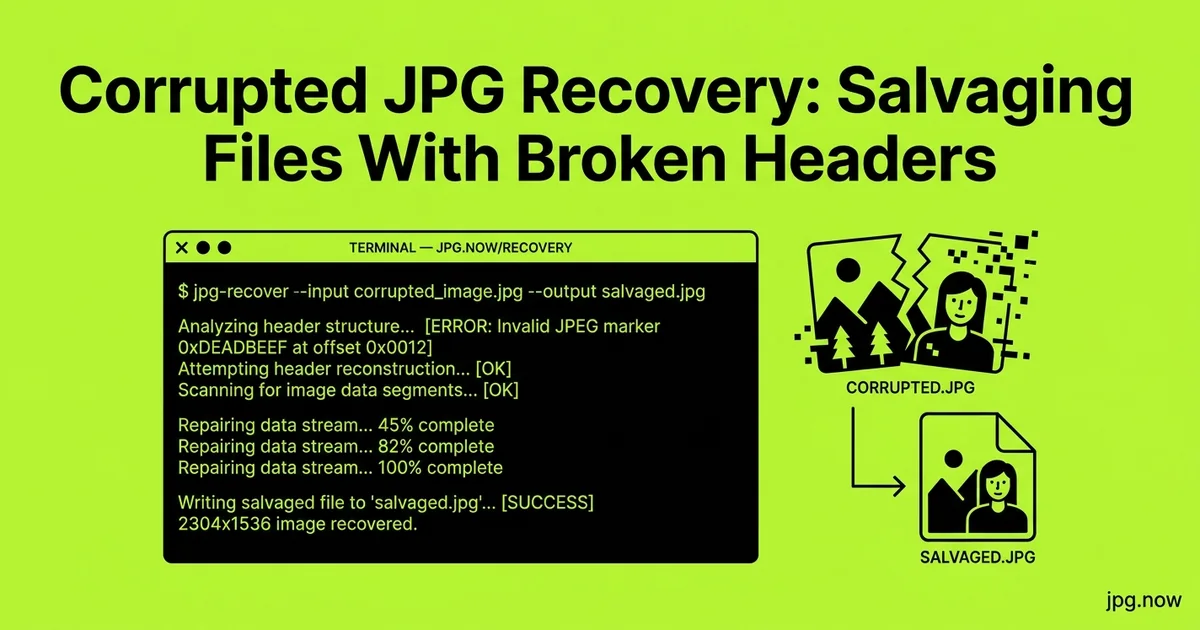
It is the wrong kind of Sunday morning. You plug a USB stick into a borrowed laptop to show your sister the wedding photos from three weeks ago, double-click the first JPG, and the preview app shows a gray rectangle with a polite error message. The next file. Same gray rectangle. The next 40. Some open with the bottom half replaced by green-and-pink garbage. The photographer delivered 600 files; maybe 80 of them open cleanly. Your sister is patient. You are not.
A JPG that will not open is not necessarily a JPG that is lost. The format is structured as a sequence of marker-delimited segments, and most "corrupted" files have damage confined to one or two segments while the rest of the data is intact. The trick is knowing which segments matter, which can be reconstructed from a healthy donor file, and which losses end the recovery before it starts. This guide walks through realistic recovery techniques in 2026, from header repair in a hex editor to thumbnail extraction and segment splicing.
Why JPG corruption happens in the first place
The common causes, ranked by frequency: SD card filesystem damage during eject without unmount, USB stick truncation when copying interrupted by sleep or unplug, cloud-sync race conditions where two devices write to the same file, ransomware partial-encrypt attacks that stop midway, and the slow bit-rot of long-stored optical media. Each cause produces a different damage signature, but the recovery techniques overlap heavily once the file is on your desk.
Understand the file structure first
Every valid JPG begins with the bytes FF D8 FF and ends with FF D9. Between those markers sit a series of segments, each beginning with FF followed by a marker byte that identifies its purpose:
- FFE0 to FFEF application-specific data (APP0 through APP15), holds JFIF info and EXIF
- FFDB quantization tables, defines how aggressively each frequency was compressed
- FFC0 / FFC2 start of frame, holds image dimensions and component info
- FFC4 Huffman tables, defines the entropy coding
- FFDA start of scan, the gateway into the compressed pixel data
- FFD9 end of image
Open the suspect file in a hex editor HxD on Windows, Hex Fiend on macOS, ImHex cross-platform and confirm the magic bytes are present. If the file starts with anything other than FF D8 FF, the header is gone and the file is not currently a parseable JPG.
Recovery scenario 1: Missing or corrupted header
If the first few bytes are zeros, garbage, or simply truncated, you can splice a healthy header onto the surviving body. Take a known-good JPG from the same camera, same generation, same shooting mode, and copy its first 600 to 2,000 bytes through the end of the Huffman table segments and into the start of scan marker. Replace the bad bytes in the broken file with the donor header. Save and try to open.
This works in maybe 40 percent of header-damage cases. The constraint is that the quantization and Huffman tables in the donor must match the encoder that produced the broken file. A header from a Canon R5 will not correctly decode the body of an iPhone capture because the tables differ.
Recovery scenario 2: Truncated tail
If the file is missing the FF D9 end marker and stops mid-scan, most decoders will refuse to open it. Some including the libjpeg-based tools used by the image converter are tolerant and will render whatever portion of the image was successfully decoded before the cutoff. The result is typically the top 30 to 90 percent of the image with the bottom portion replaced by a gray or noise pattern. That partial render is often enough to identify the photo and decide if a more thorough recovery is worth the effort.
To force tolerant decoding from the command line, run djpeg -fast broken.jpg > partial.ppm from the libjpeg-turbo suite and check what came back.
Recovery scenario 3: Extract the embedded thumbnail
Almost every camera-produced JPG embeds a 160x120 or 320x240 thumbnail inside the APP1 EXIF segment. If the main image data is completely unrecoverable but the EXIF survived, you can still extract that thumbnail. ExifTool does this in one command:
exiftool -b -ThumbnailImage broken.jpg > thumb.jpg
The thumbnail is a separately encoded mini-JPG with its own header, scan, and end marker, which is why it often survives when the main image does not. A 160-pixel thumbnail will not print, but it will tell you what the photo was, which is enough to decide if you should pursue further recovery or just move on.
Recovery scenario 4: Segment splicing for partially corrupted bodies
If the corruption is confined to one segment in the middle of the file say, a single Huffman table got overwritten you can replace that segment from a donor while leaving the rest of the file intact. Identify the bad segment's offset and length using a JPG structure tool like JPEGsnoop, then surgically replace those bytes. Save your work to a copy; never edit the only surviving file in place.
This is fiddly work. JPEGsnoop's segment list and ImHex's pattern language make it tractable. Budget 30 to 90 minutes per file for non-trivial cases.
Recovery scenario 5: It is actually a different format
"My JPG will not open" sometimes means "my PNG was renamed to .jpg" or "my HEIC export got mis-tagged." Check the magic bytes:
- 89 50 4E 47 PNG
- 52 49 46 46 ... 57 45 42 50 WebP
- 00 00 00 ... 66 74 79 70 HEIC, HEIF, or AVIF (ftyp box)
- 49 49 2A 00 or 4D 4D 00 2A TIFF
If the file is secretly a PNG, rename it and open it. If it is HEIC, run it through the HEIC to JPG converter. The image info tool identifies the actual format from the bytes regardless of the file extension and saves you the hex-editor trip.
Common recovery mistakes and how to avoid them
- Editing the only copy of the broken file. One slip and the recovery starts over from nothing. Fix: copy the file to a working folder and treat the original as untouchable evidence.
- Using a donor header from the wrong camera. Tables will not match and the decode produces colour-shifted garbage. Fix: find a donor from the same camera model and same shooting mode.
- Skipping thumbnail extraction. Often the easiest recovery is the one people forget exists. Fix: try
exiftool -b -ThumbnailImagefirst, before any structural work. - Assuming a file with valid magic bytes is a real JPG. Sometimes only the first 4 bytes survive and everything after is zeros. Fix: check file size against expected; a 4 KB file from a 24 MP camera is suspicious.
- Running antivirus or indexing on the recovery folder. Background processes can rewrite, lock, or modify files mid-recovery. Fix: pause antivirus and Spotlight indexing for the working folder.
- Not making a forensic image of the source media. The SD card or stick can fail completely during recovery. Fix:
ddthe device to an image file first, then work on the image.
Three real-world recovery scenarios
Wedding photographer, Lisbon, 2025. Marta delivered a 1,200-file gallery from a Sony A7 IV. The bride's father reported 300 files would not open. The cause: a USB-C hub failure during card download had truncated roughly a quarter of the files. Marta extracted thumbnails on 280 of the 300 to identify which photos were affected, then re-pulled those 280 from the original SD card which she had not yet formatted. Net recovery: 295 of 300.
Journalist, Cairo, 2024. A Reuters stringer had his iPhone in a flooded jacket pocket. The device booted but Photos crashed on any image taken in the previous month. The recovery path was unusual: he extracted the iOS Photos library from a backup, then ran each HEIC file through tolerant decoders. 60 percent of the month's work returned cleanly; the rest produced thumbnails sufficient for editorial decisions.
Family archive, Edinburgh, 2026. An 8-year-old portable hard drive containing 14 years of family photos developed read errors. The owner imaged the drive with ddrescue, then ran PhotoRec across the image. Of 38,000 JPGs, 36,200 returned cleanly, 1,400 returned with thumbnails only, and 400 were unrecoverable. Total recovery effort: 72 hours over a long weekend.
Comparison of recovery scenarios and tools
| Scenario | First tool | Recovery rate | Effort per file |
|---|---|---|---|
| Quick-delete on card | PhotoRec | 90 to 100% | Bulk, fast |
| Format with no overwrite | PhotoRec / R-Studio | 70 to 95% | Bulk, fast |
| Header damage | Hex editor donor splice | 30 to 60% | 15-30 min |
| Truncated tail | Tolerant decoder | 50 to 80% partial | 5 min |
| Mid-file segment damage | JPEGsnoop + splice | 20 to 40% | 30-90 min |
| Embedded thumbnail only | ExifTool | If EXIF survived | 1 min |
| Physical media damage | Specialist lab | Variable | $500-$1,500 |
What is not recoverable
Some losses end the recovery before it starts:
- Files filled with zeros after the header the compressed data is gone
- Files that were partially overwritten by another file at the same disk location
- Files where the entire start-of-scan segment is missing
- Files that were never JPG to begin with and contain unrecognizable random bytes
If you tried thumbnail extraction, tolerant decoding, and donor-header splicing and got nothing, the file is gone. Cut your losses and move on to the next file.
Verify the recovery
A recovered file that opens is not necessarily a recovered file that is correct. Run the result through the image comparison tool against any thumbnail or low-res copy you might have from cloud sync, social media, or a contact who has the original. Compare the image info dimensions and EXIF capture date against what you expected. A "successful" recovery that returns the wrong image happens when donor splicing misaligned the scan segment.
Then re-encode the recovered file at quality 90 through the JPG compressor to produce a clean copy with healthy structure that future tools will open without complaint.
Advanced techniques for stubborn cases
- ddrescue before any other recovery when the source media itself is failing. ddrescue produces a complete image with multiple passes and a log file that resumes where it left off.
- Carve directly from raw disk sectors using PhotoRec or scalpel when the filesystem is destroyed. The JPG magic bytes survive even when the file table is gone.
- Try multiple decoders in sequence. libjpeg-turbo, mozjpeg, and the Apple/Microsoft system decoders all differ in tolerance. A file one rejects another may render.
- Reconstruct via the JPEG tile structure with academic tools like JPGtangle for files where only specific tiles are corrupted.
- Use sister files for donor parts. A bracket of three exposures shot 1 second apart shares nearly identical Huffman tables; one healthy frame from the bracket is a perfect donor for another.
- Run the recovered file through the image converter as a final cleanup pass to standardize structure.
- Document the chain of custody if the recovery is for legal or insurance purposes. Hash the source image, the working copy, and the final recovered file.
The 30-minute recovery checklist
- Magic bytes verified or identified as a different format
- Thumbnail extraction attempted via ExifTool
- Tolerant decode attempted via libjpeg-turbo or browser tool
- Donor header splice attempted if header is damaged
- Segment splice attempted for mid-file corruption
- Recovered file compared against any reference copy
- Final re-encode at quality 90 for clean structure
Frequently asked questions
Can I recover a JPG from a screenshot of the broken file?
No. A screenshot captures whatever the preview app rendered, which on a broken file is typically a gray rectangle or partial render. The screenshot is a separate, much smaller image and contains no recoverable data from the original.
Will running the file through the JPG compressor fix the corruption?
No. The JPG compressor can only re-encode files that already decode. Use it as a cleanup pass after recovery, not as a recovery step.
How long after deletion can SD card files still be recovered?
Until they are overwritten. On a card that has not been written to since the deletion, recovery rates remain near 100 percent indefinitely. Once the camera starts writing new frames, the window closes rapidly.
Is professional data recovery worth the money?
For priceless content with physical media damage, yes. Labs like DriveSavers and Ontrack charge $500 to $1,500 per card and recover from physical failure modes consumer software cannot touch. For deleted files on a working card, free PhotoRec usually returns the same result.
What is the difference between a corrupted JPG and a partially encrypted JPG?
Encrypted files (ransomware) have high-entropy bytes throughout and no recoverable structure. Corrupted JPGs typically have damage confined to specific bytes or segments with the rest intact. Run the file through a hex editor; if it looks like random noise from byte one, suspect encryption.
Can I recover a JPG from a printout I scanned?
You can scan the print and create a new JPG, but you are not recovering the original file you are creating a new image based on the printed copy. The metadata, original resolution, and compression history are gone.
What is the most overlooked recovery technique?
Embedded thumbnail extraction. It takes one ExifTool command and often returns a usable identification image when the main file is unrecoverable. Always try this first.
Building a corruption-resistant ingest workflow
The best recovery is the one you never have to do. A handful of habits eliminate roughly 90 percent of the corruption scenarios that show up in real workflows. First, never eject a card by physically pulling it from the camera while the access light is on. Wait the extra two seconds for the camera to finish writing. Second, on import, copy to a working folder before moving anything; the move operation is more dangerous than the copy operation if interrupted. Third, immediately back up the working folder to a second drive before any destructive operation including format-after-import. Fourth, run a verification pass with checksums (rsync's -c flag or rclone's check) to confirm the copy matches the source before clearing the card.
For mission-critical shoots weddings, news events, sports add a fifth layer: dual-slot cameras with redundant write to both cards, immediate copy of one card to a laptop during breaks, and a cloud upload of selects via Lightroom Mobile or Capture One Mobile at the next available Wi-Fi. The combination of these layers makes total data loss extremely difficult even with multiple component failures.
Cloud sync and corruption: the underrated cause
A surprisingly common source of corruption in 2026 is cloud sync race conditions. Two devices edit the same file in different ways while offline, then sync. The conflict resolution behaviour varies by service: Dropbox creates a "conflicted copy" file, iCloud Photos often picks one version and silently drops the other, Google Drive prompts the user to choose. None of these are reliable on a working photo archive. Treat cloud sync as a delivery mechanism, not a workspace. Edit locally, then publish to cloud; do not edit a file while it is actively syncing.
Realistic expectations make recovery work tolerable: roughly 60 to 70 percent of partially corrupted files yield at least a thumbnail, 30 to 40 percent yield a usable full image, and the rest are genuinely lost. Start with the cheapest tool thumbnail extraction and only escalate when the file is worth the time. Push a sample broken file through the image info inspector right now and you will know within seconds which scenario you are dealing with. For format identification and conversion, the image converter, HEIC to JPG, PNG to JPG, and WebP to JPG tools cover the most common mis-identified formats.