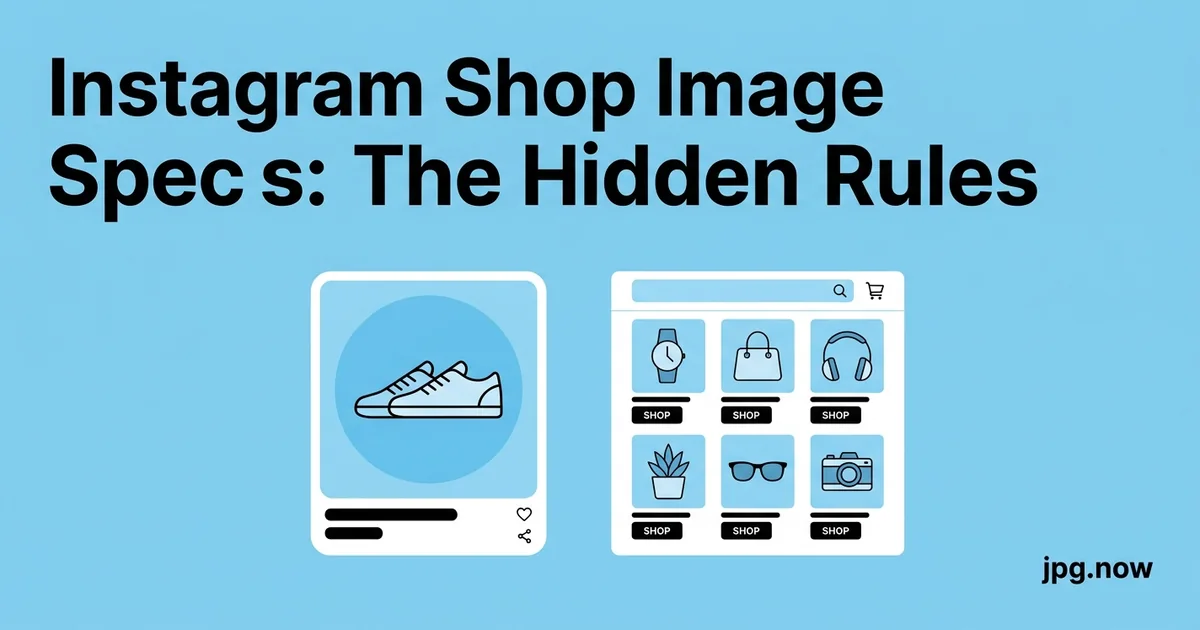
Instagram Shop Image Specs: The Hidden Rules
Instagram Shop is not Instagram. The image rules that work for a regular feed post will get your product listing rejected, downranked, or silently cropped in ways that wreck your conversion. Meta documents the basic specs in three different help articles, none of which match. What follows is the merged, verified, working spec list pulled from current uploads on a live Shop catalog in 2026.
If you are a small brand owner, a Shopify merchant syncing a catalog into Meta, or a marketing manager wondering why your product tiles look fine on desktop but cropped on mobile, this is the missing reference. It covers every display context, every format requirement, every silent failure mode, and the exact pre-compression recipe that survives Meta's pipeline intact.
Background and context
Instagram Shop launched in 2018 as a way for brands to tag products in posts and stories. The catalog backend was rebuilt in 2020 to feed both Instagram Shop and Facebook Shops from a single product database. Since then the rules have drifted — Meta has tightened some specs (HEIC was quietly dropped in 2022), loosened others (multi-image support expanded to 20 images per product), and added new display contexts (the checkout sheet was added in 2023). The result is a moving target that no single help article fully describes.
The dimensions Meta will not put in one place
Instagram Shop product images have four distinct display contexts: the catalog grid tile, the product detail page, the tagged-product overlay in feed posts, and the checkout sheet. Each one crops your image differently.
- Catalog grid tile: displayed at 1:1 square, source must be at least 1,080 x 1,080 px
- Product detail page: 4:5 portrait, source must be at least 1,080 x 1,350 px
- Tagged-product overlay: 1:1 thumbnail, derived from the catalog tile
- Checkout sheet: 1:1 square, displayed at 600 x 600 px on mobile
The trap is that Meta only requires you to upload one image per product, and it uses that single image for all four contexts. If you upload a 4:5 portrait, the grid tile center-crops it and you lose the top and bottom of your frame. If you upload a 1:1 square, the product detail page letterboxes it with white bars. The only safe option is to upload a 1:1 image where the critical product detail is in the center 80 percent of the frame.
Format comparison
| Format | Accepted | Converted to | Quality impact |
|---|---|---|---|
| JPG | Yes | JPG (re-encoded) | Light (quality 85 source survives) |
| PNG | Yes | JPG | Transparency lost |
| WebP | Yes | JPG | No advantage over JPG |
| HEIC | No | — | Upload rejected |
| AVIF | No | — | Upload rejected |
| TIFF | No | — | Upload rejected |
File format requirements
Instagram Shop accepts JPG, PNG, and WebP. It does not accept HEIC, HEIF, or AVIF for catalog uploads, even though regular Instagram feed posts accept all three. WebP uploads are accepted but converted to JPG server-side, so there is no quality advantage to uploading WebP. The recommended source format is JPG.
The hidden rule is the file size cap. Catalog uploads max out at 8 MB per image, but Meta downranks any catalog product whose primary image is over 2 MB because it slows their CDN delivery to international markets. If you want your product to surface in recommendations, keep every image under 2 MB.
Step-by-step walkthrough
- Shoot at 4,000 x 4,000 px or higher. You need headroom for multi-context cropping. A 4,032 px iPhone square frame works perfectly.
- Convert HEIC to JPG. Run iPhone source files through the HEIC to JPG converter. Meta rejects HEIC outright.
- Resize to 1,080 x 1,080 px square. This is Meta's minimum for catalog grid tiles. Larger inputs are downsampled with their bicubic filter, which softens textures.
- Verify the color profile is sRGB. Use the image info inspector. Adobe RGB and ProPhoto RGB shift colors visibly on upload.
- Compress to quality 85. Run through the JPG compressor. Target 300 to 500 KB. Stays well under the 2 MB downrank threshold.
- Verify center composition. Critical product detail must be in the center 80 percent. Edges may be cropped by various display contexts.
- Upload the primary image. Then upload up to 19 additional images at their native aspect ratios for the carousel.
- Spot-check on mobile. View the live product page on iPhone and Android. The checkout sheet displays at 600 x 600 px and shows compression problems that desktop hides.
The color profile gotcha
Instagram Shop assumes sRGB and does not honor embedded ICC profiles. If you exported your product photos from Lightroom or Capture One in Adobe RGB or ProPhoto RGB, the colors will shift visibly on upload — usually toward desaturated and slightly cyan. Always re-export or convert to sRGB before upload. The image info inspector shows the embedded color profile on any JPG, which is the fastest way to verify what you actually have.
Compression strategy
Meta runs a second compression pass on every Shop upload. If you upload at JPG quality 100, the server re-encodes at roughly quality 78. That cascade is where banding and blockiness appear. The proven strategy is to pre-compress to quality 85 yourself, which gives you control over which edges get sacrificed. Use the JPG compressor set to 85 percent quality, target a 1,200 x 1,200 px output, and the result lands around 300 to 500 KB — well under the 2 MB downrank threshold and clean through Meta's second pass.
When WebP makes sense
For your own Shopify storefront mirrored into Instagram Shop via the catalog feed, WebP at quality 80 is roughly 25 to 35 percent smaller than equivalent JPG. Shopify serves the WebP to browsers that support it and falls back to JPG elsewhere. Convert with the JPG to WebP converter in batch. Do not upload the WebP directly to Instagram Shop — Meta converts it to JPG anyway, so you lose the savings. Upload JPG to Instagram, serve WebP from your own site.
The transparent background trap
Product images on white seamless backgrounds look great in the catalog. Product images with actual transparency saved as PNG get converted to JPG on upload, and Meta paints the transparent pixels white — which is fine if you wanted white anyway, but disastrous if your product was meant to float on a colored background in the buyer's feed. If you need a transparent background, use the background remover to create a clean cutout, then composite it onto an explicit white or branded background before exporting JPG.
Real-world examples
Luma the ceramics studio. Was uploading 4:5 portrait shots of mugs. The catalog grid kept cropping the handles off. Switched to 1:1 master shots with the mug centered, used the compressor at quality 85, and her grid tile finally showed the actual product. Click-through doubled.
Threadbare apparel. A small fashion brand exporting Lightroom catalogs in Adobe RGB. Colors looked muted on Instagram Shop until they switched their export preset to sRGB. The same garments looked 30 percent more saturated on upload — closer to the in-person color.
Saltmark candles. Selling colored candles on a white seamless. Their PNG transparent cutouts were getting white-filled by Meta and looked fine, until they ran a "limited edition" line on a kraft-paper background. The transparent layer got white-filled and ruined the product story. They started exporting flattened JPGs with the actual background baked in.
Multi-image listings
Each Shop product supports up to 20 additional images. The additional images are not constrained to 1:1 — they display at their native aspect ratio in the product detail carousel. This is the place to put your 4:5 lifestyle shots, your detail close-ups, and your on-model photos. Optimize each one through the compressor and keep them all under 2 MB.
The catalog feed alternative
If you are running a Shopify, BigCommerce, or WooCommerce store, you almost certainly do not want to upload product images manually. The catalog feed integration pulls your store's images automatically. The image specs above still apply — they are just pulled from your storefront URL instead of from a manual upload. Make sure your storefront serves the catalog image at 1,080 x 1,080 px minimum and in sRGB.
Common mistakes and how to avoid them
- Uploading 4:5 portraits as the primary image. The grid tile center-crops to 1:1 and your composition breaks. Fix: always use 1:1 for the primary, save 4:5 for carousel.
- Adobe RGB color profile. Colors shift desaturated on upload. Fix: convert to sRGB before export.
- Uploading at JPG quality 100. Meta re-compresses to ~78, producing visible artifacts. Fix: pre-compress to quality 85 with the JPG compressor.
- PNG with transparency expecting the background to stay. Meta fills transparent pixels with white. Fix: composite onto an explicit background before exporting JPG.
- HEIC source files. Meta rejects HEIC for catalog uploads. Fix: convert with the HEIC to JPG converter first.
- Files over 2 MB. Meta downranks oversized images in recommendations. Fix: target 300 to 500 KB per image.
Advanced tips
- Build a Lightroom export preset specifically for Instagram Shop: 1,080 x 1,080 px, sRGB, JPG quality 85.
- For brand-color backgrounds, use a hex color value rather than a "close enough" gray — Meta's compression preserves brand colors better when they are exact sRGB values.
- Carousel position matters — put your strongest detail shot in position 2, not 6. Most users swipe once.
- Use the aspect ratio calculator to plan multi-context crops before you shoot.
- Run the file size calculator to predict output weight from quality and dimensions before committing.
- For seasonal product drops, batch-export with the same preset to keep visual consistency across the line.
- If your CMS supports it, serve WebP for browsers that accept it on your own storefront — Meta still gets JPG.
FAQ
Does Meta verify product images for accuracy?
Yes, but only loosely. Stock photography and obviously altered images can get flagged. Real product photos rarely have issues.
Can I use the same image for Instagram Shop and Facebook Shops?
Yes — the catalog backend is shared. The 1,080 x 1,080 px sRGB JPG works for both.
Does the alt text affect SEO or accessibility?
Yes — Meta indexes alt text for in-app search and screen readers. Always fill it in with a real description.
What about video product shots?
Supported as additional media but not as the primary catalog image. Stick with a JPG primary.
How often does Meta refresh catalog images?
For catalog feeds, every few hours. For manually uploaded images, immediately.
Should I include text overlays on the primary image?
Generally no — Meta downranks images with high text density. Save text for carousel slots.
What about UGC (user-generated content) photos?
You can include them in the carousel but never as the primary image — primary must be a clean product shot.
Reading Meta's image rejection messages
When Meta's catalog upload rejects an image, the error message is usually vague — "image could not be processed" or "image does not meet requirements." The actual reasons map to a small set of causes: file too large (>8 MB), file too small (<500 x 500 px), unsupported format (HEIC, AVIF, TIFF), corrupted file, or violation of policy (text overlay too dense, watermark too prominent).
If your upload is rejected, run the file through the image info inspector to confirm format, dimensions, and color profile. Most rejection causes show up there immediately.
Mobile vs. desktop catalog management
Meta's Commerce Manager is available on both desktop and mobile, but the workflows differ substantially. Desktop is the right tool for bulk catalog edits, image uploads at proper sizing, and CSV catalog feed management. The mobile app is fine for quick edits but lacks the upload precision desktop offers.
For initial catalog setup, always use desktop. The image upload validation is stricter and catches problems (wrong aspect, undersized images) before they ship. For ongoing maintenance, mobile is fine.
Sizing for different device tiers
Meta's catalog displays your product image at different effective sizes depending on the viewer's device. A buyer browsing on iPhone Pro Max sees a larger render than a buyer on an older iPhone SE. Designing for the largest display tier ensures the image still looks good on smaller screens.
The 1,080 x 1,080 px minimum is sized for the largest current display tier. Going larger (1,500 x 1,500 px or even 2,000 x 2,000 px) provides headroom for future displays, at the cost of file size. Most brands settle on 1,200 x 1,200 px as the sweet spot.
Lifestyle photography for the carousel
The primary catalog image is locked into 1:1 with center composition, but the carousel slots are where you sell the lifestyle. This is where 4:5 portraits work, where on-model shots earn their keep, and where you can show the product in context — being held, worn, used, displayed on a real shelf next to other items.
The trick with lifestyle is to keep the product visually prominent. A wide environmental shot where the buyer has to hunt for the candle in a styled living room scene reads as ambiguous. A medium shot where the candle is the clear hero but the styling adds context reads as aspirational. The 70-30 rule: the product should occupy at least 30 percent of the frame, but rarely more than 70 percent.
The catalog feed for Shopify merchants
Shopify's Facebook & Instagram channel pushes your product catalog into Meta automatically. The integration pulls the first product image from each Shopify listing. If your Shopify image is a 4:5 portrait, that is what Meta gets. Configure your Shopify image strategy with Instagram Shop in mind: square primary, lifestyle in the gallery slots.
The catalog feed updates every few hours by default. You can force an update from the Meta Commerce Manager, but for batch-edits of large catalogs (50+ products), it is faster to let the next scheduled sync handle it.
Pricing-related image rules
Meta downranks products whose images include price overlays or discount badges. The catalog grid is supposed to show the product cleanly; Meta's recommendation algorithm penalizes images that try to compete on price within the image itself. Save promotional callouts for the post copy, not the photo.
Similarly, watermarks and logos in the corner of product photos are downranked. They make sense on social posts where you want attribution; in a Shop listing the product page already shows your brand name above the photo. Save the logo for header banners and the brand page.
A/B testing image strategies
Meta does not offer native A/B testing for catalog images, but you can manually rotate primary images on a subset of products and compare 7-day click-through rates in the Commerce Manager analytics. Common winning variations: brighter exposure, cleaner backgrounds, single product vs. styled grouping, and on-model vs. flat-lay for apparel.
For sites running Shopify, plugins like Trustpilot's product image testing and several smaller A/B apps can automate the rotation. The data typically shows that brighter, cleaner, more centered images win — which matches the platform's compression behavior reinforcing what already looks good.
Closing
For 95 percent of Shop listings, the working recipe is: 1,080 x 1,080 px JPG, sRGB, quality 85, under 500 KB, critical product detail in the center 80 percent of the frame. Convert your masters with the JPG to WebP converter for your own site and run the upload-bound files through the JPG compressor before they hit Meta's pipeline. That single workflow keeps your listings from getting cropped, downranked, or visibly mangled.
Related tools: universal image converter, social media image sizes reference, background remover, photo editor for batch brightness and contrast, color palette tool for brand consistency, image compare tool for A/B image testing.