
Marketing Flyer and Brochure JPGs: Print-Ready Without an Agency
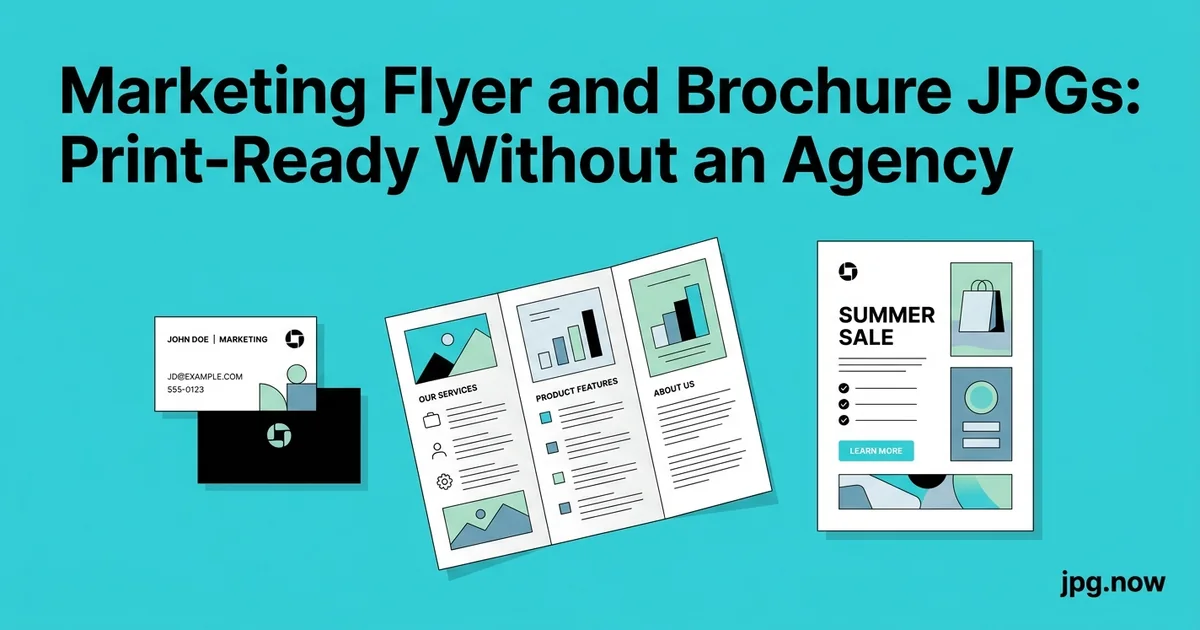
A nonprofit director I know had a 5,000-piece tri-fold brochure order rejected by her local printer four times in two days. Her Word source looked beautiful on her laptop. The exported PDF opened cleanly in Preview. But the printer's automated preflight kept failing the file on resolution (150 DPI instead of 300), missing bleed, and a substituted font on the headline. She did not understand any of the errors and the printer's customer support email replies took 18 hours each. By the time the fifth submission cleared, the event the brochures were promoting was already over.
Print shops reject flyer and brochure files for the same handful of reasons every time: wrong resolution, missing bleed, RGB blacks, embedded fonts that did not flatten, and JPG quality that is too aggressive. None of these are hard to fix once you know what you are looking for. This guide walks through the exact steps to prep a flyer or tri-fold brochure from Canva, Word, or Pages so that small print shops and FedEx Office accept it on the first upload.
Background: Print Resolution vs Screen Resolution
Screens render at 72 to 220 DPI (depending on the device); print presses target 300 DPI for sharp text and detail. The DPI difference is not just about pixel count; it affects how typography, line art, and photographic detail render. A 150 DPI image looks fine on a website but blurry in print because the press is depositing ink at twice the resolution your source provided.
Every step in your flyer pipeline should preserve or increase resolution. The most common failure point is the export step: Word, Pages, and free Canva default to 150 or 96 DPI even when the source artwork is higher. Forcing 300 DPI export and verifying the metadata is the difference between a clean print and a fuzzy one.
Standard Flyer Sizes and Specs
Common US flyer sizes and the pixel dimensions required at 300 DPI with 0.125 inch bleed:
- Quarter-page (4.25 x 5.5 inches): 1350 x 1725 pixels
- Half-page (5.5 x 8.5 inches): 1725 x 2625 pixels
- Full letter (8.5 x 11 inches): 2625 x 3375 pixels
- Legal (8.5 x 14 inches): 2625 x 4275 pixels
- Tabloid (11 x 17 inches): 3375 x 5175 pixels
If your source file is at a different resolution, the DPI converter handles the resize without distorting the layout. Never just stretch the file in an image editor; let a DPI-aware tool do the math.
Tri-Fold Brochure Specs
A standard tri-fold brochure is a single sheet of 8.5 x 11 inch paper folded into three panels per side. Total artwork dimensions are 11 x 8.5 inches landscape, which is 3375 x 2625 pixels at 300 DPI with 0.125 inch bleed. The fold positions matter: each panel is approximately 3.625 inches wide for the cover-fold style or 3.667 inches for the simpler accordion style.
Keep important content at least 0.25 inch away from the fold lines. Text running across a fold becomes unreadable; logos placed too close to a fold get cropped during the cutting and folding process.
Step-by-Step: From Word to Press-Ready JPG
- Set page size in Word. Layout > Size > More Paper Sizes. Match the flyer dimensions (8.5 x 11 for letter).
- Adjust margins for bleed. Set margins to -0.125 inch (or 0 if Word rejects negatives, then manually extend artwork past the edges).
- Use only embeddable fonts. Stick to Arial, Times New Roman, Calibri, or a font you have licensed for embedding.
- Export PDF at high quality. File > Save As > PDF > Options > "High quality print". Verify in Adobe Reader.
- Convert PDF to JPG. Run through PDF to JPG at 300 DPI. Choose quality 92.
- Verify with image info. DPI should be 300, dimensions should match spec.
- Run through compress JPG if needed. Target under printer's upload cap, usually 10 to 20 MB.
- Upload, preview, approve.
Word and Pages: The Two Hardest Sources
Microsoft Word and Apple Pages were not designed for print production, but they are what most small businesses actually use. Both apps export PDF at 150 DPI by default, half what a print shop needs. To force 300 DPI export from Word: File menu, Save As, choose PDF, click Options, select "High Quality" or "Standard". From Pages: File menu, Export To, PDF, choose "Best" image quality.
Once you have the PDF, convert it to JPG with PDF to JPG. The tool detects the actual DPI of the PDF and lets you upscale to 300 if needed. The output JPG has none of the embedded-font issues that sometimes bite Word PDFs at the printer.
Canva: Better, But Watch the Free Tier
Canva Pro exports at 300 DPI with bleed when you check the "Add bleed" option in the export panel. Canva Free exports at 96 DPI without bleed, which is unusable for print. If you are stuck on the free tier, build your design at 4x the intended size (a quarter-page flyer at 17 x 22 inches in Canva, downsampled to 4.25 x 5.5 at the printer step), then use DPI converter to set the metadata to 300 DPI.
For Canva Pro users, the cleanest export is "PDF Print" with bleed and crop marks enabled. Send that directly to the printer, or convert to JPG with PDF to JPG if your printer specifies JPG.
Common Mistakes and the Fix
- Mistake: 150 DPI Word export. Fix: Use "High Quality" PDF export, then verify with image info.
- Mistake: No bleed. Fix: Extend background colors 0.125 inch past the trim line. Add canvas in Photopea or GIMP if your source app cannot.
- Mistake: Text touching the fold line. Fix: Keep all text 0.25 inch away from any fold.
- Mistake: Sending RGB to a CMYK-only printer. Fix: Export from Illustrator with CMYK selected, or ask the printer to convert in preflight.
- Mistake: Using system fonts that don't embed. Fix: Convert text to outlines before exporting PDF, or use only Arial/Times.
- Mistake: Compressing JPG below quality 88. Fix: Stay at quality 90-92 for print. Lower quality shows blocking on solid color blocks.
The Embedded Font Trap
Print shops will sometimes reject PDFs because the fonts are linked rather than embedded. This happens when you use a system font that Word or Pages thinks is "obvious" and does not embed in the export. The result is that the printer's machine substitutes a default font, and your headline that should be Helvetica Bold prints as Times Roman.
The fix is to convert to JPG before sending. Once it is a JPG, every pixel is locked in, including the rendered text. PDF to JPG handles this conversion at the resolution you specify.
RGB to CMYK: When Black Goes Wrong
The most common color failure on flyers is "rich black" turning out gray. Pure RGB black (0,0,0) converts to CMYK (0,0,0,100) by default, which is single-channel black and looks gray on coated paper. For true rich black, set your text in your design app to C30 M30 Y30 K100 manually. If your source is RGB only, ask your printer to apply rich black at preflight; most will for free.
If you ever need to compare two versions of a flyer (before and after rich-black adjustment, for example) to make sure the change is visible, the compare tool gives you a synced side-by-side view.
Real-World Examples
Example 1: The Community Event Coordinator. Mei produces 200 quarter-page flyers monthly for community board postings. She builds in Canva Pro, exports PDF Print, converts to JPG via PDF to JPG, and runs through compress JPG to land at under 5 MB. 15 minutes from design to print-shop upload.
Example 2: The Real-Estate Agency. Aaliyah's brokerage prints 5,000 tri-fold brochures per quarter to promote upcoming open houses. The template lives in InDesign with 0.125 inch bleed and CMYK rich-black. Export to JPG happens only as a backup if the printer cannot accept PDF; primary delivery is press-ready PDF.
Example 3: The Small Restaurant. Hugo prints full-page take-out menus on glossy paper. The menu is photographed dishes plus text. He runs every dish photo through compress JPG at quality 92 to keep file size manageable, then places them in Canva Pro for layout. Final export at 300 DPI, no further compression needed.
Sample Dimensions Reference Table
| Document | Trim Size (in) | Pixel Dims w/ Bleed | Safe Zone (in from edge) | Fold Margin (in) |
|---|---|---|---|---|
| Quarter-page | 4.25 x 5.5 | 1350 x 1725 | 0.125 | N/A |
| Half-page | 5.5 x 8.5 | 1725 x 2625 | 0.125 | N/A |
| Letter flyer | 8.5 x 11 | 2625 x 3375 | 0.125 | N/A |
| Tri-fold brochure | 11 x 8.5 | 3375 x 2625 | 0.125 | 0.25 |
| Bi-fold brochure | 11 x 8.5 | 3375 x 2625 | 0.125 | 0.25 |
| Postcard 4x6 | 4 x 6 | 1275 x 1875 | 0.125 | N/A |
| Postcard 5x7 | 5 x 7 | 1575 x 2175 | 0.125 | N/A |
File Size and Upload
A quality-90 JPG at 2625 x 3375 pixels (full-page flyer) is typically 3 to 6 MB. A tri-fold brochure at 3375 x 2625 lands at 4 to 7 MB. Most print-shop upload portals accept up to 25 MB per file, so you have headroom. If you need to fit under a stricter cap (some local shops cap at 10 MB), use compress JPG with quality 88 selected; the resulting file is roughly half the size with no visible change at print resolution.
FedEx Office Specifics
FedEx Office accepts PDF (preferred), JPG at quality 88 or higher, and PNG. Their preflight checks for: minimum 300 DPI, embedded color profile (sRGB or CMYK), and bleed extending to the file edge. The upload portal at fedex.com/printonline handles up to 20 MB per file. Self-service kiosks accept USB drives up to 32 GB.
The fastest path through their system: build at 300 DPI with 0.125 inch bleed, export as JPG quality 92 with sRGB profile, verify in image info that all metadata is correct, upload.
Advanced Tips
- Use Pantone colors for brand consistency. Pantone-matched inks reproduce identically across press runs; CMYK approximations drift batch to batch.
- For photographic flyers, calibrate the source images first. Run product photos through photo editor to adjust exposure and white balance before placement.
- Add 5 percent extra ink in dark areas. Coated paper absorbs less ink than expected; bumping CMY values 5 percent compensates.
- Build templates for repeat use. Save your bleed-included layouts as reusable assets so you do not redo the prep each time.
- Use image info as a preflight check. Run every exported JPG through it before uploading.
- Order a physical proof for high-stakes runs. Most printers offer single-piece proofs for $10-25; far cheaper than reprinting 5,000 pieces.
- For double-sided pieces, prepare front and back as separate files. Some printers reject combined two-page PDFs.
The Final Checklist
- Resolution: 300 DPI verified in image metadata.
- Dimensions: exact pixel count for your size and bleed.
- Bleed: extends to all four edges with no white gap.
- Safe zone: 0.125 inch from edges, 0.25 inch from folds.
- Color: sRGB or CMYK with embedded profile.
- Format: JPG quality 90+, or PDF if specified.
- File size: under the upload portal cap.
- Verified: dimensions and DPI checked with image info before upload.
Frequently Asked Questions
Can I use a photo with text overlay or is text-only better?
Either works. Photographic backgrounds compress well in JPG. Text-only is sharper as PDF. For mixed flyers, JPG is fine if you stay at quality 92+.
What if my printer says "the file is too small"?
Almost always a DPI issue, not pixel count. Run through DPI converter to set 300 DPI explicitly.
How do I send a flyer file too large to email?
Compress with compress JPG at quality 88, or upload to Google Drive / Dropbox and send the link.
Do I need bleed for self-printed home-office flyers?
No. Bleed is for commercial press cutting. Home printers print to the page size with margins.
What is the difference between bleed and safe zone?
Bleed extends outside the trim line (gets cut off). Safe zone is inside the trim line (where text must stay to avoid being cut).
Can I print on both sides from a single JPG?
No. Each side needs its own file. Some printers accept multi-page PDF for two-sided pieces.
How long do printers keep my files?
Varies. Vistaprint and Moo store your files in your account indefinitely; local printers usually delete after the order is fulfilled.
Reprint Insurance
Save your final JPG and the source design file together in a folder named with the print date. If the first run has problems, you can rerun the same artwork without reconstructing it from scratch. For multi-piece campaigns (matching flyer + brochure + business card), keep all three exported JPGs in the same folder and verify they share the same color profile and brand color values.
Reading a Printer's Spec Sheet Correctly
Most printer rejection messages reference a specific spec line. "Resolution too low" almost always means DPI under 300, not pixel count under spec. "Bleed not detected" means there is a white margin between artwork and file edge; extend the background. "Color profile missing" means no ICC tag is embedded; re-export with sRGB or CMYK profile selected. "Fonts not embedded" applies only to PDFs; for JPGs the text is rasterized and this error never applies.
Decoding these errors saves a round of email back-and-forth. The image info tool shows every relevant property in one view: dimensions, DPI, color profile, file size, encoder used. Match each line against the printer's spec sheet and the issue becomes obvious.
Choosing Paper Stock to Match Your Design
Paper choice affects how your JPG prints. Coated stock (glossy or matte) holds ink crisply and shows photographic detail well; uncoated stock (felt, linen) absorbs ink and softens detail. For photographic flyers, coated stock is almost always the right choice. For text-heavy informational flyers, uncoated stock improves readability.
Weight matters too. 70 lb text weight is the cheap default for handout flyers. 100 lb text gives a more substantial feel for direct mail. 80 lb cover or 100 lb cover is appropriate for brochures that need to stand up to handling. Your printer can advise but it helps to know the vocabulary before you ask.
Trim and Crop Marks for Self-Printed Trifolds
If you are printing trifolds on a home or office printer, add crop and fold marks manually. Use a thin black line (0.5 pt) at each fold position, extending 0.25 inch into the bleed area. Print one test sheet, fold along the lines, and verify the panels align. Make adjustments before printing the full run.
For commercial print runs, crop marks are usually added automatically by the printer, but you can include them in your file by using your design app's "crop marks" export option. PDF Print export in Canva, InDesign, and Illustrator all include this.
Color Consistency Across Multiple Prints
If you produce flyers monthly, color drift between batches is real. Causes: different paper batches, different press calibrations, different ink lots. Mitigations: provide Pantone color values for your brand colors (specified in PDF or noted in your printer brief), order from the same printer each time, request a printer's "color match guarantee" if available (usually $25-50 extra per order).
If you are headed to the printer this week, start with the PDF to JPG converter for Word or Pages exports, DPI converter for any low-resolution sources, compress JPG to hit upload caps, and JPG to PDF if your printer prefers PDF. All free, all browser-based.