How to Deliver Wedding Photos to Clients in 2026: RAW to JPG to Gallery
It is 11:47 p.m. on a Saturday in June. Sarah, a wedding photographer based in Asheville, just walked through her door carrying two camera bodies, three lenses, and a small black wallet holding four 128 GB SD cards. On those cards are 3,247 RAW frames from a ten-hour wedding that started with a hotel-room first look and ended with sparklers on a wet driveway. The bride is texting from the honeymoon suite asking when the sneak peek will be ready. The mother of the bride is already tagging Sarah on Instagram. The full gallery is contractually due in three weeks, and she has two more weddings booked in the next four days.
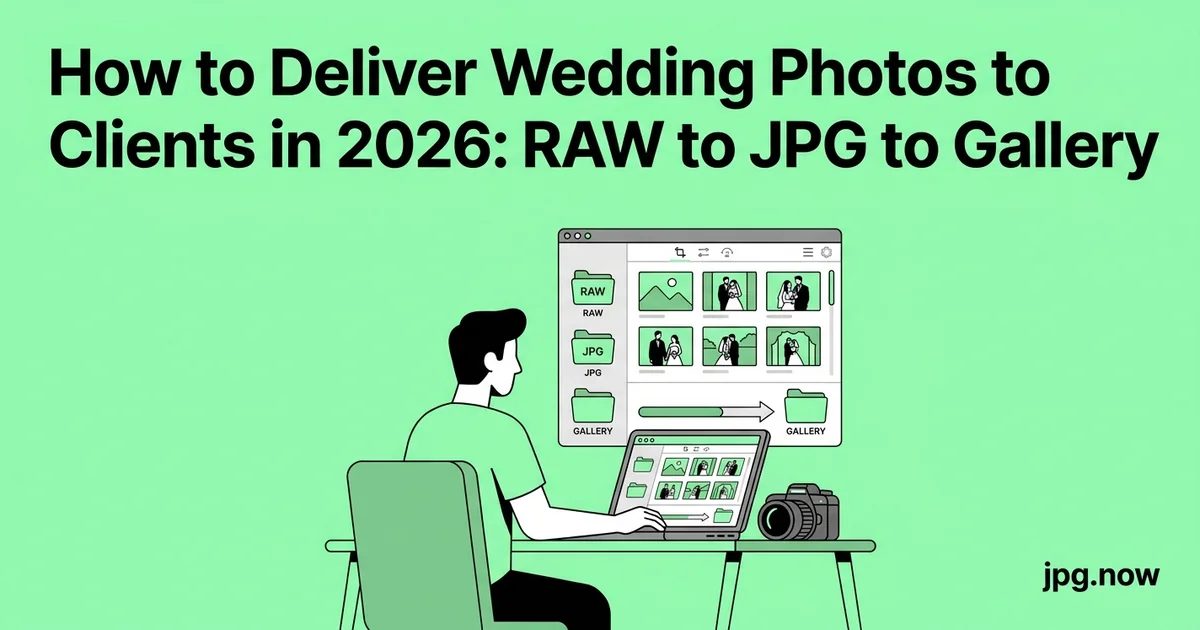
The work that separates wedding photographers who stay in business at year five from the ones who quit at year three is rarely about the photography itself. It is about the file pipeline that takes those 3,247 RAW captures and turns them into 750 perfectly delivered JPGs sitting on a client gallery, two backup drives, and a cloud archive — without a single weekend lost to spinning export progress bars. This article walks through the exact workflow that high-volume wedding shooters use in 2026, with specific tooling decisions, format choices, and the small habits that compound into hours of saved time per wedding.
Background: why wedding workflow is harder than other photography
Wedding work has a unique combination of constraints that no other photography genre quite matches. The shoot itself is one continuous, non-repeatable event running eight to twelve hours. The deliverable volume is large — 600 to 1,200 final images is normal — and the turnaround window is unforgiving because emotionally invested clients are waiting. The source files are typically lossless-compressed RAW at 30 to 60 megapixels per frame, which means each card holds 60 to 140 GB and a full wedding lands somewhere between 200 and 400 GB on disk before any backups.
The format question matters because the deliverable is a JPG gallery but the source is RAW. Every step from card to client is a decision about which file format to live in, when to convert, and at what quality settings. The right answers are not artistic — they are engineering. Get the engineering right and the creative work fits comfortably into the available hours. Get it wrong and you spend Sunday afternoon staring at a 47-percent-complete export bar.
Step-by-step walkthrough
Step 1: Ingest with verified dual-card mirroring
The cardinal rule of wedding work is that no image exists until it lives in two physically separate places. Plug both cards into a dual-slot UHS-II reader and use ingest software that copies to two destination drives simultaneously while computing checksums. Photo Mechanic, ShotPut Pro, and Hedge all support this; even a simple rsync -c command on macOS gives you the verified copy you need.
A 200 GB ingest with checksumming over USB 3.2 takes 35 to 50 minutes. Start it the moment you walk in the door, then go change clothes and eat. By the time you sit down at the computer, both copies are verified and the cards are ready to be labeled "DO NOT REFORMAT" and tucked away until delivery is complete.
Step 2: Cull in a dedicated culling tool, never Lightroom
Lightroom is a great editor and a terrible culler. The reason is that Lightroom builds previews from the RAW itself, which takes seconds per file. Photo Mechanic reads the embedded JPG preview that the camera writes into every RAW, so it loads images effectively instantly. The difference at scale is hours.
For a 3,200-frame wedding, plan two culling passes. Pass one is a binary yes/no on technical quality — focus, exposure, expression, eyes-open. Use a single color tag or the X key to reject. Pass two picks the strongest frame out of each burst or sequence; if you shot three frames of the kiss, pick one. Narrative Select is the 2026 entrant that adds AI-assisted closed-eye and focus detection and can shave another hour off the pass-one cull on a long day.
Step 3: Edit with synchronized scene-level adjustments
Open the culled set in Lightroom or Capture One. Apply your base preset on import. Group images by scene — getting-ready, first look, ceremony, portraits, reception. Pick a reference frame in each scene, dial in white balance, exposure, and color, then sync those adjustments across the rest of the scene before doing individual refinements. The synchronization step is the multiplier; without it, you are editing the same correction 40 times for the same lighting condition.
Plan 6 to 10 hours of editing for a 10-hour shoot if you work at a deliberate pace. Two-hour blocks with breaks beat one 8-hour grind for both quality and your back. Save your progress to the catalog continuously and verify that every flagged select has been touched before you move to export.
Step 4: Set up the two-tier export
You almost never deliver full-resolution 45-megapixel JPGs to a client. The gallery host throws errors. The bride's phone runs out of memory trying to preview the file. The print lab gets its own separate export anyway. Build two export presets:
- Web gallery JPG: 2,048 px on the long edge, sRGB, quality 80, sharpened for screen, copyright EXIF embedded. Output averages 400 to 900 KB per file.
- Print-ready JPG: full resolution, sRGB or Adobe RGB depending on the lab's specification, quality 90 to 100, no resize, output sharpening tuned to glossy or matte paper.
Lightroom and Capture One both let you queue both exports in sequence. While they run, you can be doing something else. If you shot Canon and the editor's queue is tied up, route stragglers through the CR2 to JPG converter for older bodies or the CR3 to JPG converter for the R-series. Nikon shooters lean on the NEF to JPG converter. Sony shooters and second-shooters using mixed gear can rely on the ARW to JPG converter, or for a one-tool catch-all use the universal RAW to JPG converter which also handles RAF, DNG, ORF, and PEF.
Step 5: Compress the web-gallery copy
At 2,048 px and quality 80, a 1,000-image gallery is roughly 600 to 900 MB. Most gallery platforms — Pic-Time, Pixieset, ShootProof, CloudSpot — re-encode on upload regardless, but if you feed them already-optimized files the previews load faster and your storage tier costs less. Run the web tier through the JPG compressor to remove another 30 to 45 percent off file size with no visible quality change at typical screen viewing distance.
Step 6: Deliver the sneak peek within 48 hours
Pick 15 to 25 images that tell the day's arc: the dress on the hanger, the first look, the ceremony kiss, the reception room from the back, one detail shot. Export at 1,600 px on the long edge so they look crisp on Instagram but cannot be printed at any meaningful size. The sneak peek is the marketing fuel — it gets shared by the couple, tagged by the wedding planner, and feeds your booking pipeline for the next year. Hitting the 48-hour window matters because the emotional intensity of the wedding fades fast.
Step 7: Build and upload the full gallery
Upload the web-tier compressed JPGs to your gallery platform. Build the chapter structure (Getting Ready, Ceremony, Portraits, Reception). Set the download PIN and the gallery expiry date — six to twelve months is standard. Send the bride a one-page guide explaining how to download, how to favorite, how to order prints through your linked lab, and how to share with family.
Step 8: Archive and free the cards
Once the gallery is live and the delivery email has been sent, archive the full-resolution JPG export to your long-term drive plus a cloud mirror (Backblaze, iDrive, or a dedicated photographer service like Photoshelter). RAWs go to a separate archive — many photographers keep them for two to five years and then purge. Only after the JPG archive and the RAW archive are both verified do you reformat the cards.
Common mistakes and how to avoid them
Delivering full-resolution files to every client. Diagnosis: gallery uploads time out, downloads frustrate clients with weak internet, and Aunt Linda's email rejects a 32 MB attachment when the bride forwards her favorite. Fix: build the two-tier export. Web gallery for browsing and sharing; print resolution available only by request or via the integrated print lab.
Skipping the sRGB conversion. Diagnosis: photos look desaturated and dull on the bride's phone. Adobe RGB has a wider gamut, but iPhones, most Android phones, and every web browser render in sRGB. An Adobe RGB file displayed in an sRGB context loses the saturation it was supposed to provide. Fix: set sRGB as the default export color space. Adobe RGB only for specific print labs that explicitly ask for it.
Forgetting to embed copyright and contact in EXIF. Diagnosis: your images get reposted without credit and there is no way to prove provenance. Fix: set the copyright and contact fields in your export preset once. Every file shipped carries your name and copyright year.
Not archiving the final JPG export. Diagnosis: a client emails you in 2031 asking for a reprint and you have only the original RAWs, which means re-editing the entire wedding to match the original style you no longer remember. Fix: archive the print-resolution JPG export forever. Storage is cheap; recreating a five-year-old edit is not.
Trusting the gallery host as your only backup. Diagnosis: the gallery platform changes pricing, gets acquired, or has an outage at the moment the bride wants to download. Fix: gallery hosts are delivery channels, not storage. Your archive lives on your own drives.
Editing without a calibrated monitor. Diagnosis: the bride says the prints look orange. They probably do, because your monitor was reading slightly cool and you compensated by warming every image. Fix: a $200 calibrator pays for itself in one re-print job avoided.
Real-world examples
Sarah, Asheville wedding photographer. Sarah used to spend her entire Sunday on ingest, then Monday and Tuesday culling in Lightroom, then four more days editing — a six-day turnaround for a single shoot. After switching to Photo Mechanic for the cull and adding a checksummed ingest, the cull dropped from a full day to 75 minutes. Her per-wedding active time is now 14 hours, and she books 28 weddings a season instead of 18.
Marcus and Priya, husband-and-wife team in Toronto. Two shooters, two camera bodies each. Marcus shoots Canon, Priya shoots Sony. They used to fight over Lightroom catalogs until they standardized on the RAW to JPG converter as the on-card emergency pipeline whenever Lightroom crashed mid-export the night before a delivery deadline. The converter became the safety net that turned a "we miss the deadline" panic into a 90-minute parallel export job.
Elena, second-shooter and editor. Elena specializes in editing other photographers' weddings. She receives delivery via Dropbox in whatever RAW format the primary shooter uses — CR3, NEF, ARW, RAF, DNG, sometimes a confusing mix. Her in-house pipeline starts with a normalization pass: every file gets converted to JPG previews for the cull (via the universal converter), then the selects get pulled back to RAW for the actual edit. She edits eight weddings a month and clears $9,000 in profit doing it on a single 14-inch laptop.
Export-preset comparison
| Use case | Long edge | Quality | Color space | Typical file size |
|---|---|---|---|---|
| Web gallery | 2,048 px | 80 | sRGB | 400 to 900 KB |
| Instagram sneak peek | 1,600 px | 85 | sRGB | 300 to 600 KB |
| Print archive | Full resolution | 90 to 100 | sRGB or Adobe RGB | 8 to 25 MB |
| Album-design submission | 3,000 px | 90 | sRGB | 2 to 5 MB |
| Slideshow / wedding video | 1,920 px | 85 | sRGB | 400 to 800 KB |
Advanced tips
Run two export queues in parallel using a second machine. An older Mac mini set up as an export node lets you push the print export to it while your main workstation handles the web export. Worth more than buying a faster main computer.
Pre-cull bursts before you ever look at them. If you shot the kiss as a 5-frame burst, you can ask Photo Mechanic or Narrative to auto-mark all but one frame per burst. Saves 200 frames of manual decisions per wedding.
Build a "favorites" smart collection. When the gallery goes live, the bride will mark her favorites. Pull those into a smart collection and re-export them at print resolution preemptively. When she orders prints two weeks later, the files are already waiting.
Watermark only the sneak peek. Full galleries should ship clean — a watermark on the file the client paid for feels punitive. The sneak peek can carry a discreet logo for the Instagram repost.
Use a checksum on the archive. A 500 GB archive can develop silent bit-rot over five years. Tools like ExifTool or even a simple md5sum manifest let you verify the archive years later and catch corruption before it spreads to your backup.
Keep one tested off-site backup that you re-verify quarterly. Backblaze, a swappable external drive at a relative's house, anything off-site. House fires happen. Don't be the photographer whose entire career portfolio lived on one bookshelf.
Standardize folder naming. 2026-06-15_Smith-Johnson_Asheville sorts chronologically, searches cleanly, and gives you the venue at a glance.
FAQ
How long should I keep wedding RAW files?
Industry norm is two to five years. After that, the JPG print archive is sufficient — reprints from JPG at quality 95 are visually indistinguishable from RAW re-edits.
Should I shoot RAW + JPG simultaneously?
Most pros shoot RAW only. The in-camera JPG adds to write times and uses card space for a preview you can regenerate from the RAW anyway. Photo Mechanic reads the RAW's embedded JPG preview for culling, which gives you the speed benefit without the storage cost.
What gallery platform handles 1,000 image weddings best?
Pic-Time, Pixieset, and ShootProof all comfortably handle 1,000-image galleries. CloudSpot is the speed leader for upload time. Pick based on which integrated print lab matches your style.
Is sRGB really enough for high-end prints?
For 95 percent of consumer print labs, yes. High-end gallery printers (Whitehouse Custom Color, Bay Photo's premium tier) can take Adobe RGB or even ProPhoto, but they will tell you so explicitly.
How do I handle a couple who wants every single frame, unedited?
Charge for it as an add-on, deliver as a separate "RAW gallery" of unedited JPG conversions at reduced resolution, and write into your contract that unedited files are not representative of your work and cannot be publicly attributed to you.
What's the fastest way to handle a corrupted card mid-edit?
Don't reformat. Run the card through a recovery tool like PhotoRec or Lexar's Image Rescue first. If files are recovered as RAW but won't open in Lightroom, push them through the RAW to JPG converter for emergency previews.
How do I deliver to a couple who only uses Android?
Standard JPG. Avoid HEIC entirely — Android support is inconsistent. Your standard sRGB JPG export works on every device they own.
Pricing the workflow against your hourly rate
The argument for investing in workflow tools beyond Lightroom is straightforward arithmetic. A wedding photographer charging $4,500 per wedding and booking 25 weddings a year grosses $112,500. If the per-wedding pipeline takes 22 hours of active work, that's 550 hours a year on file handling alone — effectively a part-time job inside the main job. Cutting per-wedding pipeline time from 22 hours to 14 hours by adding Photo Mechanic, a checksummed ingest tool, and a reliable batch converter saves 200 hours a year. At a $50-per-hour opportunity cost, that's $10,000 of recovered time annually. The tool stack costs $300 to $500 a year.
The investment also reduces failure modes. Photographers who have lost a wedding because of a corrupted card or a failed export know exactly how much that costs in refunds, reputation, and emotional damage. A pipeline with verified backups and redundant conversion paths is insurance against the one event that can end a career.
Build the pipeline once, run it forever
Move every wedding through this same pipeline and the per-job time drops from improvisation to about 14 hours of active work for a full day's shoot. Start with the export step you already know is slowing you down — push a sample CR2, NEF, or ARW through the RAW to JPG converter and compare the result against your in-Lightroom export. If the file size and color look identical, you have a backup pipeline for the day your main editor refuses to launch. Pair it with the JPG compressor for the web-tier optimization and you have covered the two stages most likely to bottleneck a delivery deadline. The other workflow you may want bookmarked is the JPG to PDF converter for the contract proofs and venue-walkthrough deliverables that come up around every wedding.