
AI Upscale Old Family Photos: A Realistic Before-and-After Guide
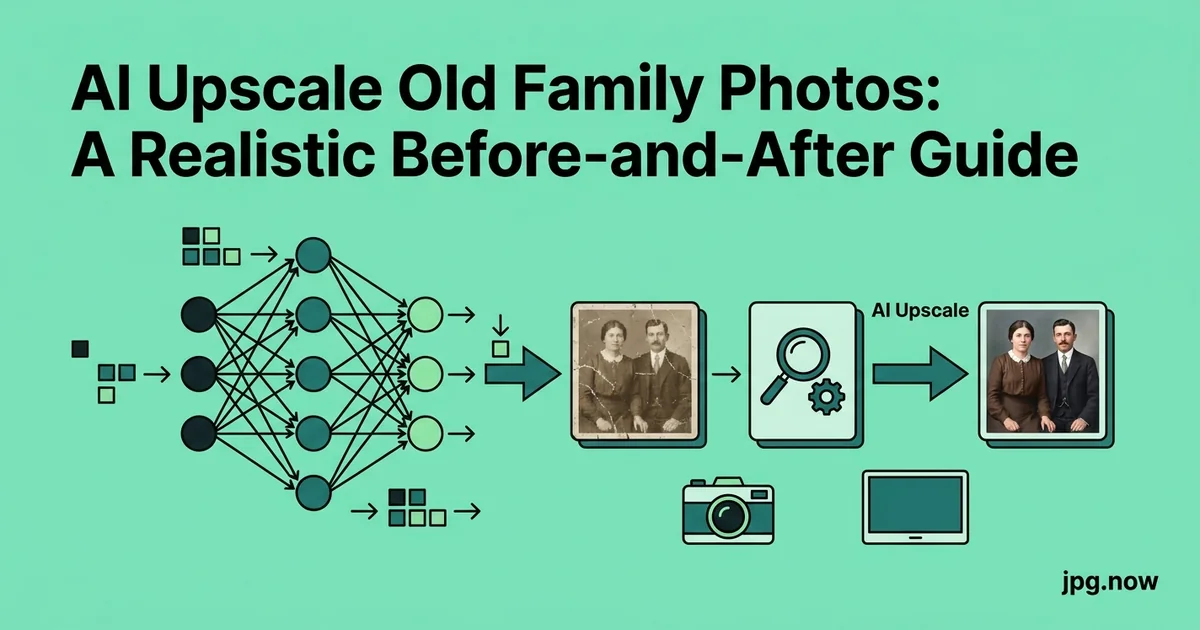
Your mother hands you a faded 4x6 print from 1962. Her parents' wedding day. The colour is gone, the corners are bent, and there is a brown stain along the bottom edge where decades of cardboard album sleeve have leached acid into the paper. She asks if "the computer can fix it." You want to say yes. You have heard about AI restoration tools that can apparently work miracles. You also remember a friend who ran his great-grandfather's portrait through one of those tools and got back an image where the patriarch had eyes the wrong colour and a moustache the AI had invented from scratch. The honest answer is more complicated than either yes or no, and worth understanding before you start.
AI upscalers in 2026 are good enough to make a serious dent in the family-photo restoration backlog, but they are not magic. They fix some problems beautifully, hallucinate detail in others, and leave a third category of damage entirely untouched. Knowing which category your photos fall into before you commit to a workflow saves hours and keeps you from sending Aunt Marge a great-grandfather portrait where the AI invented his eye color.
What changed in the last three years
The shift from 2023's relatively crude super-resolution networks to 2026's face-aware diffusion-based restoration tools is substantial. Topaz Photo AI's current face-recovery network was trained on millions of high-resolution face references and produces convincing reconstructions on prints where the source has any signal at all. GFPGAN and CodeFormer offer free alternatives. The cost is that hallucination has become more confident-looking when the AI gets it wrong, the wrongness is harder to detect. This is why comparing against the source matters more than ever.
Which AI upscalers actually work in 2026
The shortlist for family-photo work is narrow:
- Topaz Photo AI ($199 one-time, updates included for a year) best face-aware restoration on faded prints. Combines noise reduction, sharpening, upscale, and face recovery in one pipeline. The default for serious work.
- Magnific AI (subscription) most aggressive detail-hallucinating upscaler. Looks incredible on textures and landscapes, dangerous on faces and historical content.
- Krea AI browser-based, fast, similar approach to Magnific. Decent for quick passes.
- Real-ESRGAN and GFPGAN (free, open source) the workhorse for self-hosted workflows. GFPGAN specifically targets face restoration.
- Adobe's Enhance and Super Resolution in Lightroom/ACR conservative, predictable, low risk of hallucination. Built into existing Adobe workflows.
- The hosted AI upscaler fast, browser-based, no install for one-off or small-batch work
What AI upscalers actually fix
The genuine wins from running a faded family photo through a current-generation AI tool:
- Soft focus from old optics sharpened convincingly without ringing artifacts
- Grain and noise from high-ISO film reduced without obliterating texture
- Low resolution from postage-stamp scans 800 x 600 scans upscale to 3,200 x 2,400 with believable detail
- Mild blur from camera shake partially recoverable, especially in well-lit subjects
- Faded contrast and color restored when paired with a curves or auto-tone pass in a photo editor
What they hallucinate
The artifacts AI upscalers add when the source is too degraded for honest reconstruction:
- Eye color and shape in low-resolution faces frequently wrong, sometimes uncanny
- Plausible-looking but invented text on signs, books, and magazines in the background
- Jewelry, buttons, and small detail get re-imagined when the source has no signal
- Fabric patterns become more uniform than they should be a hand-knit sweater turns into a generic knit
- Hair texture turns into a soft static pattern that looks fine at 100 percent and weird at 400 percent
What they cannot fix
Real damage stays damaged:
- Physical tears, creases, and missing corners these need manual content-aware fill in Photoshop
- Heavy chemical fading where the silver halide is gone no signal to reconstruct from
- Severe color shift from acidic mat board or sun damage partial recovery only, never perfect
- Mold and water damage manual retouching territory
- Newspaper-print photos the halftone screen confuses every AI upscaler
A realistic restoration workflow
Step 1: Scan or photograph well
Garbage in, garbage out. Scan prints at 600 to 1,200 dpi flatbed, save as TIFF. For 35mm or medium-format negatives, a dedicated film scanner or DSLR copy setup produces dramatically better source files than any phone scan. The TIFF to JPG converter handles the final delivery format, but keep the scanned TIFF as the master.
Step 2: First-pass cleanup in a photo editor
Before the AI ever sees the file, do the easy fixes in Lightroom, Capture One, Affinity Photo, or the photo editor:
- Crop and straighten
- White balance and curves to restore contrast
- Spot-remove obvious dust, scratches, and surface damage
- Tonal recovery if the print was over- or underexposed
This pass takes 5 to 15 minutes per photo and gives the AI upscaler a healthier signal to work from.
Step 3: AI upscale
Run the cleaned TIFF through Topaz Photo AI or the AI upscaler. Use the face-recovery setting only if there are faces. Use moderate sharpening, not maximum. Magnific and Krea are tempting for the dramatic results but produce more hallucination save them for landscape or texture-heavy photos where invented detail does less damage.
Step 4: Compare against the original
Always compare the AI result against the cleaned original at 100 percent in the image comparison tool. If the AI invented something problematic wrong eye color, fabricated text, a face that no longer looks like the person fall back to the cleaned original or rerun with lower upscale strength.
Step 5: Manual retouching for physical damage
Tears, creases, and missing chunks need Photoshop's content-aware fill or manual cloning. AI upscalers do not do this work; they treat damage as low-signal areas and either smooth them out incorrectly or fill them with plausible noise.
Step 6: Export for delivery
Most family-photo deliveries land in one of three places: a printed photo book, a digital album shared via email or messaging, or a wall print. The export targets differ:
- Photo book / wall print: JPG at quality 92 to 95, 300 dpi at print size, sRGB. Use the DPI converter to set the right pixel dimensions for the print lab's spec sheet
- Digital album / email: JPG at quality 85, 2,048 px on the long edge, sRGB
- Web gallery: JPG at quality 80, 1,600 px on the long edge, run through the JPG compressor
Common family-photo upscale mistakes
- Upscaling before cleaning. The AI amplifies whatever signal you give it, including stains and surface damage. Clean first.
- Trusting the result without comparing. Always check against the original hallucination on faces is a feature of every current-gen upscaler.
- Upscaling too far. A 600 x 800 scan upscaled 4x to 2,400 x 3,200 is honest. The same scan upscaled 16x to 9,600 x 12,800 is almost entirely AI invention.
- Skipping the manual retouch step for physical damage. AI does not fix tears.
- Delivering as PNG. The album software the family is going to use prefers JPG, and 30 MB PNG files clog inboxes.
- Using Magnific on face-heavy historical content. Aggressive detail hallucination on faces produces uncanny, off-likeness results. Fix: stick to Topaz with face-recovery setting or Adobe Enhance for historical work.
Three real-world restoration scenarios
A 1934 wedding portrait. Sepia-toned 5x7, faded but intact. Workflow: 1,200 dpi flatbed scan, Lightroom for white balance and tonal recovery, Topaz Photo AI with face-recovery on low setting, manual cloning to repair a small water stain. Comparison against the original showed the AI added some hair texture that did not look unreasonable. Delivered as 300 dpi print-ready JPG at 8x10. Total time: 45 minutes.
A 1972 instant Polaroid. Low-resolution, faded chemistry, colour shift toward orange. Workflow: phone scan with Google PhotoScan app (acceptable for instant photos where flatbed scanners struggle), Lightroom for white balance, the AI upscaler for 2x upscale, light sharpening. The face came back recognisable but somewhat smoothed. Delivered as 1,600 px JPG for the family group chat. Total time: 20 minutes.
A 1948 newspaper clipping. Halftone print of a great-grandfather at a community event. Workflow: scan, manual descreening filter in Photoshop, very light AI sharpening (no face-recovery, the halftone confuses it). Result is recognisable but obviously a newspaper print. Delivered as 2,048 px JPG with a note explaining the source limitations. Total time: 30 minutes.
Comparison of AI restoration tools for family photos
| Tool | Cost | Hallucination risk | Best for |
|---|---|---|---|
| Topaz Photo AI | $199 one-time | Moderate, controllable | Faded faces, general restoration |
| Magnific AI | Subscription | High | Landscapes, texture-heavy |
| Krea AI | Subscription | High | Quick passes, browser-based |
| Real-ESRGAN + GFPGAN | Free, self-host | Moderate | Bulk work, automation |
| Adobe Enhance | Lightroom subscription | Low | Conservative restoration |
| AI upscaler (hosted) | Free / browser | Moderate | One-off, no install |
Advanced restoration techniques
- Multi-pass restoration first pass for noise and faded contrast, second pass for upscale, third pass for face-specific work. Each pass at moderate strength beats one pass at maximum.
- Mask the face for selective AI work apply face-recovery only to the face region, leave the rest of the image to gentler upscaling.
- Reference-photo guidance some tools allow a high-quality reference photo of the same person to guide face restoration. Useful when you have a younger portrait that survived.
- Colourise carefully AI colourisation tools (DeOldify, Hotpot) work on black-and-white photos but the colours are guesses. Treat as artistic interpretation, not historical accuracy.
- Manual retouching for tears and damage Photoshop's content-aware fill or Affinity Photo's inpaint, applied to a separate layer so the AI restoration remains untouched.
- Use the comparison tool as final QA every restored image goes through one last side-by-side check before delivery.
- Archive all three versions original scan, cleaned scan, AI-restored final. Future tools will be better, and you will want the source to redo work.
Realistic expectations to set with relatives
Tell whoever is receiving the restored photos what you actually did. "I cleaned up dust and scratches, ran the file through an AI tool that added some sharpness and detail, and confirmed it looks accurate by comparing to the original. The AI guessed at some small details if the eye color or background text looks wrong, the original print is the source of truth." This protects you from the relative who notices in 2031 that Grandma's eyes look slightly different.
Convert the source if needed
If the original arrived as HEIC from a phone scan or as TIFF from a flatbed scanner, both formats convert cleanly to JPG for delivery. The TIFF to JPG converter handles the scanner output. The HEIC to JPG converter handles phone scans. Keep the original source file archived regardless of delivery format.
The 45-minute per-photo checklist
- Source scanned at 600 dpi or better, saved as TIFF
- First-pass cleanup in photo editor crop, white balance, dust removal
- AI upscale with face-aware mode if appropriate
- Side-by-side comparison against cleaned original
- Manual retouch of physical damage if present
- Delivery export at the right quality, size, and DPI for the target medium
- JPG compressed for digital delivery if needed
- Archive of all three versions: original scan, cleaned, upscaled
Frequently asked questions
Should I scan photos myself or send them to a professional?
For up to a few dozen photos, DIY at 600 to 1,200 dpi on a flatbed is fine. For hundreds or for damaged originals, professional scanning services (ScanCafe, Legacybox, local archives) deliver more consistent quality and handle fragile media safely.
What scan resolution is right for old prints?
600 dpi for 4x6 and 5x7 prints, 1,200 dpi for smaller originals and for cases where you plan to crop heavily. Above 1,200 dpi on a typical print is mostly oversampling grain and surface texture, not real detail.
Can AI restore black-and-white photos to colour?
AI can guess at plausible colour, but the guesses are not historical accuracy. Use colourisation as artistic interpretation, label it clearly, and keep the original black-and-white version as primary.
What is the best free tool for occasional family-photo restoration?
The hosted AI upscaler for one-off work, GFPGAN for self-hosted face restoration, and the GIMP/Affinity Photo healing tools for manual damage repair. Combined cost: zero.
How do I deal with severe water damage?
Manual cloning and content-aware fill in Photoshop, not AI. Severe damage means no signal for the AI to work from; it will smooth or fabricate. Manual repair gives believable results.
Will the restored photo look "too sharp" or "fake"?
Often yes, if you use maximum settings. Lower the sharpening, lower the upscale, lower the face-recovery strength. Subtle restoration looks like a healthy original; aggressive restoration looks like AI work.
What is the right delivery format for restored family photos?
JPG at quality 92 to 95 for print, quality 85 for digital sharing. PNG and TIFF are too large for casual delivery. Keep TIFF for your archive, deliver JPG to family.
The ethics conversation worth having with relatives
AI restoration sits in an awkward space ethically. When the AI sharpens grain and lifts faded contrast, no one objects. When the AI invents the colour of a dead relative's eyes, the family is justifiably uncomfortable. The line between acceptable restoration and unacceptable invention is not technical; it is conversational. Different families and different cultures place the line in different places.
Have the conversation up front. Show the family the original scan, the cleaned version, and the AI-restored version side by side before delivery. Let them choose which one they want to print and keep. Often the cleaned version (no AI hallucination, just real damage repair) is the version they actually want for the wall, while the AI-restored version becomes the digital reference for sharing with extended family. Honour the choice.
Scanning negatives and slides versus prints
The source matters enormously. A scan of a faded 4x6 print has less recoverable signal than a scan of the original 35mm negative or slide that produced the print. If the original negatives or slides still exist, prioritise scanning those even if it means renting a dedicated film scanner for a weekend. A 4,000 dpi scan of a 35mm Kodachrome slide produces a roughly 5,500 x 3,700 pixel master with far more recoverable signal than any scan of the print version. The AI upscaler then has more honest material to work with.
For families with mixed prints, negatives, and slides, the workflow priority order is: slides and negatives first (highest signal), prints from negatives lost to time second, instant Polaroids third (low signal, treat with restraint). Convert each scanned master through the TIFF to JPG converter for delivery while keeping the TIFF master archived.
Working with archives and historical societies
Local historical societies, libraries, and family-history projects increasingly run AI restoration as part of their digitisation pipelines. The conventions in those contexts differ from family work: every restored image carries provenance metadata documenting what was changed, the original scan is always preserved alongside the restored version, and restoration choices are typically conservative to avoid introducing inaccuracies into the historical record. If you find yourself doing restoration for archival purposes, follow the discipline: scan, document, restore conservatively, archive everything.
The honest result of a careful restoration on a faded family print is something the family will be glad to print and hang. The overdone result is something they will quietly notice and never quite trust. Take the extra five minutes to compare against the original in the comparison tool, run the final through the JPG compressor for clean delivery, and the photos will outlast the AI tool that helped you make them. For format work, the TIFF to JPG, HEIC to JPG, image converter, photo editor, and DPI converter cover the surrounding workflow.