
How to Convert and Compress Stock Photos for Web and Social Media
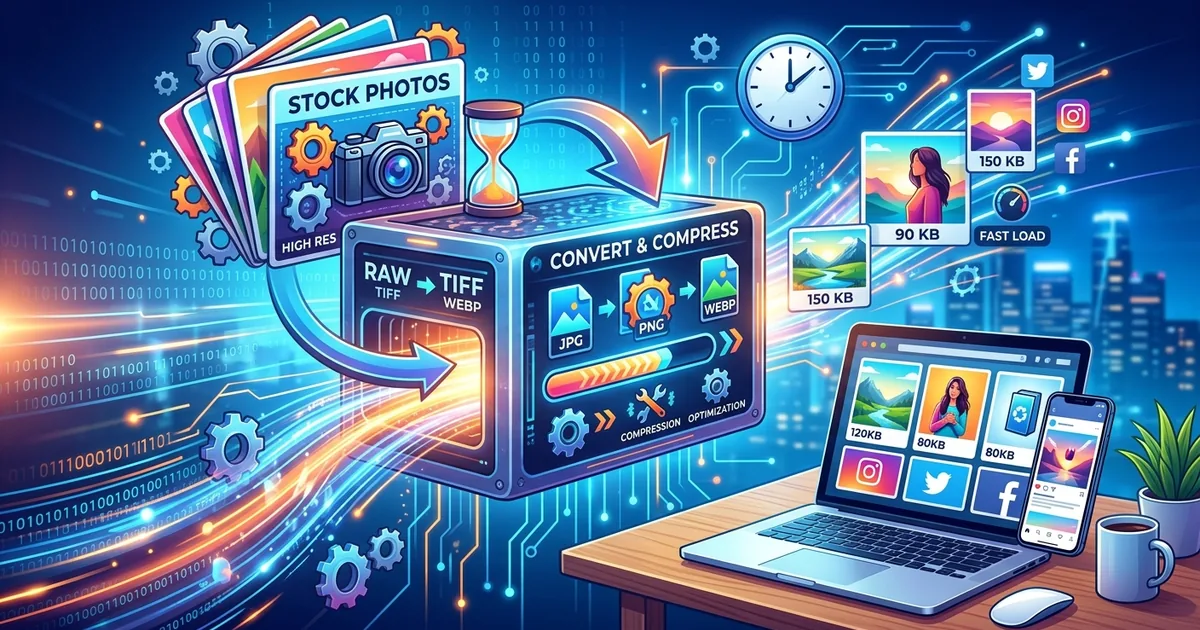
A stock photo straight from a download folder can weigh anywhere from 3 MB to 20 MB. That's fine for print. For a website, it kills load speed. For an email newsletter, it gets clipped or bounced entirely. The gap between "just downloaded" and "ready to publish" is where most people lose time, and this guide closes it with concrete numbers for each channel.
The Short Version
Every output channel has different requirements. Match format and file size to the destination, not the source file.
- Website hero images: WebP format, 1920 x 1080 px or smaller, under 150 KB
- Social media posts: JPEG or PNG, platform-specific pixel dimensions, typically under 1 MB
- Email newsletters: JPEG, 600 px wide, targeting 50 KB per image or less
Where the Workflow Begins
Every conversion workflow starts with the source file. Downloading from a reputable library means your original is clean, high-resolution, and free of compression artifacts that create problems downstream. Browsing stock image tools before committing to a photo gives you a better chance of starting with the right shot at the right resolution. A strong source file makes every downstream step faster and cleaner.
Most stock libraries deliver files as JPEG or TIFF. TIFF files are lossless and large, which makes them excellent originals to keep on hand. JPEG files may already carry some compression from the library's encoding, which is fine for most web uses. Regardless of format, always keep the original untouched. Work from a copy. That way you can re-export with different settings without starting over from a degraded file.
From there, the workflow branches into three separate tracks depending on where the image is going: website, social media, or email. Each track has its own format requirements, dimension targets, and file-size ceilings. Let's go through each one.
Preparing Website Hero Images for Fast Loading
Why WebP Is the Format to Target
For website use, format matters as much as compression settings. JPEG is the long-standing default for photographs and still holds up well. But WebP consistently produces smaller files at comparable visual quality. A JPEG hero image exported at 85 quality might land at 280 KB. The same image converted to WebP at a similar quality level often comes in under 180 KB, sometimes significantly less. A detailed web image formats reference covers browser compatibility in depth, and the picture is clear: for new web projects, WebP is the right call for photographic content.
Support for WebP is now near-universal across Chrome, Firefox, Safari, and Edge. The only scenarios where you might still need a JPEG fallback are legacy systems or older embedded browser environments. For a standard modern website, WebP covers the full audience without any workarounds needed.
JPG.now's WebP converter runs entirely in the browser. Upload your stock photo, set the quality level, and download the converted file. No software to install and no account required.
Reaching the 150 KB Target Without Losing Quality
A 150 KB ceiling for hero images is achievable without visible quality loss if you work with the right dimensions first. Start by resizing. A full-width hero at 1920 x 1080 pixels is the most common target for widescreen layouts. If your site's maximum content width is 1440 pixels, resize to that instead. Serving extra pixels the browser will scale down anyway is just wasted file size.
Quality settings between 75 and 85 give the best results for photographic images in WebP or JPEG. Below 75, banding appears in smooth gradients and textures start to blur noticeably. Above 85, file sizes climb with no visible return on screen. Google's developer documentation explains WebP compression in depth, and that 75 to 85 range consistently performs best for web photography across a wide range of image types.
JPG.now's compression tool includes a target file-size option. Type in 150 KB and it calculates the right quality level automatically. That removes guesswork from the process and cuts the number of export attempts needed to hit the spec.
Getting Social Media Image Dimensions Right
Every major social platform enforces its own pixel dimension requirements. Upload an image outside those specs and the platform either crops it automatically or adds unwanted letterboxing. Neither outcome looks intentional or professional.
JPEG works across all platforms for photographs. PNG is better suited to graphics, logos, and images with text, where crisp edges matter more than compression ratios. Both formats are handled by JPG.now's converters, and you can resize and compress in the same step. Platform file-size limits are generous, often 5 MB or higher per image, but that doesn't mean uploading large files is a good practice. Keeping social images under 1 MB speeds up uploads and helps pages load faster for users on slower connections, which genuinely affects engagement.
Recommended Dimensions by Platform
| Platform | Post Type | Dimensions | Aspect Ratio |
|---|---|---|---|
| Feed Post / Link Preview | 1200 x 630 px | 1.91:1 | |
| Square Post | 1080 x 1080 px | 1:1 | |
| Portrait Post | 1080 x 1350 px | 4:5 | |
| X (Twitter) | In-Stream Photo | 1200 x 675 px | 16:9 |
| Post Image | 1200 x 627 px | 1.91:1 | |
| Standard Pin | 1000 x 1500 px | 2:3 |
When resizing a landscape-format stock photo for a portrait-oriented platform like Instagram or Pinterest, pay close attention to where the subject sits in the original frame. A standard 3:2 landscape crop converted to a 4:5 or 2:3 portrait ratio cuts deeply into the sides of the image. Always preview the crop before finalizing the export, especially with stock photos where the subject may not be centered by default.
Compressing Email Newsletter Images to Fit Inside Inbox Limits
What "File-Size Cap" Means in Practice
Email is the most demanding environment for image compression. Several major clients impose message-size thresholds that clip or truncate content beyond a certain point. Gmail clips messages that exceed roughly 102 KB in total email size. That budget covers the HTML structure, text, inline CSS, and every image in the send combined. A single uncompressed stock photo blows through that limit without any effort.
The practical target for each image in an email newsletter is 50 KB or less. A full-width header banner can stretch to 80 KB if needed, but that leaves very little room for anything else in the same campaign. If your newsletter typically includes three or four images, each one should land closer to 30 to 40 KB to keep the total message size manageable.
For dimensions, 600 pixels wide is the standard for email newsletter layouts. Most email clients cap rendering width at or near 600 px. Images wider than that get scaled down automatically by the client, meaning you're adding download time without contributing anything to how the image actually looks in the inbox. Always resize to 600 px wide before exporting for email.
JPEG is the safest format for email photography. WebP has excellent compression properties but remains unsupported in Outlook, which holds a significant share of business inboxes. PNG is suitable for logos and simple graphics with flat colors, but for full-width photographic images, the file sizes tend to run too large. JPEG hits the right balance between compatibility and compression every time for newsletter photography.
JPG.now's JPEG compressor lets you set both a pixel width and a target file size in a single pass. Resizing to 600 px wide and compressing to under 50 KB happens in one step rather than across two separate tools. Running every newsletter image through this process before uploading to your email platform is a repeatable habit that prevents clipping issues and keeps delivery rates clean.
From Raw Download to Publish-Ready Across Every Channel
The same stock photo can serve three completely different purposes: a hero image on a landing page, a square post on Instagram, and a header banner inside an email campaign. Each output needs its own format, its own pixel dimensions, and its own file-size ceiling. Treating all three the same way produces poor results in at least two of them.
The workflow stays consistent even as the specs change. Start with the highest-quality source file available. Keep the original untouched and always work from copies. For each output, resize first to the correct pixel dimensions, then compress. Use WebP for websites where browser support is solid across your audience. Use JPEG for social platforms and email where compatibility with all clients is non-negotiable. Set a target file size rather than guessing at a quality slider when the ceiling is firm.
JPG.now's converters cover every step of this without software downloads or account creation. The tools run in the browser, handle format conversion and compression together, and produce output files ready to upload directly to any platform or email sending tool.
A stock photo that looks great at full resolution should look just as sharp at 120 KB on a website, under 800 KB on a LinkedIn post, and 45 KB in an inbox. Getting there takes a bit of setup the first time. But once you have the workflow in place and the specs memorized for your regular channels, preparing each output takes minutes. The numbers don't change often. Nail them once and they hold across hundreds of future images.