
How to Prepare Low-Resolution Photos for Large Format Printing
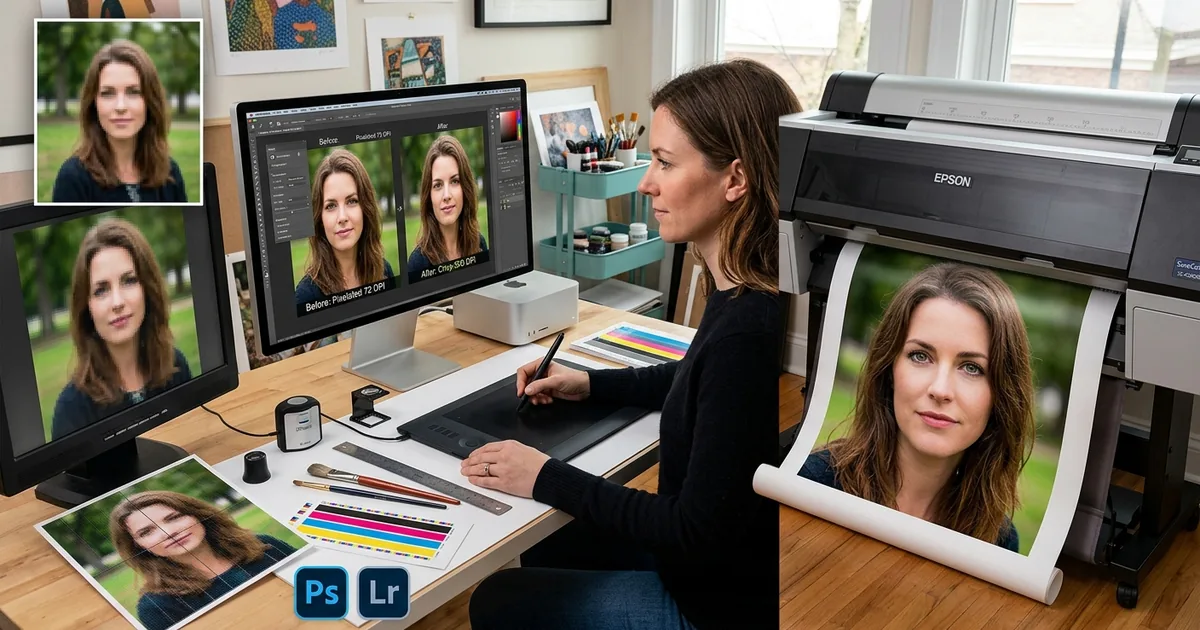
You have the perfect shot. It looks crisp on your phone screen and genuinely beautiful on a laptop monitor. You send it to the print shop for a trade show banner, and three days later you are staring at a pixelated blur that looks like a watercolor painting left out in the rain. This happens more often than people expect, and it has a clear fix once you understand what to address before the file ever leaves your hands.
Print Prep at a Glance
- Large format printing demands far more pixels than a typical screen image carries.
- DPI at the final print size determines sharpness, not file size or megapixels alone.
- AI upscaling adds usable pixels to a low-res source before you export for print.
- Always convert to CMYK and set the correct physical dimensions before sending to the printer.
- The DPI reference table near the end of this article gives you exact pixel targets for the most common large-format formats.
Why a Perfectly Sharp Screen Image Looks Terrible Printed Big
A photo at 1080 x 1920 pixels looks fine on a phone. That same image stretched across a 6-foot banner tells a completely different story. Printing is not the same as displaying. Ink gets pressed into a physical surface, and the density of those ink dots determines how sharp the image looks at any given distance.
The measurement that controls all of this is DPI, which stands for dots per inch. It describes how many individual ink dots fit into each printed inch. When you stretch a small image across a large canvas, you are spreading those dots further apart. From across a trade show floor the image might still read. Walk any closer and the breakdown becomes obvious.
Most phone photos carry 72 pixels per inch in their metadata. That is perfectly adequate for a website or a social post. For a poster printed at 150 DPI, the total pixel count you need is far higher than a casual snapshot provides by default.
What DPI Numbers Mean and How to Apply Them
Resolution in print is not a single fixed target. It depends on two things: the physical size of the final print, and how close viewers will stand to it. A banner hanging 10 feet above a conference floor does not need the same resolution as a framed photograph displayed at arm's reach.
Here is how viewing distance translates into DPI requirements:
- Posters viewed from 3 to 6 feet: 150 DPI at final print size.
- Trade show banners viewed from 6 to 10 feet: 100 to 120 DPI.
- Large wall murals or vehicle wraps viewed from 10 feet or more: 72 to 100 DPI is sufficient.
- Close-viewing prints such as framed photography or retail shelf graphics: 200 to 300 DPI.
Understanding dots per inch and how it differs from screen PPI helps you avoid costly miscommunication with your print shop. The same number means very different things depending on whether you are talking about a monitor or a press.
Calculating the Pixel Count Your Print Actually Needs
Once you know your DPI target and your final print dimensions, the math becomes straightforward. Multiply the DPI by the inches on each side to get the minimum pixel dimensions required. A 3-foot by 8-foot banner (36 x 96 inches) at 100 DPI needs a file that is at least 3600 x 9600 pixels. Most phone photos top out well below that.
This is where most people get stuck. You have a 12-megapixel photo at roughly 4000 x 3000 pixels. You need 9600 pixels across. You cannot create detail that was never captured. But you can add pixels intelligently, and that is exactly what modern AI-based upscaling does well.
Before you export the final file for print, run your source image through an image upscaler to increase pixel dimensions without the traditional soft-focus blur that basic resampling produces. AI upscaling analyzes the actual content of the photo and adds synthetic detail that matches the existing texture and edge sharpness. The results are not flawless in every situation, but they are dramatically better than manually stretching pixels in a standard editing tool.
For photos scanned from old prints or pulled from an archive, upscaling is almost always a required step. A 4x6 inch print scanned at 300 DPI gives you 1200 x 1800 pixels, far short of what most large-format jobs demand. Upscaling first, then exporting at the correct dimensions, is the correct order of operations.
Preparing Your File Correctly for the Print Shop
Getting the pixel count right is only part of the job. Print shops also care about color mode, file format, and whether your document dimensions match their production templates.
Convert to CMYK first. Screens use RGB (red, green, blue). Printers use CMYK (cyan, magenta, yellow, black). Sending an RGB file hands the color conversion to the print operator, and the shift in deep reds, oranges, and purples can be significant. Convert the file yourself in Photoshop, Affinity Photo, or any capable editor so you see the color shift before committing to a full run.
Set the correct physical dimensions in your editing software. Do not send a 1-inch document with a note saying "please print at 8 feet." Set the canvas to the exact final print size and let the DPI reflect the total pixel count spread across that physical area.
Use TIFF or PDF for production files. JPEG compression introduces artifacts that print shops cannot always fix after the fact, particularly in flat-color backgrounds and smooth gradients. A high-quality TIFF preserves all pixel data without compression loss. PDF works well for files that include text elements or vector graphics alongside your photo.
Add bleed if the shop requires it. Most professional large-format jobs require at least 0.25 inches of bleed on each side beyond the cut line. This prevents white edges from appearing after trimming. Always check the print shop's template or preflight checklist before finalizing your canvas size.
Working with Different Source Image Types
Not all low-resolution sources are equal. A phone photo gives you more raw data to work with than a compressed JPEG pulled from a website. Scanned prints introduce their own variables depending on scanner settings and the condition of the original. Archived digital photos from older cameras often have solid capture quality but low total pixel counts because older sensors were simply smaller.
Phone photos are generally the best starting point, provided the original was captured at the device's maximum quality setting. Many camera apps have a data-saving mode that reduces resolution without warning the user. Always source from your original camera roll, not a copy shared through a messaging app. Social media platforms strip metadata and reduce dimensions aggressively on download.
Scanned prints benefit from high scanner resolution settings. Scanning at 600 optical DPI or higher gives you more pixels to work with before the upscaling step. Always use the scanner's optical resolution rather than the interpolated setting, which adds pixels without adding real detail.
Archived camera files tend to respond best to AI upscaling because the original image data is clean. The algorithm has good texture and structure to work from, which produces sharper results than upscaling a highly compressed web image.
DPI and Pixel Dimensions for Common Large-Format Print Formats
| Print Format | Typical Size | Recommended DPI | Minimum Pixel Dimensions |
|---|---|---|---|
| Trade Show Banner | 96 x 36 in (8 ft x 3 ft) | 100 DPI | 9600 x 3600 px |
| Retractable Display Banner | 33 x 80 in | 100 DPI | 3300 x 8000 px |
| Foam Board or Lobby Poster | 24 x 36 in | 150 DPI | 3600 x 5400 px |
| Wall Mural | 120 x 96 in (10 ft x 8 ft) | 72 DPI | 8640 x 6912 px |
| Window Cling or Retail Display | 48 x 60 in | 100 DPI | 4800 x 6000 px |
| Vehicle Wrap Panel | Approx. 60 x 80 in | 72 DPI | 4320 x 5760 px |
From Small File to Conference Hall Wall
Preparing a low-resolution image for large-format print is not a technical mystery. It is a short set of steps run in the right order. Find the minimum pixel dimensions for your print size and DPI target using the table above. Compare that against what your source image currently has. If the gap is significant, upscale with an AI tool before doing anything else. Then convert your color mode, set your canvas to the correct physical size, export in a lossless format, and add bleed according to the shop's template.
The difference between a sharp 8-foot banner and a pixelated disaster is not expensive hardware or professional design software. It is knowing the right numbers and running the right workflow before you hit send. Once those steps become habit, the print shop becomes the easy part of the process, and your image gets to do the job it was meant to do.