
How to Convert HEIC Photos to JPG for Sharing, Print, and Web
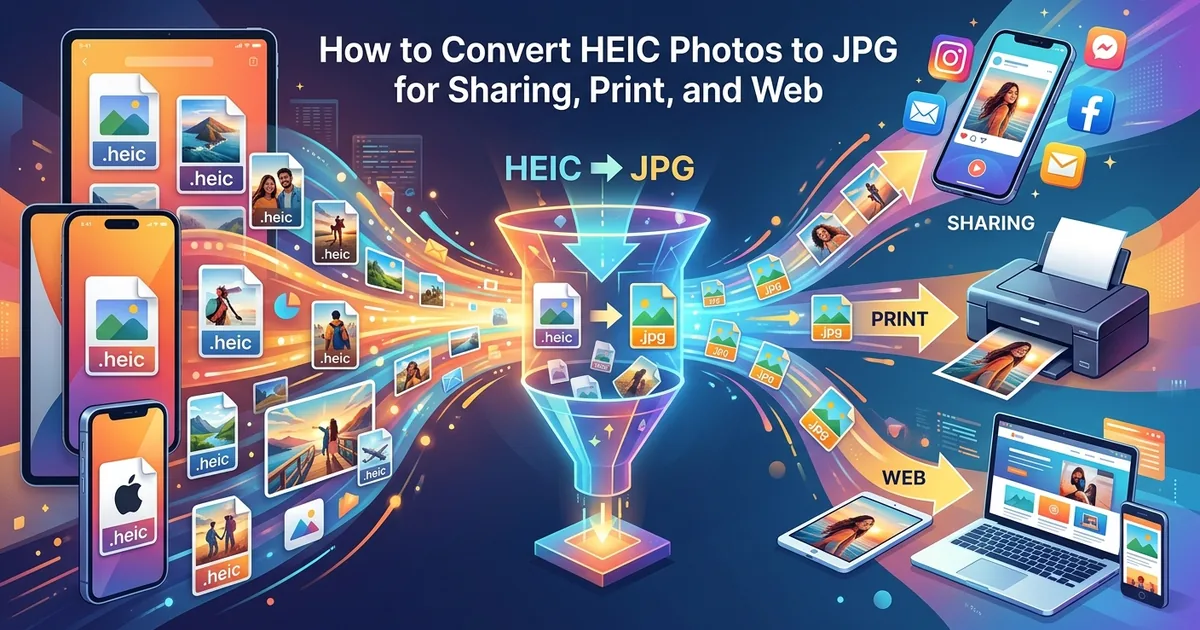
You took a great photo on your iPhone. You send it to a friend on Android, and they reply: "I can't open this." You upload it to your portfolio site, and the image preview is blank. You hand a USB drive to a print shop, and the technician shakes their head. The photo is perfect. The format is the problem.
HEIC files look perfect on your iPhone but fail in almost every context outside Apple's world.
- Android phones, most websites, and professional print services cannot handle HEIC natively.
- Converting to JPG takes seconds using a browser-based tool with no software to install.
- The right output settings, including resolution, quality, and color space, depend on whether the file is going to a person, a website, or a print shop.
What HEIC Is and Why Apple Uses It
HEIC stands for High Efficiency Image Container. It is the file wrapper Apple uses to store photos in the HEIF (High Efficiency Image Format) standard, developed by the Moving Picture Experts Group. Apple made it the default camera format starting with iOS 11 in 2017.
The reason Apple switched is file size. A HEIC photo takes up roughly half the storage of a comparable JPG while keeping the same visual quality. That matters when you are shooting thousands of photos on a phone with limited memory. The savings add up fast across a camera roll. You can read more about how Apple implemented the format in their official HEIF and HEIC image guide.
The trade-off is compatibility. JPG has been a universal standard since the early 1990s and is supported by virtually every device, browser, operating system, and printing service on the planet. HEIC is still catching up outside Apple's ecosystem. That gap is where the friction lives, and it shows up in three very common situations.
The Three Situations Where HEIC Creates Real Friction
Most iPhone users first run into HEIC problems when they try to share a photo with someone who does not own an Apple device. The second is when they try to upload an image to a website, a portfolio platform, or an e-commerce store. The third is when they try to get professional prints made and the file gets rejected at the counter or upload stage.
Each situation has different requirements. A photo you are texting to a friend does not need to be the same resolution as one going to a commercial printer. A file sized for a print shop will be far too large for a website. Getting the conversion right means understanding what each destination actually needs from the file before you start.
Sharing Photos Across Devices Without the "Can't Open" Message
When you are sending photos to people on Android phones, Windows PCs, or older devices, JPG is the safest format you can use. It opens natively in every image viewer anyone is likely to have, and every messaging app handles it without complaint.
For casual sharing, you do not need high-resolution output. A quality setting of 80 to 85 percent gives you a file that looks crisp on a phone screen while staying small enough to send easily over a standard cellular connection. If you are sharing a batch of photos from a trip or an event, keeping each file under 2MB makes the process faster for everyone receiving them, especially if they are on a slower network.
The color profile for sharing is sRGB. That is the standard color space that screens across all devices are calibrated to display correctly. If you export using a wider color profile, colors may look shifted or washed out on devices that do not support it. sRGB covers you in almost every everyday sharing scenario.
What Website and Portfolio Platforms Actually Expect
Uploading a HEIC file to most websites simply does not work. Content management systems, portfolio builders, e-commerce platforms, and social media sites have standardized on JPG, PNG, and WebP. HEIC support is still rare outside Apple's own apps and services.
For web use, the output settings differ from those used for sharing. Resolution on screen is measured in pixels per inch, but what actually matters for web images is pixel dimensions. A photo displayed at full width on a modern desktop browser typically needs to be around 1920 pixels wide. Anything well beyond that gets scaled down by the browser anyway, which means the extra data is waste rather than quality.
File size is a genuine concern for web uploads. Large images slow down page load times, which affects both user experience and how search engines rank the page. Aim for images under 500KB for general content. For portfolio sites using full-width hero images where fine detail is important, up to 1.2MB is still reasonable. Quality settings between 75 and 85 percent usually hit this range without visible degradation in the browser.
Stick with sRGB for all web exports. Even if your original HEIC file contains a wider color gamut captured by your iPhone's camera, most browsers display images in sRGB. Exporting in a mismatched color profile causes colors to look shifted from what you intended, which undermines a portfolio or product gallery.
Getting Files Ready for Professional Print
Print shops work in a very different world than screens. The resolution standard for professional printing is 300 DPI, which stands for dots per inch. A 4x6 inch print needs an image that is at least 1200 by 1800 pixels. A standard 8x10 print needs at least 2400 by 3000 pixels.
iPhone cameras produce more than enough pixels for most standard print sizes. A 12-megapixel camera shoots at 4032 by 3024 pixels, which is enough for prints up to around 13 by 10 inches at 300 DPI. The conversion from HEIC to JPG does not shrink your options, as long as you export at full resolution rather than letting a tool automatically scale the image down.
Use maximum quality settings for print conversions. You want JPG compression to be minimal, because every round of lossy compression removes fine detail that will be visible at print size. Set quality to 95 percent or higher. Many print labs also accept 100 percent quality output, which is worth using when you want to give the lab the cleanest possible file to work from.
Color space for print depends on the lab. Most consumer and online print services work in sRGB. Professional labs doing fine art or commercial print work often accept Adobe RGB, which holds a wider range of colors and can produce richer results on certain paper types. If you are unsure about a lab's preferences, ask before you upload. Sending an Adobe RGB file to a lab that processes in sRGB produces colors that look duller than you intended, and it cannot be corrected after the print is made.
Converting HEIC to JPG Without Installing Any Software
You do not need to download an application or create an account to convert HEIC files. A browser-based image converter handles the job directly in the browser, which means your photos are not stored by a third-party service or tied to a subscription.
The process is straightforward. You open the tool in your browser, drag in your HEIC files, choose your output settings, and download the converted JPGs. For a batch of photos from an event, most browser tools handle multiple files at once, which saves time compared to converting one photo at a time.
Before converting, decide what the files are for. Set your quality and resolution based on the destination, not a generic default. If you are converting photos for three different purposes at once, run separate conversions with the appropriate settings for each batch. This takes a few extra minutes but prevents the frustration of sending a print-ready 8MB file to a website that rejects it, or a heavily compressed image to a print shop that needs full detail.
Changing Your iPhone's Default Camera Format
If you find yourself converting HEIC files regularly, you can stop the problem before it starts. Your iPhone lets you switch the camera format to shoot JPG by default, so no conversion is needed afterward.
Go to Settings, then Camera, then Formats. You will see two options: High Efficiency and Most Compatible. High Efficiency shoots HEIC. Most Compatible shoots JPG. Switching to Most Compatible means your camera captures slightly larger files, but every photo is immediately usable anywhere without an extra step.
There is a middle-ground approach too. Keep High Efficiency for everyday shooting to preserve storage space, and switch to Most Compatible before events, trips, or projects where you know files will be shared widely or sent to a print service. The setting takes two taps to change and two taps to change back, which makes it practical to adjust based on what you are shooting that day.
The Last Time a Photo Fails Because of Its Container
Format problems are invisible until they are not. The photo exists, it looks perfect in your gallery, but it cannot reach the person or service waiting for it. That gap between a file looking fine on your device and a file working correctly everywhere else is exactly where HEIC sits for most of the world.
Converting to JPG is not complicated once you understand what each destination needs. Low-to-medium quality and compact file size for sharing across devices. Optimized pixel dimensions and sRGB color space for web platforms. Full resolution and maximum quality for professional print. Each destination has its own requirements, and meeting them means your photos arrive looking exactly as good as they did on your screen.
A few minutes of attention to format and settings is the difference between a photo that lands correctly and one that fails without explanation. The tools to do it are free, available in your browser, and require no technical background. You already took the photo. Getting it where it needs to go is the easy part.