
Lab Notebook Scanning for Reproducible Research
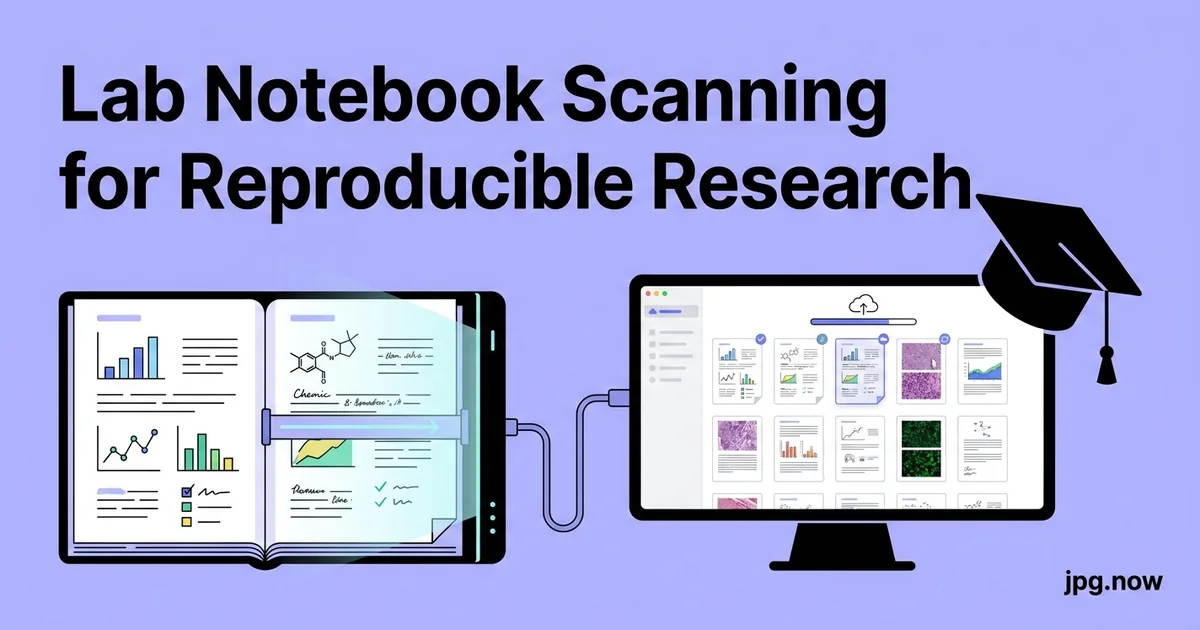
Reproducible research starts in the lab notebook, and any PI who has tried to reconstruct a 2019 experiment from a colleague's handwriting knows that the notebook only matters if someone can read it three years later. Scanning handwritten lab notes into searchable, archive-grade JPG and PDF outputs is no longer optional — most NIH and Wellcome grants now require digital lab notebook copies as part of the data management plan. This is the scanning workflow that holds up to audit, OCR, and the inevitable move to a new institution.
The cost of a bad scanning workflow shows up at exactly the wrong moment: an IRB audit asks for the November 2023 entries, a manuscript reviewer asks for the raw data behind Figure 4, or a former postdoc gets a request from a collaborator about an experiment they ran two PIs ago. In each case, a clean digital archive turns a multi-week scramble into a five-minute file retrieval. The setup time pays back tenfold across the lifetime of a lab.
Background: from paper to provenance
The lab notebook serves three audiences: the future-you reconstructing your own work, the next student picking up your project, and the auditor verifying that what you reported matches what you did. A paper notebook serves the first two audiences but fails the third when you change institutions, lose the notebook in a move, or simply cannot find the relevant page among 400 entries.
The digital archive serves all three. Scanned at sufficient resolution, OCR'd for searchability, bundled into PDFs for archival, and replicated across cloud storage, it survives anything short of catastrophic credential loss.
Scanning hardware: more flexibility than you think
The big-budget option is a flatbed like the Epson Perfection V600 at 600 DPI optical. The mid-budget option is a sheet-fed scanner like the Fujitsu ScanSnap iX1600 at 600 DPI duplex. The low-budget option that has gotten good enough is a phone with the Adobe Scan, Microsoft Lens, or Apple Notes built-in scanner. Each has tradeoffs:
- Flatbed: Best for graph paper line work and ink-color fidelity. Slow — 30 to 60 seconds per page.
- Sheet-fed: Fast — 25 to 50 pages per minute. Risks paper jams on dog-eared notebook pages.
- Phone: Free, instant, and the auto-perspective correction is now genuinely good. Loses some ink-color nuance under uneven lighting.
For most lab groups, phone scanning during the experiment plus a quarterly flatbed pass of important pages is the right balance.
Step-by-step scanning workflow
- Set up a fixed scanning station. Even ambient light, no direct sun, scanner or phone on a stand for consistency.
- Scan at 600 DPI grayscale for text, 600 DPI color for pages with gels or stains. 1,200 DPI grayscale for graph paper.
- Save the master as TIFF. Lossless, archival, never recompressed.
- Generate JPG distribution copies. Use the TIFF to JPG converter at quality 85.
- Run OCR on every JPG. The image-to-text tool extracts text into a sidecar .txt file.
- Bundle JPGs to PDF per notebook. Use the JPG to PDF converter in page order.
- Sync to institutional cloud. Working drive, OneDrive/Drive/Box, and an offsite backup.
- Spot-check via search. Search the OCR text for a recent sample ID; confirm the matching scan appears.
Recommended scan settings
Scan at 600 DPI grayscale for handwritten notes, 600 DPI color for any page with stained gels, indicator strips, or color-coded sticker tabs, and 1,200 DPI grayscale for graph-paper line work where line position matters. Save the master scans as TIFF — uncompressed, lossless, archival. For everyday distribution, the TIFF to JPG converter drops the master into a more shareable format without re-scanning.
For phone scans, the apps already output JPG at sensible defaults. The trick is to scan in good ambient light, not under harsh LED that creates blue cast in the paper, and to lay the notebook flat — curved pages distort the line work and break the auto-perspective correction.
OCR for searchable text
The reason to bother scanning at all is to make handwritten notes searchable. Modern OCR is good enough on neat handwriting to retrieve 80 percent of meaningful words. Use the image-to-text tool to extract typed text and clean handwriting from scanned pages. For sloppy handwriting, OCR still picks up dates, sample IDs, and pH readings even if it misses long-form prose.
The output text file lives alongside the JPG with the same basename. When a grad student searches "BSA standard 2024-03" in two years they hit the text file, which points to the matching scan.
Archival packaging: JPG plus PDF
For day-to-day reference, keep JPGs. For long-term archive — the kind that survives a PI move, an institution change, or a 10-year IRB audit — bundle the JPGs into a PDF per notebook with the JPG to PDF converter. A typical notebook of 200 pages comes out to 80 to 140 MB at scan-quality settings, which is fine for cloud archival and small enough to email when an old collaborator asks for a specific experiment.
Common mistakes and how to fix them
- Mistake: scanning at 300 DPI to save space. Fix: 600 DPI is the floor for handwriting; smaller and OCR accuracy drops below 60 percent.
- Mistake: saving masters as JPG. Fix: master is always TIFF (lossless). JPG is for distribution only.
- Mistake: no OCR pass. Fix: run the image-to-text tool on every new batch. Searchability is the whole point.
- Mistake: filenames like "scan_001.jpg". Fix:
YYYY-MM-DD_initials_book##_p###.jpgsorts and survives. - Mistake: single copy on a working drive. Fix: three copies — working, institutional cloud, offsite.
- Mistake: photographing pasted-in gels through the notebook page. Fix: scan the gel separately at 1,200 DPI and reference it from the notebook entry.
Real-world lab examples
A Cambridge biochemistry lab runs a Friday afternoon scanning slot for every PhD student. Twenty minutes per week, 10 to 20 pages each, OCR'd and bundled into the institutional Box account by Sunday. Three years in, the lab can retrieve any historical entry in under a minute.
A San Diego biotech startup built an internal pipeline where bench scientists scan via the Adobe Scan app on a shared lab iPad. The scans push to a Google Drive folder, which triggers an automated OCR pass via the image-to-text tool and a nightly bundle to PDF using the JPG to PDF converter.
A field ecology lab at the University of Cape Town handles weather-damaged paper notebooks from remote sites by sheet-feeding what they can and flatbedding the warped pages. The TIFF masters live on a NAS in the lab; JPG derivatives sync to the cloud for analysis on slower connections.
Scanner comparison
| Method | Pages per hour | Cost | OCR quality | Best for |
|---|---|---|---|---|
| Flatbed (V600) | 30-60 | $250 | Excellent | Graph paper, gels |
| Sheet-fed (iX1600) | 1500 | $500 | Excellent | Bulk archival passes |
| Phone (Adobe Scan) | 120 | Free | Good | Daily capture |
| Phone (Apple Notes) | 100 | Free | Good | Quick reference |
| Office MFP | 300 | Shared | Variable | Backup option |
Compression strategy
Master TIFFs stay uncompressed. Distribution JPGs run through the JPG compressor at quality 85 to drop file size 40 to 55 percent with no visible loss. The line work on graph paper survives compression well at quality 85; below 75 the lines start to break up.
Naming conventions that survive a decade
The single most important habit is naming. Use YYYY-MM-DD_initials_book##_p###.jpg — date, scanner's initials, notebook number, page number. Example: 2026-05-19_cgk_book03_p042.jpg. This sorts correctly in any file browser, survives any cloud sync, and pulls up in a search regardless of which institution you are at when you need it.
Keep the master TIFFs in a single archive folder per notebook, the JPG derivatives in a sibling folder, and the bundled PDF at the parent level. When the lab moves, you copy three folders and everything points where it should.
Ink color and gel image preservation
Lab work uses red pen for corrections, blue for primary notes, sometimes green or purple for special annotations. Color fidelity in the scan matters because the colors carry meaning. Use sRGB color profile on every color scan, not Adobe RGB — sRGB renders predictably on every viewer and every cloud preview. Verify the embedded profile with the image info tool after the first batch.
For gel images pasted into the notebook, scan the gel separately at 1,200 DPI as a TIFF first and reference the file from the notebook scan. Photographing the pasted-in gel through the notebook page degrades the gel data, and gels are exactly what reviewers will zoom in on.
Cloud storage and replication
Lab notebooks live in three places: a local working drive, an institutional cloud (OneDrive, Google Drive, Box), and an offsite cold archive (an external drive in another building or a personal cloud account approved by the PI). The compressed JPG and PDF copies sync everywhere; the master TIFFs live only on the working drive and one backup because of size.
Advanced tips that compound over years
- Run a weekly automation job. Cron task or scheduled Drive script that bundles the week's scans into the per-notebook PDF.
- Tag each PDF with the project, date range, and key reagents. PDF metadata is searchable in most cloud platforms.
- Photograph pasted-in printouts as separate files. A printout pasted into the notebook is searchable as both the notebook scan and the standalone JPG.
- Use the image converter for one-off format swaps when a collaborator only accepts PNG or a specific TIFF flavor.
- Compress the archive PDF. Run the bundled PDF through size optimization for cloud sync; the image compressor path keeps the JPG data intact while shaving 20 to 30 percent.
- Document the scanning protocol in the lab wiki. New students onboard faster when the procedure is written down.
- Quarterly verification. Pick a random scan from six months ago and confirm it opens, OCR text matches, and the cloud sync is current.
Handover protocol when someone leaves the lab
When a postdoc or grad student leaves, the PI should receive: the scanned PDF of every notebook, the OCR text files alongside, a one-page index that maps notebook numbers to project names and date ranges, and read access to the cloud folder. Without this, an experiment from 2024 may as well not have happened by 2027.
FAQ
Is electronic lab notebook (ELN) software a substitute for scanning paper?
Not yet. ELNs (Benchling, LabArchives, eLabFTW) are excellent for new entries but rarely import legacy paper notebooks cleanly. Scan first, then migrate the highest-value experiments into the ELN.
What about hand-drawn structures and reaction schemes?
Scan at 600 DPI minimum. OCR will not capture structures but the JPG renders them clearly. For figures destined for papers, redraw in ChemDraw or BioRender.
How do I scan a notebook that does not lie flat?
Phone scanners with perspective correction handle moderately curved pages. For badly bound notebooks, photograph two-page spreads in good light and crop afterward.
What is the right compression for a 600 DPI grayscale page?
TIFF master uncompressed (or LZW for moderate savings). JPG derivative at quality 85, processed through the JPG compressor.
Can I redact patient data or proprietary info before sharing?
Yes. Use the photo editor to black out specific regions, save as a redacted variant, and keep the unredacted master in restricted storage.
Do I need to keep the paper notebook after scanning?
Most institutional policies say yes, for at least the grant duration plus 5 years. The scan is convenience; the paper is the legal record.
What about audio dictation alongside scans?
Some labs record voice notes about each experiment and tag them to the same date. The image-to-text tool handles the visual side; voice dictation is a separate audio archive.
Setup-week checklist for new lab members
- Phone scanner app installed and tested on a notebook page
- Naming convention documented in the lab wiki
- Cloud folder access provisioned
- OCR pass automated for new uploads
- Archive PDF rebuild scheduled monthly
Edge cases: confidential data, patient identifiers, and IP redaction
Clinical research labs deal with patient identifiers on every notebook page: sample IDs, dates that map to visits, occasional initials. The scanning pipeline needs a redaction step before any cloud upload. Use the photo editor to black out specific regions on a per-page basis, save the redacted JPG with a _redacted suffix, and restrict the unredacted master to institutional-controlled storage only.
For intellectual property concerns (drug discovery, materials science, proprietary methods), the calculus is similar. The unredacted master lives behind authentication; the shareable copy redacts the protected method. Document the redaction policy in the lab's data management plan so audits see consistent rules applied across notebooks.
Patent priority dates can hinge on lab notebook entries. Every entry in a patentable project gets the date in handwriting, the page witnessed and signed by a second lab member, and the scan timestamped. The scanned PDF carries that provenance forward; the OCR text file makes it searchable for future inventor declarations.
Going deeper: integrating with electronic lab notebooks
Modern labs run a hybrid model: paper notebook for daily bench work, electronic lab notebook (Benchling, LabArchives, eLabFTW) for shared protocols and project tracking. The scanning pipeline bridges the two. Each paper notebook entry that becomes a manuscript figure or grant attachment gets uploaded to the ELN as a JPG attachment with the OCR text in the entry body. The result: a searchable digital record that points back to the physical page when raw verification is needed.
Some institutions go further and require all bench work in an ELN. In those environments, the scanning pipeline still matters as a backup against ELN platform changes — if the institution switches from one ELN to another in 2030, the scanned PDFs are still readable while the proprietary database export may not be.
Audit-ready archival
An IRB or FDA audit can request lab records going back 10 years or longer. The scan archive needs to survive personnel changes, software changes, and physical office moves. The minimum spec: PDFs in a cold-archive cloud (AWS Glacier, Backblaze B2, or institutional cold storage), redundant copies in at least two geographic regions, and a documented retention policy that survives departmental reorganization.
Each PDF carries embedded metadata (project, dates, personnel) that makes it audit-discoverable. The OCR sidecar text files multiply the search surface. A well-prepared lab can produce any historical record in under an hour even decades later.
Sharing with collaborators while preserving provenance
Collaborators outside your institution sometimes need access to specific entries. Share the relevant PDFs or JPGs via institutional cloud share links (not personal Drive accounts) with read-only permission, time-limited expiry, and embedded watermarks if the data is sensitive. The photo editor handles watermark application on individual JPGs.
Maintain a sharing log: who got which entries, when, for what purpose. The log is the audit trail; without it, "we shared with the Boston lab in 2024" becomes unverifiable.
Start with the current open notebook. Scan the last 10 pages, OCR them through the image-to-text tool, bundle to PDF with the JPG to PDF converter, and check the search retrieval. If the system works for 10 pages it scales to 10 notebooks. The JPG compressor trims the cloud-sync size, the image info tool verifies metadata on a batch sample, and the tool index covers the supplementary exports — gel image cleanup, microscopy TIFFs, and grant-figure assembly — that round out the lab's data pipeline.