
How to Prepare Phone Photos of Documents for Clear Text Extraction
Photograph receipts, forms, and pages for clear text extraction. Get practical tips for lighting, cropping, pixel dimensions, compression, and proofreading.
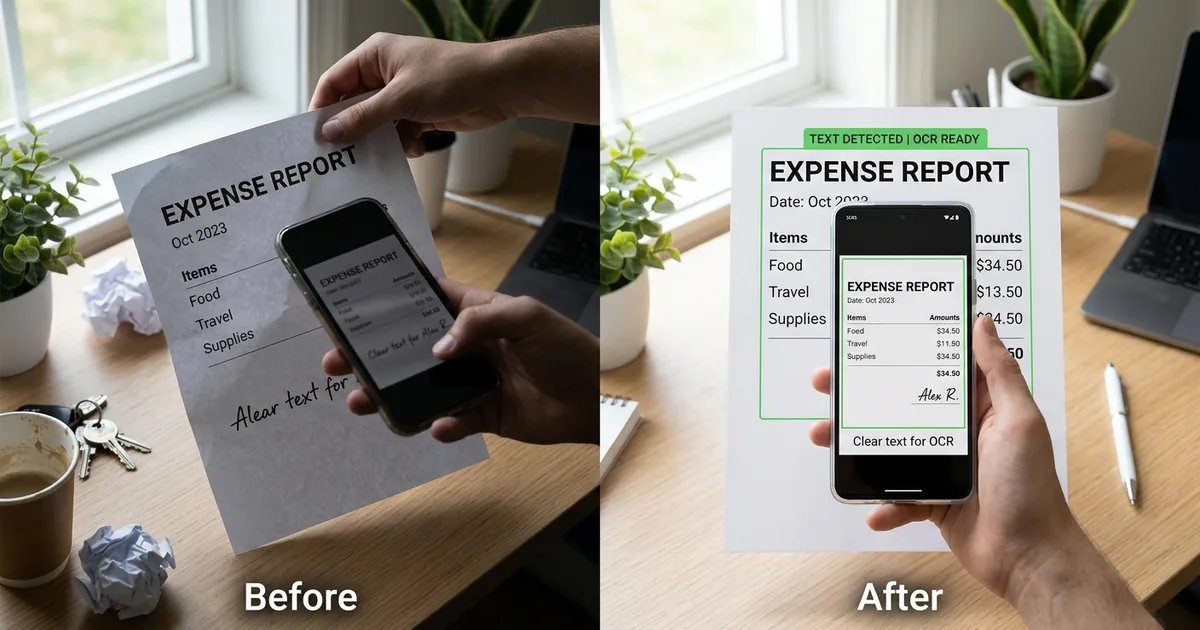
A blurry receipt can turn an expense claim into a guessing game. One missing decimal point changes a total. One soft letter changes a name. Getting readable text starts before you upload anything. With steady lighting, a careful camera angle, and sensible export settings, your phone can produce document images that are much easier to read and check.
This guide walks you through photographing receipts, forms, and printed pages, then preparing JPG or PNG files for text extraction. You do not need specialist camera equipment. You need a flat surface, a little patience, and a clear view of the smallest print.
Your Readable Image Checklist
- Use even light and keep your phone parallel to the document.
- Check the smallest text before putting the original away.
- Crop closely, correct perspective, and straighten text lines.
- Aim for about 2,500 to 3,500 pixels along a full page’s long edge.
- Export once, then compare extracted text with the original.
Step 1: Set Up a Flat Document and Even Light
Place the document on a clean, flat surface. Choose a background that contrasts with the paper. A white form is easier to frame on a dark desk than on a white tablecloth. Keep other receipts, cables, and patterned objects outside the camera view.
Smooth folded pages gently. Flatten curled receipts without covering any print. If a receipt keeps rolling up, hold its blank edges with small objects placed outside the text area. Avoid pressing fragile or faded paper aggressively.
Use soft daylight near a window or a lamp that lights the whole page evenly. Direct sunlight can create bright patches and hard shadows. Your phone or hand may also cast a shadow across the document. Move the light or change your position until the paper looks consistent from edge to edge.
Glossy receipts need extra care. Tilt the light source away from the reflection while keeping the phone square to the paper. Turn the flash off if it creates a white patch. If glare hides a character, editing will not recover the missing detail.
Step 2: Position the Phone Above the Page
Wipe the camera lens with a clean, soft cloth. Fingerprints can soften fine print even when the camera reports that it has focused.
Use the main rear camera at its normal setting. Avoid digital zoom. Move the phone closer until the document fills most of the frame, leaving a narrow border around all four edges. Keep the phone far enough away that it can still focus sharply.
Hold the phone parallel to the paper. If one end of the page looks much wider than the other, the camera is angled. Raise or lower one side of the phone until opposite edges look roughly parallel. A camera grid can help you line things up.
Tap the printed text to focus. Check that the paper is bright without washing out faint characters. If exposure controls are available, make small adjustments while watching the lightest print.
- Support your elbows or rest the phone on a stable support.
- Keep fingers away from text, corners, and page numbers.
- Use a short camera timer if pressing the shutter causes movement.
- Take a second photo when the first image looks uncertain.
Open the photo immediately and zoom in. Inspect a small date, a decimal point, or the finest line of print. A page that looks sharp on a small preview may still contain blurred characters.
Step 3: Adjust Your Approach for Each Document
Receipts Need Attention to Faint Print
Receipts often combine narrow paper, faded ink, and tiny numbers. Focus on the item prices and totals, not just the larger store name. Keep the full receipt if you need its date, payment details, or return information.
For a very long receipt, take overlapping sections instead of shrinking the entire strip into one distant photograph. Include a few repeated lines between sections. Those repeated lines help you check the reading order later. Keep the original full-length photo as a reference if you can capture one.
Forms Need Their Labels and Boxes
A form’s meaning often depends on position. A number beside “account” means something different from a number beside “telephone.” Include field labels, checkboxes, handwritten entries, and any instructions needed to interpret the answers.
Do not crop a filled box so closely that its label disappears. If handwriting overlaps printed lines, keep a color original. Strong black-and-white filters may remove light pen strokes or merge them with the form’s borders.
Printed Pages Need Consistent Framing
Photograph one page per image whenever possible. Two pages in one frame give each page fewer pixels and can confuse reading order. For bound material, reduce the curve near the spine without damaging the binding. Text that bends into a deep shadow may need another photograph from a better position.
Step 4: Crop, Correct Perspective, and Straighten
Start by saving an untouched original. Work on a copy so you can return to it if a filter removes useful detail.
Crop away the desk and unrelated objects. Leave a small margin around the document’s content. Check every edge before accepting the crop, especially the bottom line of a receipt and the outer characters on a form.
Next, use perspective correction if the page looks like a trapezoid. Position the correction handles on the actual paper corners. Review the result for stretched letters or clipped edges. Automatic corner detection can select a shadow instead of the page.
Use rotation or straightening to make text lines horizontal. Perspective correction fixes the shape of the page. Straightening fixes its tilt. A document may need both.
Keep tonal edits gentle. A modest contrast increase can make gray print easier to read, but aggressive adjustments can erase punctuation or fill the centers of small letters. Inspect the edited copy at full size before exporting.
Step 5: Extract Text From the Prepared Image
Once the crop is clean and the smallest characters are readable, image OCR is the next step for turning the prepared image into editable text. Choose the document’s language if that option is available, then process the image.
Before uploading a receipt or form, check whether it contains information you are comfortable sharing with an online service. For confidential material, use a workflow approved for that document.
Treat the extracted text as a draft. A clear photograph improves the input, but it does not guarantee that every character, column, or handwritten entry will be interpreted correctly. Keep the original image open for comparison.
Step 6: Choose Useful Pixel Dimensions Before Exporting
Check pixel dimensions after cropping. The camera’s original resolution matters less if the page occupied only a small part of the photograph.
For a typical full page, about 2,500 to 3,500 pixels along the long edge is a useful starting range. Small type, footnotes, and crowded forms may benefit from more detail. Preserve the original resolution when the file size is acceptable.
For reference, an A4 page represented at 300 pixels per inch is approximately 2,480 by 3,508 pixels. A US Letter page at that density is 2,550 by 3,300 pixels. These are useful size references, not a guarantee of readable text. Focus and lighting still matter.
Changing a DPI label alone does not add detail. A blurry image remains blurry if you change its metadata from 72 DPI to 300 DPI. Check the actual pixel dimensions and inspect the characters.
Starting Dimensions for Common Document Images
| Document | Practical Starting Point | Detail to Inspect |
|---|---|---|
| Full printed page | 2,500 to 3,500 pixels on the long edge | Footnotes and punctuation |
| Dense form | Around 3,500 pixels or more on the long edge | Small labels and handwritten entries |
| Receipt or receipt section | Around 1,000 to 1,600 pixels across the paper | Decimal points and item prices |
Step 7: Export a Readable JPG or PNG
JPG is a practical choice for phone photographs. It usually produces smaller files than PNG for the same photographic image. Start around 85 to 95 percent quality if your editor offers that scale. Quality settings vary between apps, so judge the exported file itself.
PNG uses lossless compression. It can suit cleaned document images with flat backgrounds and crisp text. A PNG made from a noisy phone photo may be much larger than a JPG. Converting an existing JPG to PNG will not restore detail already lost.
Export directly from your edited original. Repeatedly opening and saving JPG copies can introduce additional compression artifacts. Watch for fuzzy halos, speckles around letters, and punctuation that blends into the background.
Follow the receiving service’s actual file-size limit. There is no single size that suits every page. If a file is too large, remove excess background first. Then try a modest quality reduction. Reduce pixel dimensions only when the text remains readable afterward.
Open the final exported file before uploading it. Avoid sending a screenshot or a messaging-app copy if you still have the full-resolution export. Those extra steps may resize or compress the image.
Step 8: Check Names, Numbers, and Formatting Against the Original
Read the extracted text beside the original image. Work line by line rather than relying on whether the result sounds plausible. Text extraction can produce a familiar word that is still the wrong name or address.
- Compare names, street addresses, email addresses, and reference codes character by character.
- Check totals, decimal points, currency symbols, quantities, and negative signs.
- Watch for confusion between 0 and O, 1 and I, and 5 and S.
- Confirm dates carefully, including the order of the day, month, and year.
- Check columns, checkbox states, paragraph breaks, and the order of receipt sections.
For receipts, compare the subtotal, tax, and final total. Arithmetic can flag a possible error, but the printed original remains your reference. Do not silently change a figure just because a different number would make the calculation work.
For forms, confirm that each answer stays attached to the correct label. For pages with columns, check that sentences follow the intended reading order. Plain extracted text may need manual spacing or layout repairs.
If a character is unreadable in the image, retake the photo when possible. Guessing creates an error that may be harder to notice later.
Give Every Character a Clear Start
A useful document photo makes the smallest details easy to inspect. Flatten the paper, light it evenly, hold the phone square, and check focus before moving on. Then crop carefully and export with enough pixels to preserve the print.
Keep the original image until the extracted text has been checked and accepted. That final comparison turns a convenient draft into text you can use with confidence.