
How to Prepare Scanned Document Images for Accurate Text Recognition
Prepare receipts, forms, and letters for accurate OCR with 300 DPI scanning, straightening, careful cropping, contrast adjustments, and smart exports.
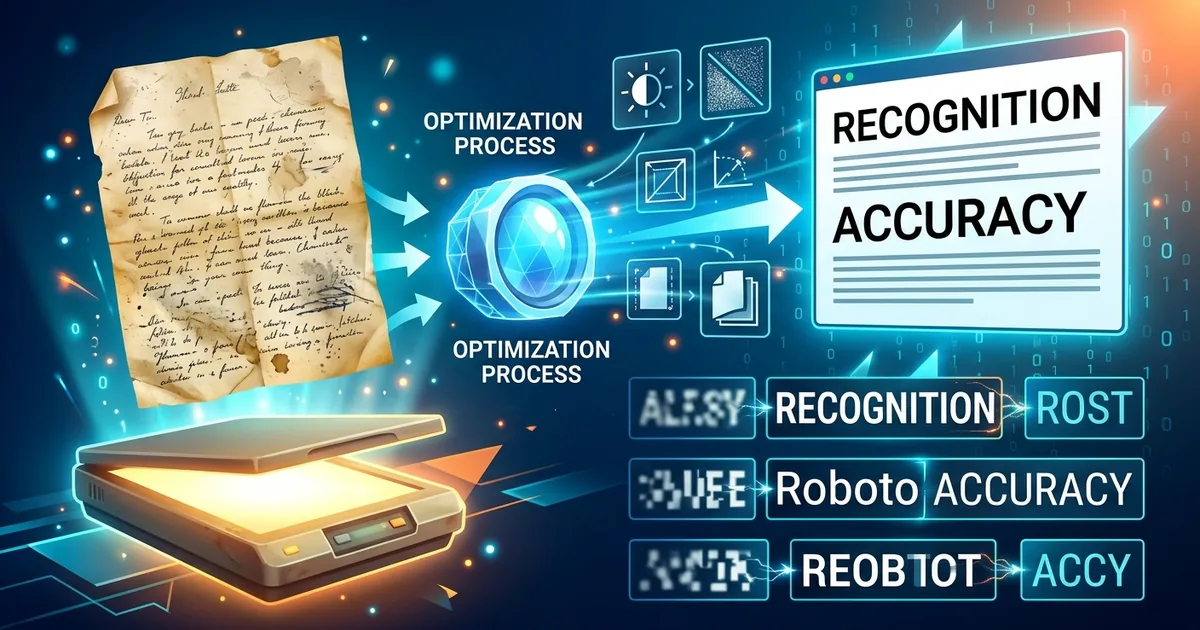
A receipt total turns into the wrong number. A form loses its checkboxes. A scanned letter comes back with words that make no sense. These errors often begin before text recognition starts. Blurred characters, tilted lines, and faded ink give OCR less reliable information to work with. A few careful adjustments can make your scan much easier to read, both for software and for you.
Give OCR a clear page before asking it to read.
- Scan ordinary printed documents at 300 DPI and inspect small or faded text closely.
- Straighten the page, crop spare background, and adjust contrast without erasing faint details.
- Check readability before converting or compressing, then export in a format your OCR tool accepts.
Start With a Scan That Preserves the Small Details
OCR means optical character recognition. It turns text inside an image into text you can search, copy, or edit. The software needs enough detail to distinguish similar shapes. A faint decimal point, a thin letter stroke, or the gap inside a lowercase letter can change the result.
Before scanning, wipe the scanner glass with a suitable soft cloth. Remove dust and allow any cleaning moisture to dry. Place the document flat, with its edges aligned against the scanner guides. Unfold creases gently. Avoid pressing fragile receipts or old letters harder than necessary.
Use color when the document contains colored annotations, stamps, highlighting, or faint printing against a tinted background. Grayscale can work for plain black text on white paper. Keep an untouched original scan so you can return to it if later adjustments remove useful information.
Use 300 DPI as Your Starting Resolution
For ordinary printed receipts, forms, and letters, 300 DPI is a sensible starting point. DPI means dots per inch. In scanner settings, it controls how much image detail is captured across the physical page.
A US Letter page scanned at 300 DPI measures approximately 2550 by 3300 pixels. An A4 page is approximately 2480 by 3508 pixels. Those dimensions provide a useful check when a scan looks suspiciously small.
Very small print or intricate characters may benefit from scanning at 400 or 600 DPI. Test a difficult section before scanning a large batch. Higher resolution increases file size, and it cannot restore ink that has already faded away.
Changing a file's DPI label after scanning does not create missing detail. A 900-pixel-wide page remains limited by those 900 pixels, even if its metadata says 300 DPI. Rescan the paper when the original capture is too small or soft.
Make Phone Captures Sharp and Evenly Lit
If you use a phone, place the document on a flat surface and hold the camera parallel to it. Fill most of the frame with the page while keeping every edge visible. Tap the text to focus and steady the phone before taking the picture.
Use even light from both sides where possible. Move the light or phone if you see glare. Your hands and device should not cast shadows across the text. Check the saved image closely, since a sharp-looking camera preview can hide motion blur.
Straighten Text Lines Before Cropping the Page
A slightly tilted page forces recognition software to work harder to follow lines and separate words. Rotate the image until the text runs horizontally. Use a printed baseline or a form border as your reference.
For phone captures, rotation may not be enough. If the top of the page looks narrower than the bottom, apply perspective correction. Align the correction guides with the paper's four corners. Inspect the result for stretched letters or clipped edges.
Curved pages need separate attention. A letter folded into a deep crease or a page bent near a book spine can contain distorted text even after straightening. Flatten it safely and capture it again when possible. Rotation cannot correct letters that bend across the page.
Crop Spare Background Without Losing Information
Crop away the desk, scanner lid, fingers, and dark borders around the document. This gives the OCR tool a clearer area to process. Keep a narrow margin around the content rather than cutting directly against the outermost letters.
Receipts need particular care. The store name may sit close to the top edge, while a transaction number or tax total may appear at the very bottom. Check both ends before accepting the crop.
For forms, preserve field labels, checkboxes, and the borders that explain how entries relate to one another. A tight crop can leave a number readable while removing the label that gives it meaning. Letters may need their date, address block, signature, and handwritten notes kept together.
Adjust Contrast Without Erasing Faint Characters
The aim is readable separation between text and background. Start with small brightness and contrast changes. Watch the faintest useful text as you adjust the image. Dark headings can remain readable long after a pale receipt total has disappeared.
Grayscale often helps simplify a plain document. Keep color if it helps distinguish an annotation or preserves faint marks. Compare both versions at a magnification where individual characters are easy to inspect.
Use pure black-and-white conversion cautiously. This setting forces each pixel toward black or white. It can clean up a uniform page, but an aggressive threshold can erase punctuation, break thin strokes, or fill the spaces inside letters.
Sharpening also needs restraint. A mild adjustment may make edges easier to see. Heavy sharpening can add outlines and speckles that resemble punctuation. If characters remain blurred, a new capture is usually more useful than repeated filtering.
Check Readability Before Conversion and Compression
After straightening, cropping, and adjusting contrast, pause before changing the file format or reducing its size. This is the right point to check image quality and catch readability problems before extracting or translating text.
Treat the check as a screening step. Inspect the image yourself as well. Look at the smallest print, the palest line, and any area that originally had a shadow. Verify that decimal points, currency symbols, and handwritten additions still appear.
For a receipt, compare the subtotal, tax, and final total. For a form, inspect entries near box borders. For a letter, check the date and address. These details can have a large effect on the usefulness of the extracted text.
If the page fails this inspection, return to the capture or editing stage. Converting the file will not fix blur. Compression can make fragile details harder to recover. Translation also depends on accurate source text, so resolve obvious reading problems before moving further.
Choose JPG or PNG Based on the Document
Both JPG and PNG can carry document images for OCR when the receiving tool supports them. The useful difference is how they store image information. PNG uses lossless compression. JPG uses lossy compression, which can introduce visible artifacts around text edges.
JPG and PNG for Scanned Text
| Export Format | Useful For | Main Tradeoff |
|---|---|---|
| PNG | Clean text, thin strokes, forms, and an edited working copy | Can produce larger files, especially for noisy or photographic scans |
| JPG | Phone captures and uploads with tighter file-size limits | Strong compression can damage punctuation and character edges |
Choose PNG when preserving the edited text edges matters more than keeping the smallest file. Choose a high-quality JPG when file size or tool compatibility makes it the better fit. Quality sliders vary between applications, so inspect the export instead of trusting a particular number.
Converting an existing JPG to PNG prevents additional JPG compression during that save. It does not repair artifacts already present. Keep editing from your original or a lossless working copy instead of repeatedly opening and resaving a JPG.
Reduce File Size Only After the Page Is Ready
Check the OCR service's accepted formats and upload limit before exporting. If a file exceeds the limit, preserve readable text while reducing unnecessary image data. Begin with lossless optimization where available.
A color scan of plain black text may become smaller after conversion to grayscale. A scan captured at 600 DPI may tolerate reduction to 300 DPI if the smallest text remains clear. Avoid shrinking an entire document to thumbnail dimensions just to meet a file-size target.
For JPG, increase compression gradually and compare the exported result with your working copy. Look for fuzzy edges, block patterns, and disappearing dots. Stop reducing quality when those changes begin to affect characters. Keep the larger original for another attempt.
Follow a Repeatable Sequence for Each Document
A consistent order makes preparation easier and reduces accidental damage. Use this sequence for a single page or repeat it across a batch.
- Capture the original. Start at 300 DPI for ordinary print, or take a sharp, evenly lit phone image.
- Correct the geometry. Straighten text lines and fix perspective where needed.
- Crop carefully. Remove spare background while preserving labels, totals, notes, and page edges that matter.
- Adjust readability. Make restrained contrast changes and inspect faint details.
- Review image quality. Resolve blur, glare, missing content, and broken characters before export.
- Export and compress. Select an accepted format and reduce file size only as far as readability allows.
- Verify the recognized text. Compare names, dates, amounts, and other critical details against the image.
Test one representative page before processing a large batch. Include a difficult page in that test, especially if the documents contain faded receipts or small print. A setting that works for a bold letterhead may fail on a pale transaction record.
Give Every Character a Fair Chance
Accurate recognition starts with visible detail. Capture enough resolution, keep the page straight, and preserve the faint marks that carry meaning. Check readability before conversion and compression, then inspect the exported file once more.
Even a clean scan can produce recognition errors. Review the extracted text before using it in an expense report, completed form, searchable archive, or translation. A clear source image makes that final check easier and gives you a reliable reference whenever a character looks wrong.