
How to Send Multiple Photos as One PDF File to Clients or Vendors
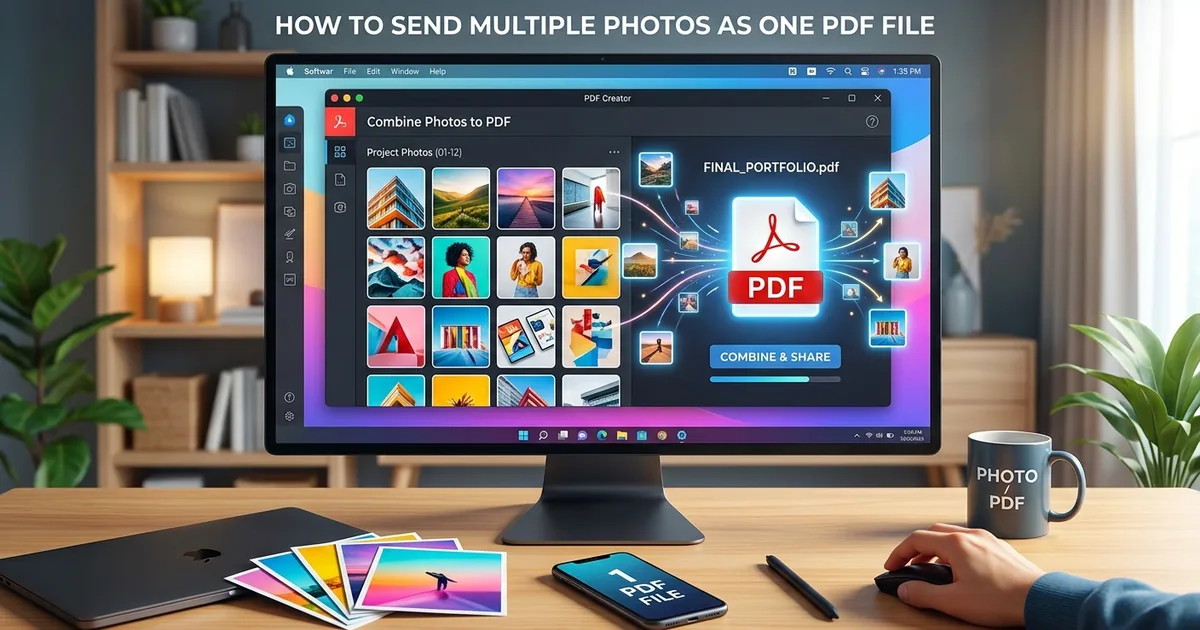
Sending a folder of loose image files to a client is a gamble. They might open them out of order, view them in an app that shifts the colors, or reply asking which version is final. One PDF sidesteps all of that. Every photo appears in sequence, on every device, without any guesswork on either end. This is how professionals send image deliverables, and the process takes about five minutes once your images are ready.
A properly prepared PDF is the cleanest, most reliable way to hand off photos to any client or vendor.
- Set images to 150 DPI for digital delivery or 300 DPI for print-ready files before converting
- Convert all images to sRGB color profile to prevent color shifts across monitors and printers
- Use a browser-based conversion tool to assemble the final PDF with no software installation required
Why PDF Beats a ZIP of Loose Files
A ZIP archive puts all the effort on the person receiving it. They extract the files, sort through them, open each one individually, and try to reconstruct the intended order. For a client reviewing product shots or a vendor preparing a print run, that is extra work they did not agree to.
PDF solves this by acting as a proper container. Page order is fixed. Every page renders consistently regardless of the operating system or software being used. A browser can open it. A phone can open it. A vendor's prepress system can open it without configuration.
There is a practical size advantage too. A compressed PDF containing twenty product photos is often smaller than the equivalent ZIP of uncompressed JPGs. That matters for email attachments, which typically have a 25 MB limit. Smaller files mean fewer delivery failures and fewer follow-up messages asking for a file transfer link.
Getting Your Images Ready Before You Convert
Fixing image settings after bundling is painful. Sort out resolution and color profile before the images ever reach a converter. These two settings determine whether your client sees exactly what you intended.
The DPI Numbers That Actually Matter
DPI describes how many dots of ink or pixels fit into one inch of a printed or rendered image. For PDFs delivered to screens only, 96 to 150 DPI is sufficient. The file stays compact, loads fast, and looks sharp on any modern display.
For print deliverables, the baseline is 300 DPI at the final output size. Offset printers and commercial print vendors expect 300 DPI as a minimum. Wide-format printing for banners, trade show displays, and signage sometimes accepts 150 DPI because the material is viewed from a distance, but always confirm with your vendor before dropping below 300.
When in doubt, deliver at 300 DPI. Downsampling a high-resolution image is straightforward. Upsampling a low-resolution image does not restore lost detail. No software can invent pixels that were never captured.
Color Profiles and Why They Change What Your Client Sees
A color profile is an embedded data set that tells any display or printer how to interpret the color values inside an image file. The color management standards behind these profiles define how devices translate numeric color values into actual rendered colors, which is why a photo can look accurate on your monitor but washed out on a client's screen when the profiles do not match.
sRGB is the correct choice for almost every client-facing delivery. It is the standard color space for web browsers, consumer monitors, and most professional displays. Wide-gamut profiles like Adobe RGB or ProPhoto RGB are useful during editing, but their expanded color values often render incorrectly on devices that expect sRGB.
Convert all images to sRGB before exporting your JPGs. In Photoshop: Edit, then Convert to Profile, then select sRGB IEC61966-2.1. In GIMP, the same option lives under Image and then Mode. This step takes seconds per file and prevents a confusing color conversation with your client later.
Converting Multiple JPGs into One PDF in Your Browser
Once your images are resolution-correct and color-consistent, the conversion itself is the simplest part. Here is the complete workflow from start to finished file:
- Rename files in sequence before uploading. Use a consistent numbering convention: 01_hero.jpg, 02_detail.jpg, 03_packaging.jpg. Alphabetical sorting determines page order in most converters, and sequential numbering removes any ambiguity.
- Open the browser tool. Navigate to JPG to PDF in any modern browser. No account creation, no software download, no waiting for an installation wizard.
- Upload all images at once. Use the multi-select option in the file picker or drag the entire batch into the upload area. Most tools accept batches of twenty or more images without issue.
- Verify the page order in the preview. Check the thumbnail sequence before converting. If two images are swapped, drag them into the correct position. Most tools support reordering at this stage.
- Choose paper size if the option is available. Letter (8.5 x 11 inches) or A4 works for most client deliverables. For portfolio presentations, a custom square format may look more intentional if the tool supports it.
- Convert and download the PDF. Processing typically takes a few seconds for a batch of twenty images. Download the file to a known folder immediately.
- Open the PDF yourself before sending. Scroll through every single page. Confirm the count, check for any rotation errors, and verify the first page is the intended lead image.
Checks to Run Before the File Leaves Your Machine
A five-minute review before sending is worth an hour of back-and-forth after a client flags an issue. Run through this before attaching the file to anything:
- Total page count matches the number of images you intended to include
- No image is rotated sideways or upside down
- The opening page is the cover image or strongest lead shot, not a detail or filler image
- File size is under 25 MB if sending by email, or under the limit of your file-sharing platform
- All images look sharp at full-page view, with no compression artifacts introduced during conversion
- DPI was confirmed at export, not just assumed
Naming the PDF So Your Client Can Find It Later
The filename is part of the deliverable. A file called "finalphotos_v2_SEND.pdf" reflects poorly on the work inside it. Use a structured naming format: ClientName_ProjectDescription_Date.pdf. An example: Hargrove_ProductShoot_2026-09-10.pdf.
This name tells the client who sent it, what it contains, and when. Six months later, when they need to reference it for a reorder, they will locate it in under ten seconds. Vendors managing dozens of incoming files will appreciate the same clarity.
Write an equally specific subject line in your email. "Photos from today" is vague. "Hargrove product shoot, 24 images, PDF attached" is scannable and professional. The extra fifteen seconds it takes to write a clear subject line signals that the work inside received the same care.
When Vendors Need More Than a Standard PDF
Commercial print vendors sometimes ask for PDF/X compliance, specifically PDF/X-1a or PDF/X-4. These are ISO-standardized PDF subsets built for prepress workflows. They enforce color consistency, embed all required assets, and prevent common printing errors caused by missing fonts or incorrect color spaces.
If your vendor requests PDF/X, a browser-based converter is not the right tool. Acrobat Pro, InDesign, or a dedicated prepress application handles PDF/X export correctly. Ask your vendor upfront what format they need. One short message before you start saves a full resubmission cycle after.
For the large majority of small-business deliverables, including product catalogs, portfolio presentations, photo proofs, and lookbooks, a standard PDF assembled in the browser is exactly what the recipient needs and expects.
Finishing Details That Make the Difference
The format is correct, the resolution is right, and the pages are in order. These last refinements separate a polished deliverable from a file that was just good enough:
- Add a simple cover image or branded title page as page one when sending to clients, especially for first-time work
- Standardize image dimensions before bundling so all pages share the same orientation and aspect ratio
- Strip GPS metadata and device information from images before sending to external vendors, since that data is embedded in most camera and phone JPGs by default
Metadata stripping is a privacy consideration as much as a professional one. Images taken at a studio embed the location coordinates. Images from a phone embed the device model and sometimes personal identifiers. Most image editors include a "save for web" or "strip metadata" export option that clears this in one step.
One File, Delivered Right, the First Time
The gap between a great photo and a well-delivered photo is smaller than most people think. Resolution settings, a color profile conversion, consistent file naming, and a browser-based bundling step are all it takes. None of these require expensive software or a technical background.
Your client receives one file. It opens cleanly. The images appear in the right order with consistent colors. The vendor has everything they need to move forward without sending a follow-up request. That reliability is what turns a single project into a repeat relationship, and it starts with getting the delivery format right.