
How to Compress and Deliver Photos to Clients Without Losing Image Quality
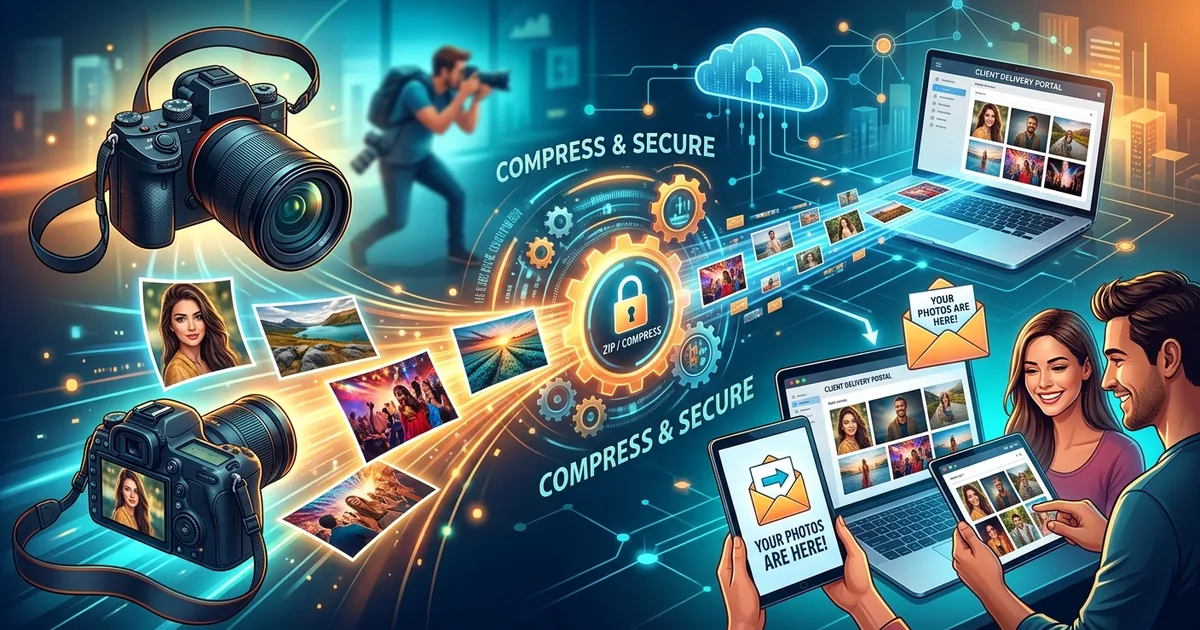
Sending a single photo is effortless. Sending forty edited portraits to a client, at the right resolution, in the right format, without a "these look blurry" reply two days later , that is where the real work lives. Most photographers nail the shooting and the editing, then stumble at the finish line. Files land in a client's inbox that exceed the mail server's limit, or get compressed so aggressively that shadow detail crumbles. This guide walks the full journey, from converting your RAW or PNG files to delivery-ready JPGs, to getting those compressed batches into your client's hands without the usual friction.
You can cut photo file sizes by 70% or more and still deliver images that look perfect on screen and in print.
- RAW and PNG files carry far more data than clients need; converting to JPG at the correct quality setting removes the excess without touching visible detail.
- Free browser-based tools handle conversion, compression, and DPI adjustment with no software to install and no account to create.
- When compressed batches still exceed email limits, a dedicated transfer service bridges the gap with a single shareable link.
Why Photo Files Are Larger Than Clients Actually Need
RAW files straight from a camera can run anywhere from 25MB to 80MB each, depending on the sensor size and brand. That is unprocessed sensor data carrying every bit the camera recorded, including color calibration data, white balance flags, and luminance information that never touches the final image. Your clients do not need any of that. They need a file that looks stunning at the size they will actually use it, whether that is a framed 8x10 on their wall or a header image on their business website.
PNG files carry a similar size problem. PNG compression is lossless, meaning no data is discarded during processing, which produces crisp images at the cost of enormous file sizes. A PNG version of an edited portrait can easily reach 12MB or more, even at standard screen resolution. That is a problem when a client's inbox has a 10MB attachment cap.
JPG works differently, and that difference is the foundation of a practical delivery workflow. The JPEG format applies a process called discrete cosine transform, analyzing image data in 8-by-8 pixel blocks and discarding frequency information the human eye typically cannot distinguish anyway. At a quality setting of 80 to 85 percent, the output usually looks identical to the original but weighs a fraction of what the PNG or TIFF version did. This approach has served professional photo delivery for decades, and the JPEG specification was designed precisely around photographic content.
Format Choices That Shape the Client Experience
Picking the right format before compressing matters as much as the compression settings themselves. A marketing agency receiving product photos for an e-commerce site has completely different requirements from a couple downloading wedding portraits to print at a local lab. Getting the format wrong means you field a support request and redo the export. Getting it right means the client is happy and you move on.
File Formats Compared for Client Handoff
| Format | Compression | Typical File Size | Best Delivery Context |
|---|---|---|---|
| JPG | Lossy | Small to medium | Portraits, prints, web use, most client deliverables |
| PNG | Lossless | Medium to large | Graphics with transparency, logos, composites |
| TIFF | Lossless | Very large | Commercial print production, archival source files |
| WebP | Lossy or lossless | Very small | Digital galleries, web-only delivery, e-commerce |
For the vast majority of client deliverables, JPG at 80 to 85 percent quality covers everything. It opens on every device, attaches cleanly to emails within size limits, and prints beautifully at standard consumer sizes. Reserve PNG for files that require transparency. Reserve TIFF only when a commercial print client specifically requests production-ready source files.
What DPI Means and Why It Matters for Client Work
DPI stands for dots per inch. It describes how densely a printer places ink on paper. It has no bearing on how an image looks on a screen, because monitors use pixels and a pixel has no fixed physical size. But the DPI value embedded in a file tells print software how to size that image on paper, and getting it wrong means a client's portrait comes back from the lab looking softer than it should.
The standard for high-quality prints is 300 DPI at the intended print size. An 8x10 inch print at 300 DPI requires an image that is at least 2400x3000 pixels. Anything below 150 DPI at print size begins to look soft. For screen-only delivery, 72 or 96 DPI is conventional, though the pixel dimensions tell the fuller story for digital files.
Before compressing a batch, confirm what the client plans to do with the files. If they are using them only on social media or a business website, a long edge of 2000 to 2500 pixels at 72 DPI is generous and keeps file sizes manageable. If they are ordering large prints or submitting files to a commercial print vendor, deliver full-resolution JPGs at 300 DPI and do not compress below 85 percent quality. This one conversation before the delivery saves the back-and-forth of redoing the export after the fact.
A Step-by-Step Process for Converting RAW or PNG to JPG
You do not need Lightroom, Photoshop, or any installed application to produce clean, compressed JPGs ready for client delivery. Browser-based converters handle the job directly from your device in a few minutes, with no account required. The following process works for any batch size and any starting format.
- Gather your processed files. Export your edits from your editing application as high-quality PNGs, or leave them as RAW files if you plan to convert without additional editing.
- Open a RAW-to-JPG or PNG-to-JPG converter in your browser. No downloads, no signup, nothing to configure before you start.
- Set the output quality to 80 to 85 percent. This is the range where compression artifacts become invisible to most viewers while file size drops significantly compared to a lossless original.
- Set the DPI to match the client's intended use. Use 300 DPI for any print deliverable. Use 72 or 96 DPI for screen and web files only.
- Check the pixel dimensions before converting. If you are working from a 50-megapixel RAW file meant for web use, resizing the long edge to 2400 or 3000 pixels saves enormous storage and transfer time without affecting how the image looks on screen.
- Convert one test file first. Open it at 100 percent zoom and check the shadows, fine hair detail, and any high-contrast edges. Confirm the quality setting held up before processing the full batch.
Running a test on a single demanding image before committing to the full batch is the step most people skip. It takes ninety seconds and can prevent redoing an entire forty-image export because the quality setting was too low.
Browser-Based Compression Tools That Need No Installation
The appeal of browser-based tools goes beyond convenience. They sidestep version conflicts, hard drive storage limits, and the licensing cost of professional editing suites. For photographers who already own an editing application and use it for creative work, a browser-based compressor fills the gap for conversion jobs without adding another subscription to the stack.
The converters available through jpg.now cover the most common scenarios photographers encounter. The RAW converter handles formats from major camera brands, including CR2, CR3, NEF, ARW, and DNG, turning them directly into client-ready JPGs. The image compressor lets you dial in a specific quality percentage and preview the output file size before committing to the conversion. And if a client sends PNG files that need resizing and reformatting before being returned, the PNG-to-JPG converter handles that in seconds without touching anything beyond the settings you chose.
None of these tools retain your images after the browser session ends. For photographers handling client photos subject to any privacy expectation, that distinction matters more than it might seem.
Sending Large Photo Batches When Email Attachment Limits Get in the Way
Even after proper compression, a full portrait session or a product shoot covering fifty items can run well past 200MB. Most email services cap individual attachments at 25MB, and many corporate mail servers reject anything above 10MB. Splitting a delivery across multiple emails creates confusion, especially when a client downloads batch three before batch one and wonders why the gallery seems incomplete.
The cleaner path is to zip the compressed folder and use a dedicated service to transfer files to your client through a single link. The client receives one URL, clicks it, and downloads everything in one go. No account required on their side, no password to track, no confusion about which email contains which part of the gallery. For photographers who handle large deliveries regularly, this one change removes one of the most consistent friction points in the handoff process.
There is an added benefit that gets overlooked. A properly compressed JPG batch downloads significantly faster than an uncompressed folder of PNGs or TIFFs. The work you did during the compression step pays off again at the receiving end, especially for clients on slower connections or downloading on a phone.
Delivery Is Part of the Craft
A technically perfect edit loses something the moment a client opens a blurry, over-compressed file. Or spends twenty minutes figuring out how to download from a link that requires them to create an account first. The full experience, from the moment you finish editing to the moment a client has clean, usable files on their device, belongs to the work.
The process is straightforward once it becomes a standard checklist. Confirm the client's intended use before compressing. Set quality to 80 to 85 percent for photos. Match the DPI to the output, 300 for print, 72 or 96 for screen. Use a browser-based converter to handle RAW and PNG files without launching a full editing suite for a batch job. And when the finished files exceed what email can carry, send a link.
Clients notice when delivery is smooth. They may not articulate exactly why the experience felt polished, but they will say something. And they will come back.