
How Wildlife Photographers Cull and Convert 2,000+ RAW Files Per Shoot
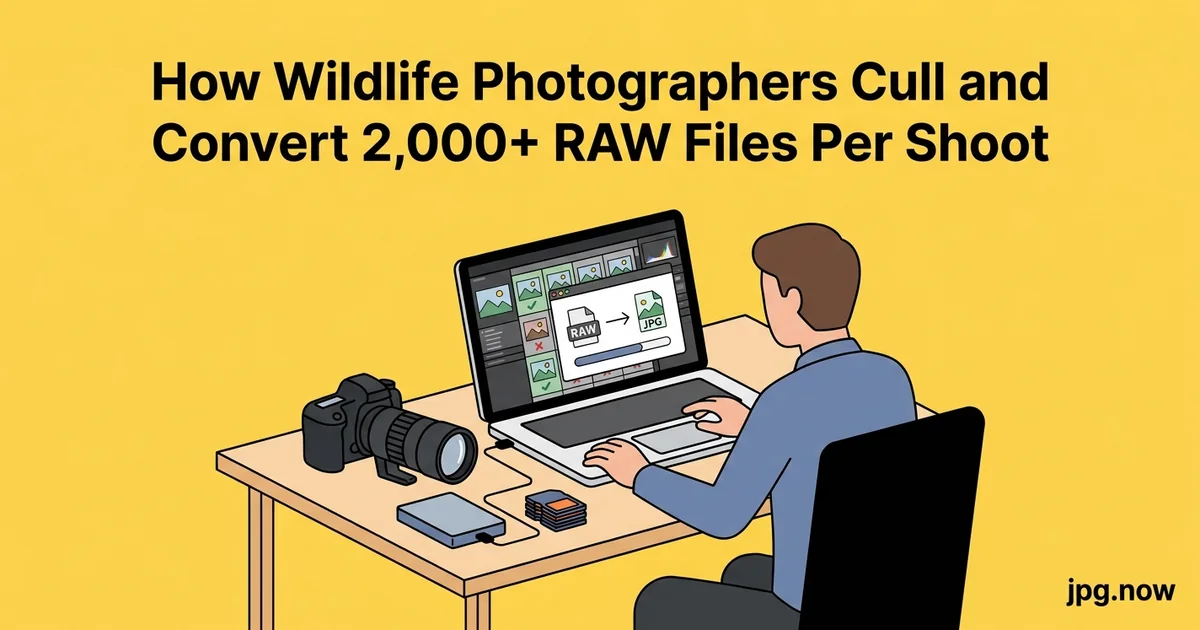
You came back from five days in Kruger with 2,400 frames on the buffer. Half are leopard cubs from a single 12-fps burst that you cannot tell apart at thumbnail size. A quarter are flight shots of a lilac-breasted roller where one frame in twenty is sharp. The rest are a mix of landscape, behavior, and the long-tailed glass-eye stuff that nobody asked for but you shot anyway. Now you need to deliver a tight portfolio set, a stock-agency batch, and a personal archive — and you have nine days before you fly to Iceland.
The dread is real. You know that opening Lightroom and starting at frame one means losing the next four days to a screen, missing your kid's recital, and arriving in Reykjavik exhausted before you have shot the first puffin. This is the cull-and-convert workflow that wildlife pros actually use to get through volumes this large without losing a week to the export queue or sacrificing the family time that wildlife travel already taxes hard.
Background: why wildlife volume is its own category
Wildlife shooters generate more frames per outing than any other photography discipline except sports. A 12-fps body firing on a cheetah chase produces 60 frames in five seconds. Multiply by twenty sightings per day and five days per trip and you arrive home with five to ten thousand frames. The keeper rate is brutally low — wildlife photographer Andy Rouse has talked about 1 percent keeper rates being normal for action work. That means 95 to 99 percent of your shutter actuations are destined for the trash, and the workflow problem is identifying the 1 percent without manually reviewing every frame at full resolution.
The other constraint is delivery diversity. A single trip might feed: your portfolio website, three or four stock agencies (each with different metadata rules), a personal archive, a magazine commission, a print sale, and a social feed. Each output wants a different file size, format, and metadata standard. A workflow that does not separate triage from develop from export collapses under this load.
Triage starts on the laptop in the field
If you wait until you are home to start culling, you have already lost three days. Most working wildlife photographers run a nightly triage in their lodge or tent using Photo Mechanic on a 13-inch laptop. The goal of triage is not to pick keepers — it is to flag the absolute rejects: out-of-focus, eyes-shut, badly composed bursts where you fired 30 frames and only the middle 4 are usable. Tag rejects with a red label and leave the rest unrated.
This single nightly pass cuts your home workload by 40 to 60 percent before you even land. Photo Mechanic reads the embedded JPG preview inside the RAW file and never decodes the raw data, so you can scrub through 500 frames at full screen in two minutes on battery.
Home-base pass one: stars one through three
Back at the desk, open Photo Mechanic or Narrative Select again and start a star-rating pass on the survivors. One star means technically acceptable, two stars means good, three stars means portfolio candidate. Do not overthink. You are aiming to spend three to five seconds per frame, no more. A 1,500-frame survivor set should take 90 minutes.
Narrative Select adds AI-driven focus detection that is particularly useful for wildlife. It identifies which frame in a burst is critically sharp on the eye and pre-selects it for you. On a 30-frame cheetah-chase burst, Narrative will surface the two or three frames worth opening in Lightroom and let you skip the rest.
Step-by-step walkthrough: trip to archive in 7 stages
- Field triage nightly. Photo Mechanic on the laptop, tag obvious rejects with a colour label. 20 to 30 minutes per evening.
- Home pass one: star-rate survivors. Photo Mechanic or Narrative Select. One to three stars, no more nuance than that. 60 to 90 minutes.
- Pass two: develop the two-star and three-star set. Lightroom or Capture One. Build presets per scene. Per-image work only on three-star portfolio candidates.
- Export tier 1: portfolio JPG full resolution, quality 95, sRGB, copyright EXIF. 30 to 50 frames typically.
- Export tier 2: stock/editorial JPG full resolution, quality 90, sRGB, full IPTC. 200 to 300 frames. Include keywords, species name (scientific + common), location, behaviour verb.
- Export tier 3: archive JPG 3,000 px long edge quality 85, full metadata. 800 to 1,200 frames. Catastrophe insurance.
- Compress all tiers through compress-jpg. 30 to 40 percent size reduction.
- Upload to cold storage and reformat cards last. Backblaze B2, Wasabi, or local NAS.
Tool comparison: what does what
| Tool | Best for | Speed (1,500 frames) | Strength | Weakness |
|---|---|---|---|---|
| Photo Mechanic | Triage and culling | 30 min | Reads embedded JPG instantly | No develop tools |
| Narrative Select | AI-assisted culling | 40 min | Focus detection on bursts | Subscription cost |
| Lightroom Classic | Develop + library | 3-4 hr | Universal RAW support | Slow on huge catalogs |
| Capture One | Tethered + colour | 2.5-3 hr | Best Sony/Fuji colour | Slower keyword library |
| DPP | Canon-only colour fidelity | 4-5 hr | Native picture styles | Slow batch ops |
| Browser converter | Field/emergency | 10 min | No install, any device | No develop, no metadata |
Pass two: develop the two-star and three-star set
Open only the two-star-and-above frames in Lightroom or Capture One. Your one-star frames are archive-only and never need a develop pass. This step alone saves enormous time — instead of editing 1,500 images you are editing maybe 300.
Build presets for common scenarios: golden-hour savanna, overcast forest, midday backlight on a flying raptor. Apply on import. Sync white balance and exposure within each scene. Spend per-frame time only on the three-star portfolio candidates.
Export tier 1: portfolio JPG, full resolution
Your three-star set might be 40 images. Export at full resolution, sRGB, quality 95, with copyright embedded in EXIF. These go to your portfolio site, agency portal, and personal archive. Adobe Stock, Getty, Alamy, and 500px all want sRGB JPG at full resolution. Quality 95 is the sweet spot — quality 100 doubles file size with no visible improvement.
Export tier 2: stock and editorial submission JPG
Your two-star set might be 200 to 300 images. Export at full resolution, sRGB, quality 90, with full IPTC metadata: keywords, caption, location, species name. Wildlife stock agencies are particularly strict about scientific names — they will reject a leopard photo tagged as "lion" even if the visual is obvious. Use the IUCN species list as your canonical reference.
If your camera shot Canon CR3, Nikon NEF, Sony ARW, or Fuji RAF, the relevant browser converters handle stragglers: CR3 to JPG, NEF to JPG, ARW to JPG, RAF to JPG. For mixed-camera trips where you brought a Z9 body and a Fuji X-T5 for backup, the universal RAW to JPG converter handles everything in one pass.
Export tier 3: archive JPG of the one-star survivors
Yes, archive even the one-stars. Storage is cheap, and a behavior shot you dismissed in 2026 might become the only documented frame of a species behavior in 2031 when an editor calls. Export at long edge 3,000 pixels, quality 85, with metadata. These compress down to about 1.5 MB each. A 1,200-image archive set is under 2 GB.
Compress before any cloud upload
Your portfolio and stock-tier exports go through the JPG compressor before upload. Stock agencies do not care about a 30 percent file-size reduction at quality 90 — they cannot see it, and your upload finishes in a third of the time. Backblaze, iDrive, and Glacier all charge by storage and by egress. A 60 GB archive at $0.005 per GB-month is $3.60 a year. The same archive at 40 GB after compression is $2.40. Multiply by ten years and the math justifies the extra step.
Keywording without losing a day to it
Keyword in batches by scene, not by image. Select all 80 frames from your morning at the leopard sighting and apply the shared keywords in one operation: location, species, behavior verb, light condition. Per-image specific keywords take two seconds each. Photo Mechanic and Lightroom both support hierarchical keyword libraries — build one once and reuse for every trip.
Common mistakes and how to avoid them
- Editing one-star images. Diagnosis: spending three hours on frames you will never deliver. Fix: hard rule — only two-star and above get a develop pass.
- Culling in Lightroom instead of Photo Mechanic. Diagnosis: previews take three seconds each to render. Fix: cull in Photo Mechanic where the embedded JPG renders instantly. Import only survivors to Lightroom.
- Skipping field triage. Diagnosis: arriving home with 5,000 frames and 9 days before the next trip. Fix: nightly 30-minute reject pass in the lodge cuts the home workload by half.
- Mis-tagging species. Diagnosis: stock agency rejects entire batch. Fix: keep the IUCN species list bookmarked. Always include scientific name in keywords.
- Forgetting GPS in EXIF. Diagnosis: a magazine editor calls in 2029 asking where a photo was taken; you cannot remember. Fix: shoot with GPS-enabled body or geotag in Lightroom Map module on import.
- Single-tier export. Diagnosis: portfolio file uploaded to stock agency at quality 95 is overkill, archive file at quality 95 wastes storage. Fix: three-tier export, three-quality recipes.
Real-world examples
Anna, primarily birds, Pacific Northwest. Two weekly outings produce 1,500 frames each. Field triage at the truck before driving home. Narrative Select for star-rating, Lightroom for develop, exports to Audubon Photography Awards (annual), Getty (ongoing), her gallery site, and a personal archive. Average week: 3,000 frames captured, 60 delivered.
Hennie, safari guide and photographer, South Africa. Hosts six photographic safaris a year, each producing 8,000 to 12,000 frames. Runs nightly triage in camp on a hardened ThinkPad, hands clients culled cards before they fly home. His own portfolio gets the 1 percent keeper pass after the season closes.
Lars, polar wildlife specialist. Mostly walrus and polar bear, 60-day expeditions. Stores raw archive on dual 4TB SSDs in waterproof Pelican cases, runs the full three-tier export pipeline on the boat using an M3 Mac mini powered from the ship's inverter. Files due to National Geographic editor by satellite uplink at the end of each leg.
Advanced tips
- Use Photo Mechanic's "structure" view to detect duplicates. Burst frames cluster visually. Reject the soft ones at thumbnail size in seconds.
- Set per-trip catalogs in Lightroom. Avoid the single mega-catalog that grows to 500,000 files and crawls.
- Pre-build keyword sets per region. Africa Big Five, Galapagos endemics, Pacific Northwest raptors. One click applies the shared base.
- Use Topaz Sharpen AI on hero frames with slight motion blur. The wildlife-specific model recovers detail that traditional sharpening cannot.
- Strip GPS from publicly published frames of sensitive species. Rhino and big cat locations attract poachers. Use Lightroom's Privacy preset on export.
- Backup to two physical drives plus one cold-cloud target. Backblaze B2 at $0.006/GB-month means a 200 GB trip costs you $1.20/month.
- Build a "best of" smart collection that auto-populates from three-star and above with flag "portfolio." One click, your portfolio is current.
FAQ
Do I need Lightroom for wildlife, or can I use Capture One?
Either works. Capture One has better Sony and Fuji colour science; Lightroom has better integration with Adobe Stock and a larger keyword library ecosystem. Test both with your camera bodies.
How many frames per second do I actually need for wildlife?
Twelve fps is enough for most behaviour and flight work. Twenty fps (Z9, R3, a1) helps with raptors striking and prey-chase action. Above twenty the marginal keeper rate barely changes.
How do I cull a 40-frame burst without losing the best one?
Narrative Select's AI focus detection. Or in Photo Mechanic, zoom to 100 percent on the eye and use the arrow keys to step through. The sharpest frame on the eye is your pick.
Should I shoot lossless compressed or uncompressed RAW?
Lossless compressed for almost everything. The compression is mathematically reversible and saves card space, buffer headroom, and SSD storage downstream.
Is JPG quality 95 visible versus 90?
On highly detailed wildlife frames with fur or feather texture, marginally yes. For portfolio prints use 95. For stock and screen use 90.
How do I handle multi-camera trips?
The universal RAW to JPG converter reads every major RAW format. Or import everything into the same Lightroom catalog and let it detect per-file.
What happens if my hard drive fails after a trip?
You restore from your other drive and your cloud cold storage. If you only had one copy, your trip is gone. Three-copy backup is non-negotiable for wildlife work.
Card management in the field
Wildlife cards corrupt more than studio cards because of heat, vibration, and frequent swap cycles. Carry triple the cards you think you need, rotate them with discipline, and never fully fill a card if you can avoid it — some card types are statistically more likely to fail near full capacity. Pelican-style hard cases protect cards from moisture and dust on safari. Mark used and empty cards distinctly so you never reformat the wrong one at 5 AM.
Camera body considerations for wildlife volume
Body choice shapes downstream workflow. A 12 fps body produces 30 percent fewer frames per encounter than a 20 fps body, which means 30 percent less culling work. But the 20 fps body catches the peak moment the 12 fps body misses. The trade is real and personal — some shooters prefer fewer keepers from fewer frames, others prefer maximum capture density with heavy culling.
| Body class | Fps | Buffer (RAW) | Frames per typical encounter | Cull effort |
|---|---|---|---|---|
| Sony a9 III | 120 (global shutter) | 192 frames | 200-400 | Very high |
| Canon R3 / R1 | 30 | 1000+ frames | 80-150 | High |
| Nikon Z9 / Z8 | 20 | 1000+ frames | 60-120 | Moderate |
| Sony a1 / a7R V | 30 / 10 | 155 / 583 frames | 50-100 | Moderate |
| Canon R5 / R6 II | 20 / 40 | 87 / 75 frames | 30-80 | Manageable |
| Fuji X-H2S | 40 | 140 frames | 60-120 | High |
The cull-effort column is what matters for workflow planning. If you shoot the a9 III at 120 fps regularly, your post-production needs to be aggressive on AI culling or you will drown.
Lens choices and the JPG question
Long telephoto lenses (400mm, 500mm, 600mm) on small-sensor crop bodies produce JPGs with visible compression artefacts on backlit fur when shot wide open. The depth of field is so shallow that the highly compressed bokeh boundaries show JPG blocking. The fix is to shoot with intentional small aperture (f/8 to f/11) when bokeh would otherwise dominate, accept the slightly higher ISO, and let noise reduction at convert time clean it up.
Geotagging wildlife frames
Most stock agencies request location metadata. Some species are sensitive — rhino and big cat locations attract poachers — and you should strip GPS from publicly published frames. Sony, Canon, and Nikon all support GPS via dedicated grip or smartphone pairing. Track at capture time with the GPS on for personal archives, strip on export for any public-facing delivery.
The single biggest time leak
The biggest time leak in wildlife post-production is editing one-star images. You will never deliver them. They do not need a develop pass. Resist the urge to "see what they look like" — they look like the embedded JPG preview Photo Mechanic already showed you. Move on.
Pick your converter — RAW to JPG for everything, the body-specific tools CR3 to JPG, NEF to JPG, ARW to JPG, RAF to JPG for single-body trips — and run the final tier through compress-jpg before delivery. The image file size calculator helps you tune export dimensions before committing to a recipe.