
ImageMagick Scripting: 15 One-Liners for Real Photo Workflows
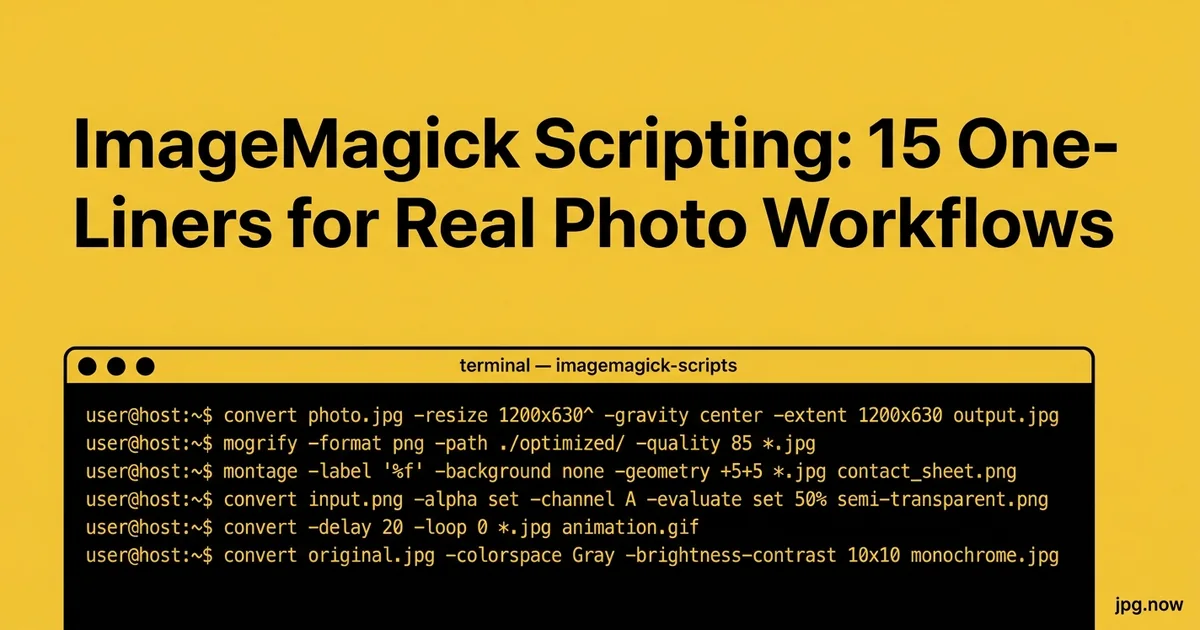
It is 11 p.m. on a Sunday. A client emails: "Can you have the 1,400 product shots resized, watermarked, and converted to web-ready JPG for the Monday launch?" In Photoshop's Batch processor that is a five-hour evening with the laptop fan howling and the risk that one bad action setting torpedoes a tenth of the files. In ImageMagick it is one shell command, eight minutes, and you go back to your book. The difference is not skill or hardware; it is having the recipe written down.
ImageMagick is the Swiss Army knife of command-line image processing and the fastest way to convert, resize, watermark, or strip metadata across folders of thousands of JPGs without opening a single GUI. The 15 one-liners below cover the work that actually shows up in real photo pipelines resizing a folder of camera JPGs for the web, batch-converting RAW dumps, watermarking client previews, and the format-conversion chores that would otherwise eat an afternoon in Photoshop's batch processor.
Why ImageMagick still matters in 2026
Three reasons it has stayed essential while many competitors faded: it handles roughly 200 file formats, it scales linearly from one file to a million, and it scripts cleanly into any pipeline. Modern alternatives like libvips are faster on raw throughput, and tools like sharp (Node.js) are easier to embed in web apps, but for command-line batch work on a workstation ImageMagick remains the default for most working pros and devops teams. Version 7 (with the unified magick command) has matured to the point where the old version 6 quirks are mostly gone.
Install the modern version
Use ImageMagick 7, not the legacy 6.x branch. The command name is magick in v7, replacing the old convert, mogrify, and identify binaries (though those still work as aliases). On macOS: brew install imagemagick. On Linux: your distro's package manager, or download a static build from imagemagick.org. On Windows: the installer, or use WSL2 with the Linux build, which is what most professional workflows actually rely on in 2026.
Recipe 1: Resize a folder of camera JPGs to 2048px wide
magick mogrify -resize 2048x -path web/ *.jpg
Resizes every JPG in the current directory, writing the output to web/. Use 2048x for width-constrained or x2048 for height-constrained.
Recipe 2: Resize and re-encode at quality 80
magick mogrify -resize 2048x -quality 80 -strip -path web/ *.jpg
Adds quality control and metadata stripping. Drops a 12 MB camera JPG to roughly 600 KB at web resolution.
Recipe 3: Batch convert RAW to JPG
for f in *.CR3; do magick "$f" -quality 90 "${f%.CR3}.jpg"; done
Works on CR2, CR3, NEF, ARW, RAF, DNG, ORF any RAW format your build of ImageMagick was compiled with delegate support for. For mixed-format RAW folders, the RAW to JPG converter in the browser handles the same job without the delegate dance.
Recipe 4: Strip all metadata
magick mogrify -strip *.jpg
Removes EXIF, IPTC, XMP, and color profile in one pass. Use only on copies, never on originals the metadata is genuinely useful for catalog work.
Recipe 5: Strip metadata but keep color profile
magick mogrify -define jpeg:preserve-settings -profile sRGB.icc -strip *.jpg
Keeps the embedded sRGB profile while removing everything else.
Recipe 6: Watermark every file with a transparent PNG
magick mogrify -gravity southeast -draw "image over 20,20 0,0 'watermark.png'" *.jpg
Anchors a watermark.png in the bottom-right corner with a 20px margin. Adjust gravity to southwest, center, or north for other placements.
Recipe 7: Text watermark
magick mogrify -gravity southeast -font Helvetica -pointsize 36 -fill 'white' -annotate +30+30 '© Studio 2026' *.jpg
Quick text overlay without needing a PNG asset.
Recipe 8: Convert JPG to WebP at 80% quality
for f in *.jpg; do magick "$f" -quality 80 "${f%.jpg}.webp"; done
WebP delivers roughly 30 to 40 percent smaller files than equivalent-quality JPG. For one-off conversions the JPG to WebP converter is faster than the loop.
Recipe 9: Generate a contact sheet
magick montage -tile 5x -geometry 400x300+10+10 -label '%f' *.jpg contact.jpg
Builds a 5-column thumbnail grid with filename captions. Useful for client review or shoot archives.
Recipe 10: Combine multiple JPGs into a PDF
magick *.jpg portfolio.pdf
One-line photo-book export. For more control over page size and quality, the JPG to PDF converter exposes the same options through a friendlier interface.
Recipe 11: Crop to square from the center
magick mogrify -gravity center -extent 1080x1080 -path square/ *.jpg
Center-crop and pad to exact dimensions. Combine with the aspect ratio calculator to plan the right output size for Instagram, TikTok, or Pinterest.
Recipe 12: Auto-rotate based on EXIF orientation
magick mogrify -auto-orient *.jpg
Bakes the EXIF rotation flag into the pixel data and clears the flag, ensuring the file displays the right way up in any viewer regardless of orientation handling.
Recipe 13: Auto-level exposure
magick mogrify -auto-level *.jpg
Stretches the histogram to use the full range. Crude compared to Lightroom but useful as a first pass on scanned documents or screenshots.
Recipe 14: Convert color JPGs to grayscale
magick mogrify -colorspace Gray *.jpg
True grayscale conversion, smaller file size than a desaturated color JPG.
Recipe 15: Read image dimensions and file size
magick identify -format "%f %wx%h %b\n" *.jpg
Prints filename, width-by-height, and human-readable file size. Pipe to sort or awk for audits. For browser-based identification the image info inspector reports the same data plus EXIF.
Build pipelines, not one-offs
Combine recipes into pipelines for real workflows. A typical client preview pipeline reads:
- Auto-orient
- Resize to 2048px wide
- Strip metadata except color profile
- Add text watermark
- Quality 80 JPG output to a delivery folder
That entire chain is one ImageMagick command:
magick mogrify -auto-orient -resize 2048x -strip -gravity southeast -font Helvetica -pointsize 30 -fill 'white' -annotate +20+20 '© Studio 2026' -quality 80 -path preview/ *.jpg
Wrap it in a shell script that takes the input folder as an argument and you have a permanent client-preview generator.
Step-by-step: build a reusable preview generator
- Create the script.
nano ~/bin/make-preview.sh - Add the shebang and arg.
#!/usr/bin/env bashfollowed byset -euo pipefailandINPUT="${1:?usage: make-preview.sh folder}" - Create output folder.
mkdir -p "$INPUT/preview" - Run the pipeline. The ImageMagick one-liner above, with
$INPUT/*.jpgand-path "$INPUT/preview/" - Log a summary. Use
magick identify -formatto count files and report total size. - Make it executable.
chmod +x ~/bin/make-preview.sh - Test on a small folder with 20 files before committing to a 2,000-file run.
- Add to your shoot post-processing checklist. Run as step 2 after ingest, before Lightroom import.
Verify with browser tools
After any large batch, spot-check three or four files with the JPG compressor to confirm the output is at the file size you expected, and run a before-and-after through the image converter if you suspect ImageMagick's encoder is producing artifacts you did not see at smaller scale. The JPG to PDF path is also useful when you need to compare browser-generated PDF output against ImageMagick's, especially for multi-page deliverables.
Common ImageMagick mistakes and fixes
- RAW delegate missing. Install
dcrawor build ImageMagick against libraw if RAW conversion fails silently. Fix:brew install dcrawon macOS, then reinstall imagemagick. - Resource limits. Large batches on big files may hit ImageMagick's policy.xml memory caps. Fix: edit
/etc/ImageMagick-7/policy.xmlto raise memory and disk limits, or use-limit memory 4GiB. - Quality 80 in ImageMagick is not quality 80 in Photoshop. The quality scales differ. Fix: run a test before committing to a number; ImageMagick 85 ≈ Photoshop 70-75 visually.
- mogrify overwrites originals by default. Always use
-pathto write to a new folder. Fix: never run mogrify on a folder you have not backed up. - Strip removes color profile by default. Files render with wrong colour on profile-aware browsers. Fix: re-embed sRGB explicitly with
-profile sRGB.icc. - Auto-orient does not run on every codec. Some HEIC and AVIF builds skip orientation handling. Fix: convert HEIC to JPG first via the HEIC to JPG converter.
Three real-world ImageMagick pipelines
E-commerce, 14,000 SKUs, Berlin. A small Berlin furniture retailer runs an overnight cron job: rsync new shots from the photo studio NAS, apply ImageMagick (auto-orient, resize to four sizes, strip metadata, embed sRGB, write to CDN bucket). Twelve minutes nightly, two years uninterrupted, replaces what was previously a half-day-per-week chore.
Wedding photographer, Auckland. Sarah's preview pipeline runs the same recipe on every delivered shoot: a 2,048px watermarked JPG goes to the client gallery, a 4,096px unwatermarked JPG goes to the print partner's API, and a contact-sheet PDF goes to her own archive. One script, three deliverables, every shoot.
Stock agency contributor, Lisbon. Pedro processes 200 raw frames per week into stock-ready JPGs. ImageMagick handles the resize, sRGB conversion, and metadata stripping. He runs the output through the image info inspector as a final spot-check before submitting to Adobe Stock and Shutterstock.
ImageMagick vs alternatives
| Tool | Strength | Speed | Best for |
|---|---|---|---|
| ImageMagick 7 | Format breadth, scripting | Moderate | General batch work |
| libvips / vips | Pure speed | 3-10x faster | High-throughput pipelines |
| sharp (Node.js) | Easy web integration | Fast | Web apps |
| Photoshop Batch | GUI, complex edits | Slow | Photographers who already use PS |
| Adobe Bridge | Preview + batch | Moderate | Visual review during batch |
| Browser JPG compressor | Zero install | Per-file | One-off jobs |
Advanced ImageMagick techniques
- GNU parallel for multi-core scaling
find . -name "*.jpg" | parallel magick {} -resize 2048x web/{}uses every CPU core. - Stream processing pipe images through ImageMagick without intermediate files:
magick input.jpg -resize 2048x miff:- | other-tool. - Built-in scripts magick command supports
-scriptfor complex multi-step operations defined in a file. - Distort and perspective correction
-distort Perspectivehandles trapezoid-shaped scans of paintings or documents. - Liquid rescale
-liquid-rescaleimplements content-aware resize (seam carving) for changing aspect ratios without distortion. - Composite for layered output place multiple images, masks, and effects in a single pass.
- Custom kernels and convolution for niche sharpening, blur, and edge-detection needs.
Frequently asked questions
Is mogrify safe to run in-place?
Only if you have a backup. Mogrify rewrites files in the source folder by default, which destroys originals. Always use -path to write to a separate folder for production work.
How do I install RAW support?
Ensure libraw is installed before compiling ImageMagick, or use a build that includes RAW delegates. On macOS, brew install imagemagick libraw dcraw typically handles it.
What is the right quality setting for web JPGs?
80 to 85 in ImageMagick units for most use cases. 70 is acceptable for low-priority listing thumbnails; 90+ is wasteful for web delivery and is more appropriate for print intermediates.
Can ImageMagick handle HEIC?
Yes, if compiled with libheif. Modern builds on macOS and Linux include this by default. For browser-side conversion, the HEIC to JPG converter is the no-install alternative.
Why are my colors off after ImageMagick processing?
Almost always a color profile issue. ImageMagick assumes sRGB when no profile is present. Use -profile sRGB.icc explicitly or convert your source files to sRGB before processing.
Is ImageMagick slower than libvips?
Yes, typically 3 to 10 times slower for the same operation. For pipelines that need raw throughput, libvips is the right choice. For format breadth and scripting flexibility, ImageMagick wins.
Can I use ImageMagick in production web apps?
Yes, but be cautious with policy.xml security settings. ImageMagick has had several CVEs around malicious image inputs; lock down the policy to disable risky operations and use the latest version.
Security hardening for production deployments
Running ImageMagick as part of a public web service means accepting untrusted image uploads, and untrusted inputs have historically been the cause of multiple severe vulnerabilities (ImageTragick, Ghostscript-based PDF exploits, MVG/MSL injection). The standard hardening checklist: disable PS, EPS, PDF, MVG, and MSL in policy.xml unless your application explicitly needs them; set strict resource limits to prevent denial-of-service via crafted decompression bombs; run ImageMagick in a sandboxed process (Docker container or systemd unit with restricted capabilities); validate file headers before passing to ImageMagick; and keep version updates current. Public-facing deployments that ignore these steps have been the source of breaches more than once.
For very high security environments, consider libvips or sharp instead. Both have smaller attack surfaces and significantly fewer historical CVEs while covering 80 percent of common image-processing operations.
Combining ImageMagick with other tools
ImageMagick is rarely the only tool in a pipeline. Common combinations include: ImageMagick for format conversion plus ExifTool for metadata operations, ImageMagick for resize plus mozjpeg for final encoding (mozjpeg produces smaller JPGs at the same visual quality), ImageMagick for cropping plus the background remover for cutout work, and ImageMagick for thumbnail generation plus the AI upscaler for final delivery resolution. Each tool does one thing well; chaining them produces results no single tool achieves alone.
Color management deep dive
Most ImageMagick colour problems trace back to one of three causes: missing input profile, missing output profile, or mismatched intent. The default behaviour treats input without a profile as sRGB, which is correct for most modern files but wrong for older scans tagged Adobe RGB or for files coming out of cameras configured for ProPhoto RGB. Always check the input profile with magick identify -format "%[colorspace] %[profile:icc]" before any colour-critical operation.
For consistent output across a batch, embed the target profile explicitly: magick mogrify -colorspace sRGB -profile sRGB.icc -path web/ *.jpg. The -colorspace flag converts pixel values into the target space; the -profile flag tags the file so downstream software knows what it is looking at. Skip either and you get either tagged-but-untransformed (wrong colours displayed correctly) or transformed-but-untagged (correct values, wrong assumed profile).
For print workflows that need CMYK conversion, ImageMagick handles the transformation via embedded ICC profiles. Use a CMYK profile matched to the print process (US Web Coated SWOP, Fogra39, GRACoL) and verify with the image info inspector after conversion. Print labs that reject files typically reject them for profile mismatch, not for resolution or format.
Memory and performance tuning
ImageMagick reads the entire image into memory by default, which becomes a problem on 50 megapixel files in batches of thousands. The fix is the pixel cache: ImageMagick spills large images to disk when memory limits are reached. Tune the cache with -limit memory 8GiB -limit map 16GiB -limit disk 64GiB for high-throughput work, and point the cache to a fast SSD with MAGICK_TMPDIR=/path/to/ssd. On Linux, also configure transparent huge pages and turn off swap if running on a workstation with abundant RAM.
For genuinely massive batches (10,000+ files), libvips is consistently 3 to 10 times faster than ImageMagick at the same operation because it streams pixels through processing nodes rather than materialising entire images. The vips command-line tool exposes similar resize, format-convert, and crop primitives. Keep ImageMagick for complex multi-step recipes and switch to libvips for high-throughput format-and-resize work.
Building a watermark pipeline that scales
A studio that delivers 100,000 watermarked previews per year needs watermarking that is faster, more flexible, and more secure than a single hardcoded command. The mature pipeline reads: dynamic watermark text generation per client (client name, contract number, delivery date), positioning logic that adapts to image aspect ratio, opacity scaling based on image brightness in the watermark region, and optional invisible watermarking via steganography for legal evidence.
ImageMagick handles the visible side cleanly. For invisible watermarking, pair with a tool like Steghide or a custom LSB encoder. The combination produces files that look untouched at casual inspection but reveal client and delivery metadata under forensic analysis if redistribution becomes an issue.
The 15 recipes above cover roughly 80 percent of what a working photographer needs from a command-line image tool. Pick the three you would use this week, write them into a shell script, and run them on a copy of last month's shoot folder. The next time you face a 2,000-file batch, you will reach for the script instead of opening Photoshop. Push a test file through the image info tool to confirm what ImageMagick is actually producing, and use the JPG to WebP, JPG to PNG, and image converter for format-specific work when scripting is overkill.