
Deleted Photo Recovery From SD Cards: Tools, Limits, and JPG Repair
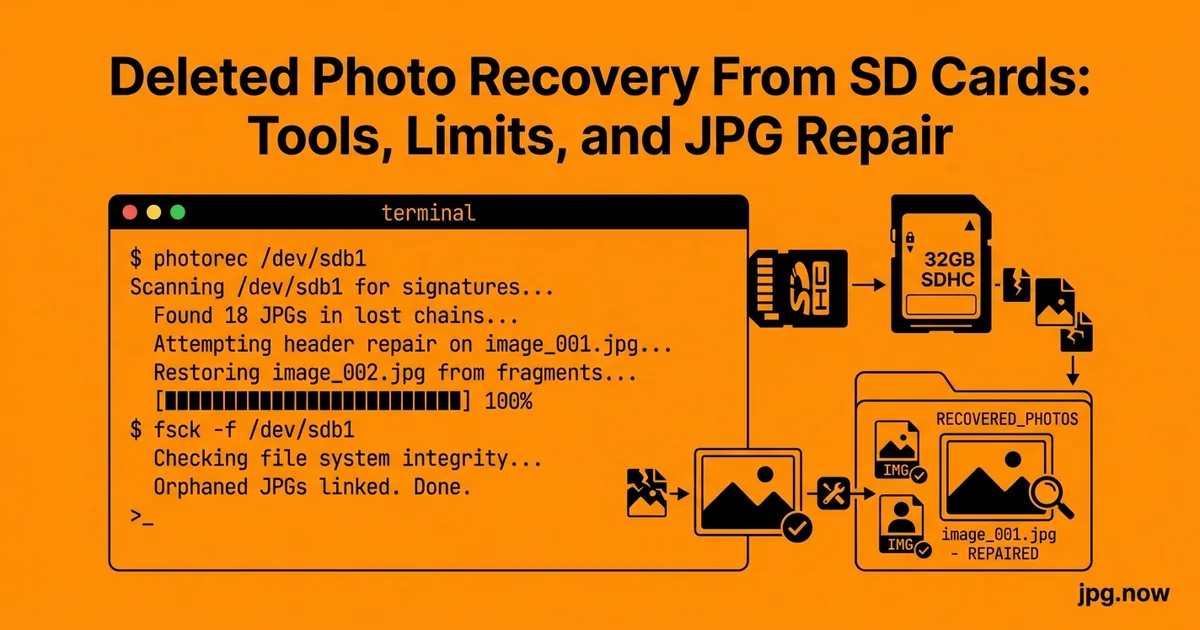
The text from the photographer arrives at 11:14 p.m.: "I think I formatted the wrong card." The card in question held the bride's ceremony coverage from earlier that evening. The card she meant to format was already on the desk, empty and labelled. The wedding album of a 200-guest event is currently a 256 GB block of "free space" on a Sony Tough card. The bride does not yet know this. You have a working night ahead of you.
Deleted photos on an SD card are almost never deleted in the way most people imagine. When a camera or computer "deletes" a file, it usually just marks the file table entry as available; the actual JPG bytes sit on the card untouched until another write overwrites them. That gap between deletion and overwrite is the entire window for recovery, and in 2026 the tools to exploit it are mature, free for casual cases, and worth running before you accept the loss.
Why this works at all
Filesystem deletion is a metadata operation. The directory entry that pointed at a file is marked free; the data blocks that held the file's bytes are marked free too. But "free" does not mean "erased." A new write will eventually claim those blocks and overwrite the bytes, but until that write happens the bytes remain readable by any tool that can address the raw device rather than the filesystem. PhotoRec, R-Studio, and Disk Drill all work at this raw level, scanning the device byte by byte for the JPG magic bytes FF D8 FF and reconstructing files from the data that follows.
Stop writing to the card immediately
The single biggest mistake people make is continuing to shoot, format, or copy files to the card after the loss. Every write reduces the probability of full recovery. Pull the card out, label it, and put it in a separate slot until you can run recovery on a desktop with a card reader.
If the loss happened mid-shoot and you cannot stop shooting wedding, news event, sports swap to a fresh card and set the original aside. Continuing to shoot on the same card may overwrite the very photos you are trying to recover.
Mount the card read-only
On macOS and Linux, mount the card with the ro flag so the operating system cannot write to it accidentally during the scan. Windows users should treat the card as evidence: do not let Windows auto-run anything, do not open Explorer to browse it, do not let antivirus scan it. Run the recovery tool directly against the raw device.
For maximum safety on a card with priceless content, image the card first with dd if=/dev/diskN of=card.img bs=4M (macOS/Linux) or with HDD Raw Copy Tool on Windows, then run recovery against the image file. The original card stays untouched on the shelf as the master.
Tools that actually work in 2026
The recovery space has consolidated. These are the tools experienced data-recovery practitioners reach for first:
- PhotoRec (free, open source) the workhorse. Carves files by signature including JPG, HEIC, CR3, NEF, ARW, DNG, MOV. Runs on every platform. Ugly interface but consistently effective.
- R-Studio (paid, ~$80) best file-table-aware recovery for FAT32 and exFAT cards. Restores original filenames and directory structure when the table is partially intact.
- Disk Drill (paid, ~$89) friendly UI, includes preview of recovered images before commit. Mac and Windows.
- Recuva (free, Windows only) fine for first-pass quick-delete recovery, weaker on formatted cards.
- TestDisk (paired with PhotoRec) useful for partition recovery when the card itself stopped mounting.
Start with PhotoRec. If it finds the files but with generic names and no directory structure (which is normal file tables get destroyed during format), run R-Studio or Disk Drill as a second pass to recover names when possible.
What gets recovered, and what does not
Quick-format and accidental-delete scenarios on a card that has not been written to since the incident typically recover 90 to 100 percent of the JPG files in good condition. The recovered files have generic names like f0123456.jpg rather than IMG_4521.jpg, but the image content is intact.
Full-format with overwrite, multiple-pass formatting, or shooting over the deleted area drops recovery to 20 to 60 percent depending on how much new data was written. The files that do come back are often partial top half intact, bottom half noise.
Physical damage (water, snapped contact pins, lightning-storm static) is a different category. Consumer software cannot help here. Specialist labs like DriveSavers and Ontrack run cleanroom recoveries starting around $500 to $1,500 per card.
Step-by-step PhotoRec walkthrough
- Image the card first.
sudo dd if=/dev/disk2 of=~/card.img bs=4M status=progresson macOS/Linux. Use the disk number fromdiskutil listorlsblk. - Install PhotoRec.
brew install testdiskon macOS,apt install testdiskon Linux, download from cgsecurity.org for Windows. - Run PhotoRec against the image.
sudo photorec ~/card.img. The TUI walks you through partition selection, filesystem type (Other for FAT/exFAT), and output folder. - Choose file types. Press s to deselect all, then enable jpg, heic, cr3, nef, arw, raf, dng, mov as appropriate to your camera.
- Set output folder. Use a fast SSD with plenty of free space PhotoRec sometimes finds 2x the original file count due to fragment carving.
- Let it run. 64 GB cards take 15 to 45 minutes; 256 GB cards take 1 to 3 hours depending on USB reader speed.
- Sort the results. Output files have generic names. Use the image info inspector on a sample to confirm format and capture date.
- Run R-Studio or Disk Drill as a second pass if you need original filenames and the file table was only partially destroyed.
Common recovery mistakes
- Continuing to shoot on the card after the loss. Each new frame may overwrite a deleted one. Fix: swap to a fresh card immediately.
- Running recovery against the live card instead of an image. Card readers occasionally write metadata even on read operations. Fix:
ddfirst, recover from the image. - Trusting the first preview as proof of complete recovery. Many recovered files have intact headers and damaged scans. Fix: open a sample of 20+ files before declaring success.
- Skipping the named-file second pass. R-Studio often restores original filenames PhotoRec cannot, which matters for catalog matching. Fix: run both tools.
- Using the same drive for source and output. Slows recovery and risks the source. Fix: output to a separate fast SSD.
- Formatting the card before sending to a lab. Each format reduces lab recovery odds. Fix: if consumer tools fail and the content is priceless, stop and call a lab before any further action.
Three real-world recoveries
Wedding photographer, Toronto, 2024. Cassie formatted the ceremony card by accident at the end of the night. She immediately swapped cards, drove home, imaged the card with ddrescue, and ran PhotoRec. Of 1,340 frames shot during ceremony, 1,338 came back cleanly. Two were partial. The bride never knew.
Family vacation, Iceland, 2025. Henrik returned from two weeks in Iceland with a CFexpress card that the camera was suddenly refusing to read. The card was physically fine but the filesystem had been damaged by a power loss during a long bracket sequence. TestDisk rebuilt the partition table; PhotoRec recovered 92 percent of files; the remaining 8 percent were partial and identifiable by thumbnail.
News stringer, Beirut, 2025. A Reuters stringer dropped a CF card in saltwater. The card was dead. DriveSavers performed cleanroom recovery for $1,400 and returned 88 percent of files. The stringer's insurance covered the bill; the story ran.
Tool comparison
| Tool | Cost | Filename recovery | Best scenario |
|---|---|---|---|
| PhotoRec | Free | Generic names | Any signature-based carve |
| R-Studio | ~$80 | Often original | Partial file table intact |
| Disk Drill | ~$89 | Often original | Friendly UI, previews |
| Recuva | Free | Original on quick-delete | Windows quick-delete recovery |
| TestDisk | Free | Partition repair | Card stopped mounting |
| ddrescue | Free | N/A - imaging tool | Failing media |
| DriveSavers / Ontrack | $500-$1,500 | Variable | Physical damage |
Repair the partial JPGs that come back broken
Recovery scans often return files that have valid headers but truncated bodies. The decoder reports an error, or the image opens with the bottom portion missing. These partial files are not always lost:
- Run them through the image info inspector first to confirm the file is structurally a JPG and to check whether an embedded EXIF thumbnail survived
- Extract the thumbnail with
exiftool -b -ThumbnailImage broken.jpg > thumb.jpg - Try a tolerant decode via the image converter many decoders will render the surviving portion and gray-fill the rest
- Compare the partial render against the thumbnail to confirm they are the same image
For files that look acceptable but feel off, drop two versions side by side in the image comparison tool to spot subtle block-boundary glitches that suggest the recovery rebuilt the file from non-contiguous fragments.
Recovering RAW files specifically
If you shoot Canon CR3, Nikon NEF, Sony ARW, or Fuji RAF, PhotoRec recognizes all of them by signature. Recovered RAWs sometimes have damaged metadata but intact pixel data they preview as gray in the OS but open correctly in Lightroom, Capture One, or via the RAW to JPG converter, which uses a tolerant RAW decoder that ignores corrupted metadata blocks.
Convert any recovered RAW to a known-good JPG immediately so you have a backup that does not depend on RAW software interpreting damaged headers correctly. The CR3 to JPG, NEF to JPG, ARW to JPG, and RAF to JPG converters handle the specific brands.
Final cleanup pass
After recovery, your output folder is probably a mix of intact JPGs, partial JPGs, duplicates from overlapping carve runs, and unrelated thumbnails that PhotoRec dug out of cache regions. Sort the haul:
- Use the image info tool to confirm format and capture date on questionable files
- Delete the obvious junk 50x50 thumbnails, application icons PhotoRec mistook for JPGs
- Re-encode the keepers at quality 92 through the JPG compressor so the file structure is clean
- Rename systematically based on the EXIF capture date see batch-rename tooling like A Better Finder Rename or ExifTool's
-ddate-rename flag
Advanced recovery techniques
- ddrescue with a log file for cards with read errors. ddrescue resumes from where it left off, retries bad sectors with different timeouts, and produces a complete image with documented bad regions.
- Multiple-pass recovery run PhotoRec, then R-Studio, then a hex-editor sweep for signatures the first two missed. Each tool catches a slightly different subset.
- Recover from a clone, not the original. Always work from the disk image. The original card stays pristine in case lab work is needed later.
- Use camera-specific recovery Sony's Memory Card File Rescue and Canon's tools sometimes find files that generic tools miss because they understand the camera's directory structure.
- For dual-slot cameras, check the second card before declaring loss. Many shooters have backup configured and forget.
- Cloud backup retrieval Apple Photos, Google Photos, and Lightroom Mobile may have synced the files before the local loss. Check there before recovery work.
- Documented chain of custody when recovery is for legal use, hash every artifact and document every step.
The 90-minute recovery checklist
- Card removed, no further writes
- Read-only image taken with dd or equivalent
- PhotoRec first-pass recovery completed
- Named-file second pass with R-Studio or Disk Drill
- Partial files repaired or thumbnails extracted
- Output sorted, junk removed
- Keepers re-encoded clean and renamed
Frequently asked questions
How long do I have to recover deleted SD card photos?
Until new writes overwrite the deleted data. On a card you set aside immediately, recovery odds remain near 100 percent indefinitely. Once new shooting resumes on the same card, the window closes within hours.
Does formatting the card erase the data permanently?
Quick format (the default on most cameras) only erases the file table; the data remains. Full format with overwrite, or multiple consecutive formats, progressively destroys recoverable data.
Can I recover photos from a broken or physically damaged card?
Consumer software cannot. Specialist labs like DriveSavers and Ontrack perform cleanroom recoveries starting around $500 to $1,500 per card. For priceless content, the cost is usually worth it.
Will the recovered files have their original names?
Usually not from PhotoRec, which carves by signature and assigns generic names. R-Studio and Disk Drill can sometimes restore original names when the file table is partially intact. Plan to rename by EXIF date after recovery.
Can I recover only JPG and ignore RAW to save time?
Yes, PhotoRec lets you select specific file signatures. For mixed-format shooters, recover all formats then sort; the time saved by filtering is usually small relative to total scan time.
What if the camera reports the card needs formatting?
Do not format. Eject and run TestDisk against the card. The filesystem is likely damaged but the data is usually intact. Format only after recovery is complete.
How do I prevent this from happening again?
Three habits: dual-slot cameras with backup configured, immediate offload to computer after each shoot, and rotate cards rather than reusing the same card before backup is verified. Cloud sync via Lightroom Mobile or similar adds a third tier.
Card brand and reliability in 2026
Not all SD cards are equally recoverable when they fail. Pro-grade cards from SanDisk Extreme Pro, Sony Tough, ProGrade, and Lexar Professional lines have firmware that fails predictably and gracefully when they hit end of life: read errors first, then mount failures, then full failure. Cheap cards from no-name brands often fail catastrophically without warning, taking the entire content with them. The premium is worth it for any working professional. For consumers, the rule is buy from a major brand and replace cards every two to three years, before they reach end of life.
Counterfeit cards remain a real problem on Amazon and AliExpress marketplaces. A counterfeit 256 GB card may report 256 GB to the OS but actually have 32 GB of real storage, wrapping around silently once full and overwriting earlier data. Tools like H2testw (Windows) and F3 (cross-platform) verify card capacity by writing test patterns; run them on every new card before using it for real shoots.
Recovery for video files specifically
Although this guide focuses on JPG, the same principles apply to MOV, MP4, and ProRes files with one caveat: video files are typically much larger and more likely to be fragmented across the card. PhotoRec recognises MOV and MP4 by signature but cannot reassemble fragmented files. For video recovery in particular, R-Studio's file-table-aware approach delivers better results when the file table is even partially intact. For truly priceless video content, send to a lab; consumer software has a much harder time with video than with stills.
Photo recovery is more often successful than people expect, but the window closes fast once new writes start landing on the card. If you have a card sitting on your desk right now that lost photos last week and has not been used since, your odds are still good. Start with a free PhotoRec scan and run the survivors through the image info inspector to confirm what came back. For RAW conversions and post-recovery format work, the RAW to JPG, CR3 to JPG, NEF to JPG, and image converter tools handle the most common follow-up tasks.